
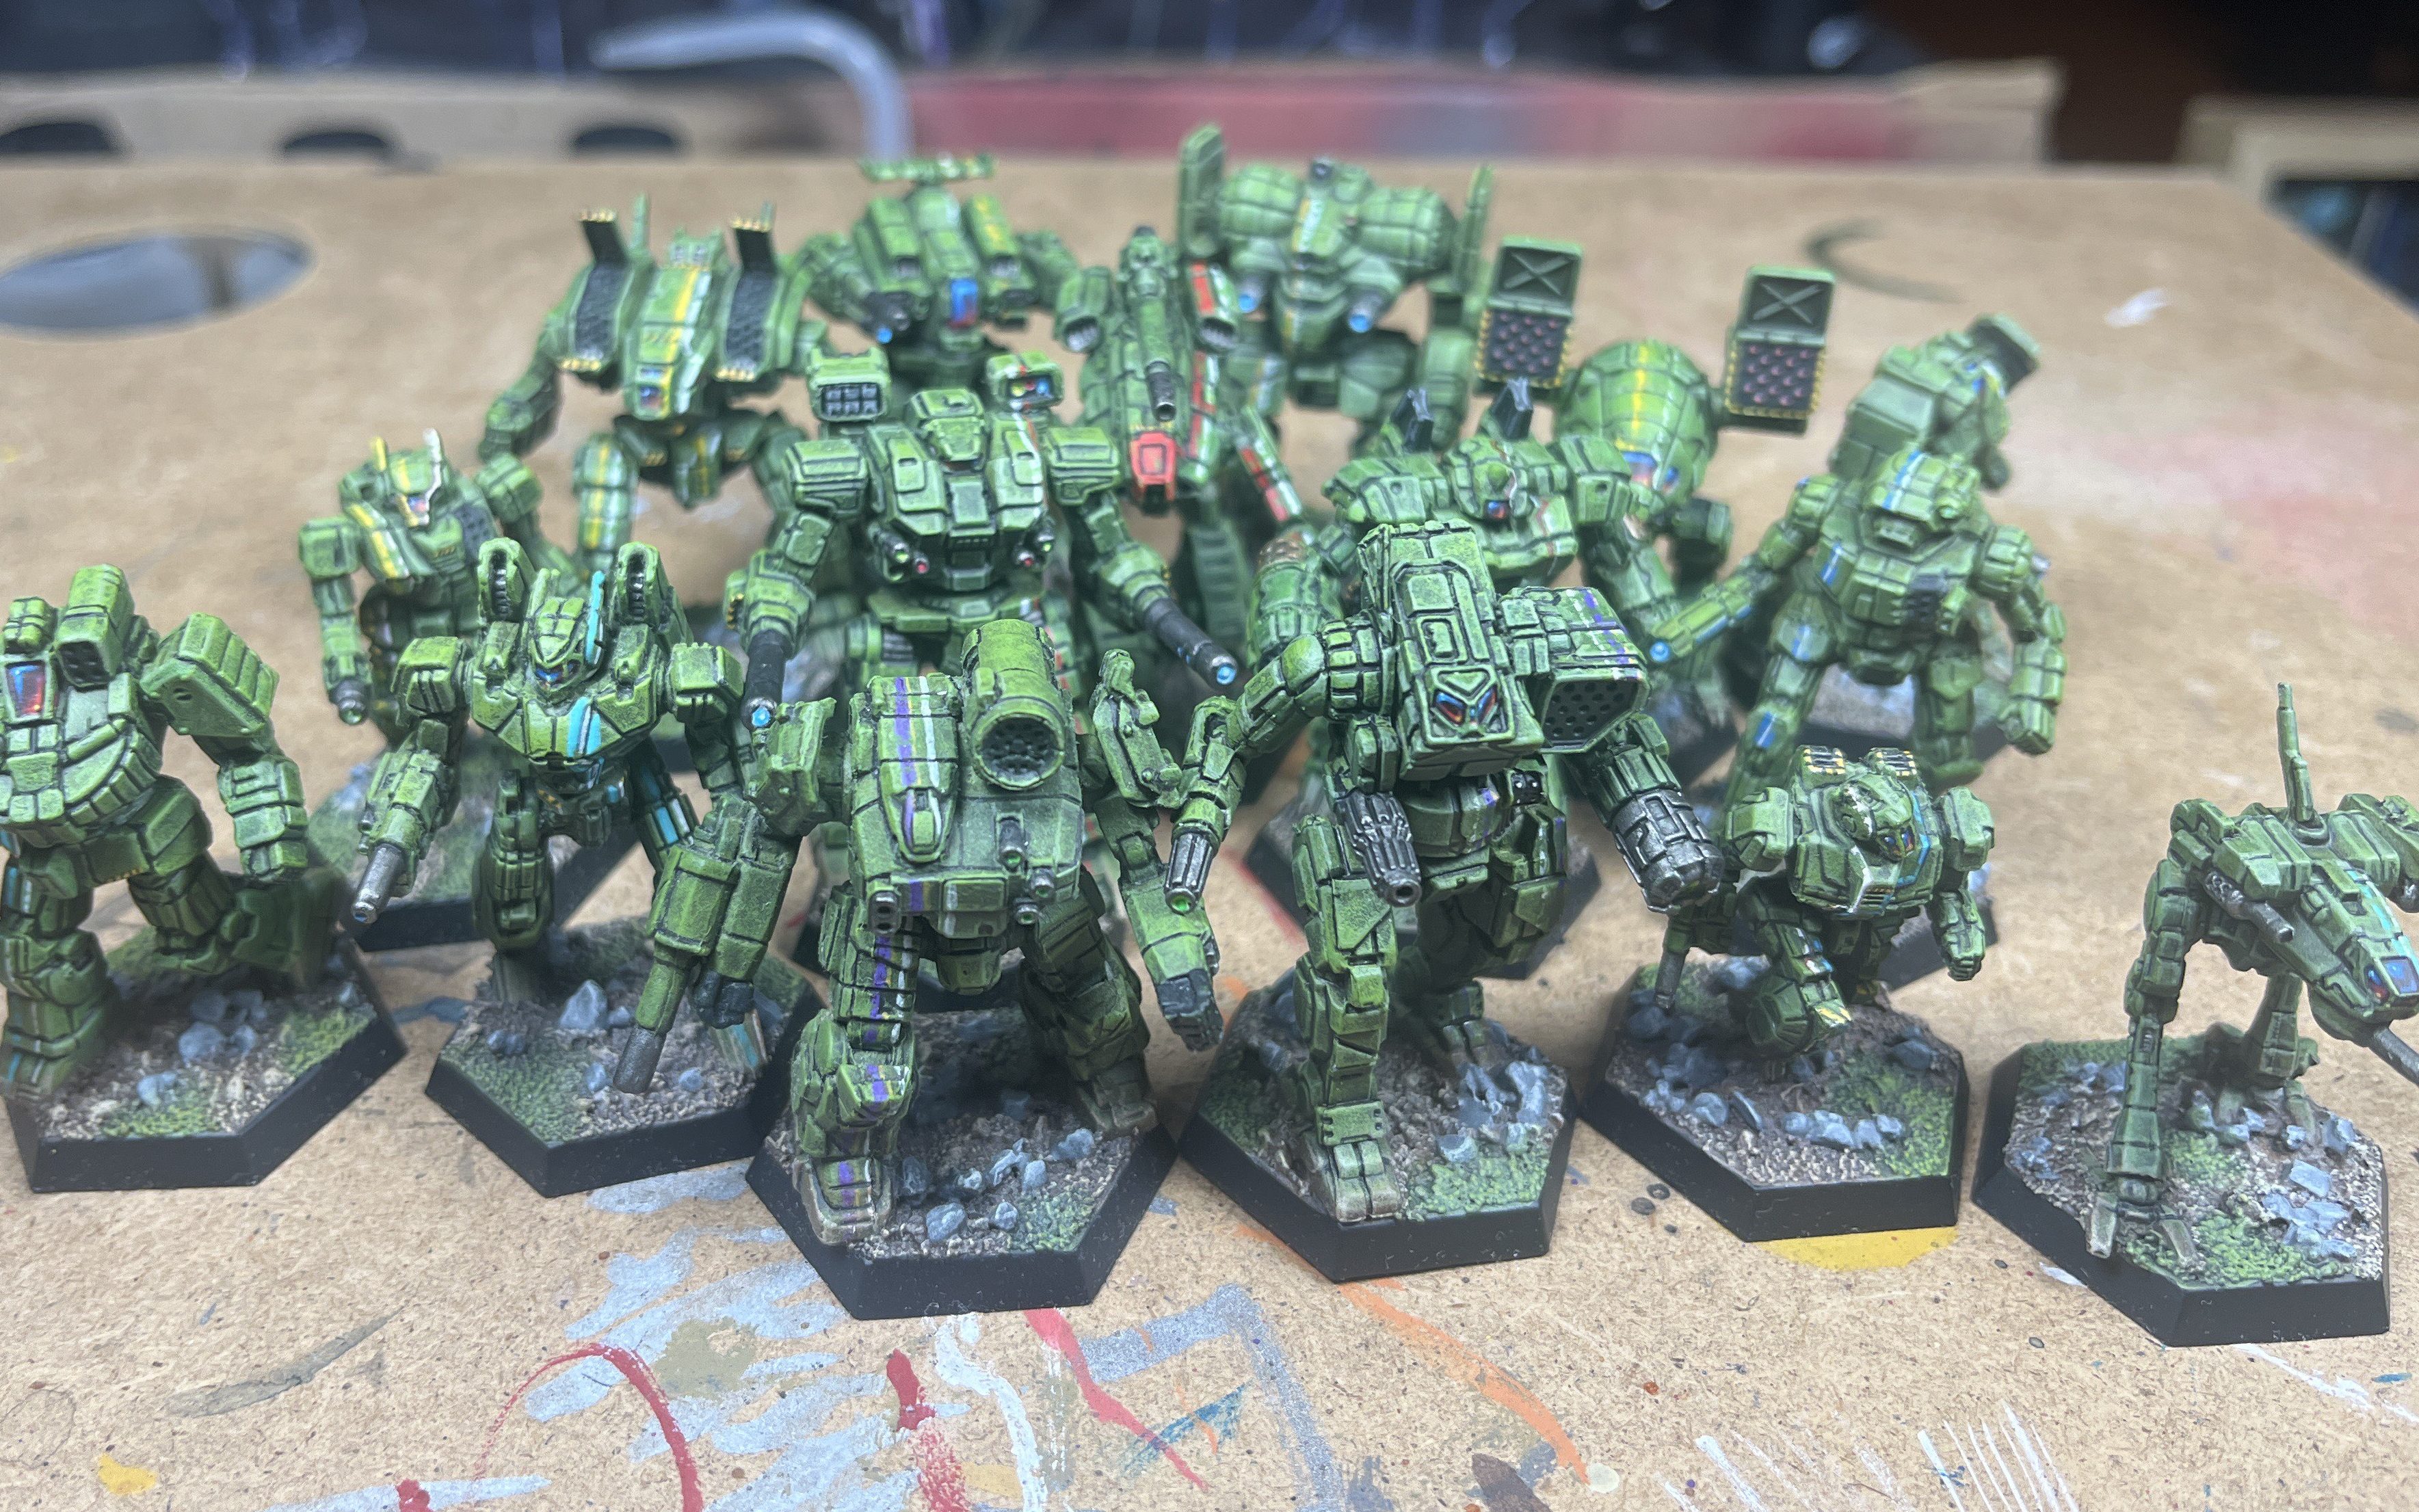
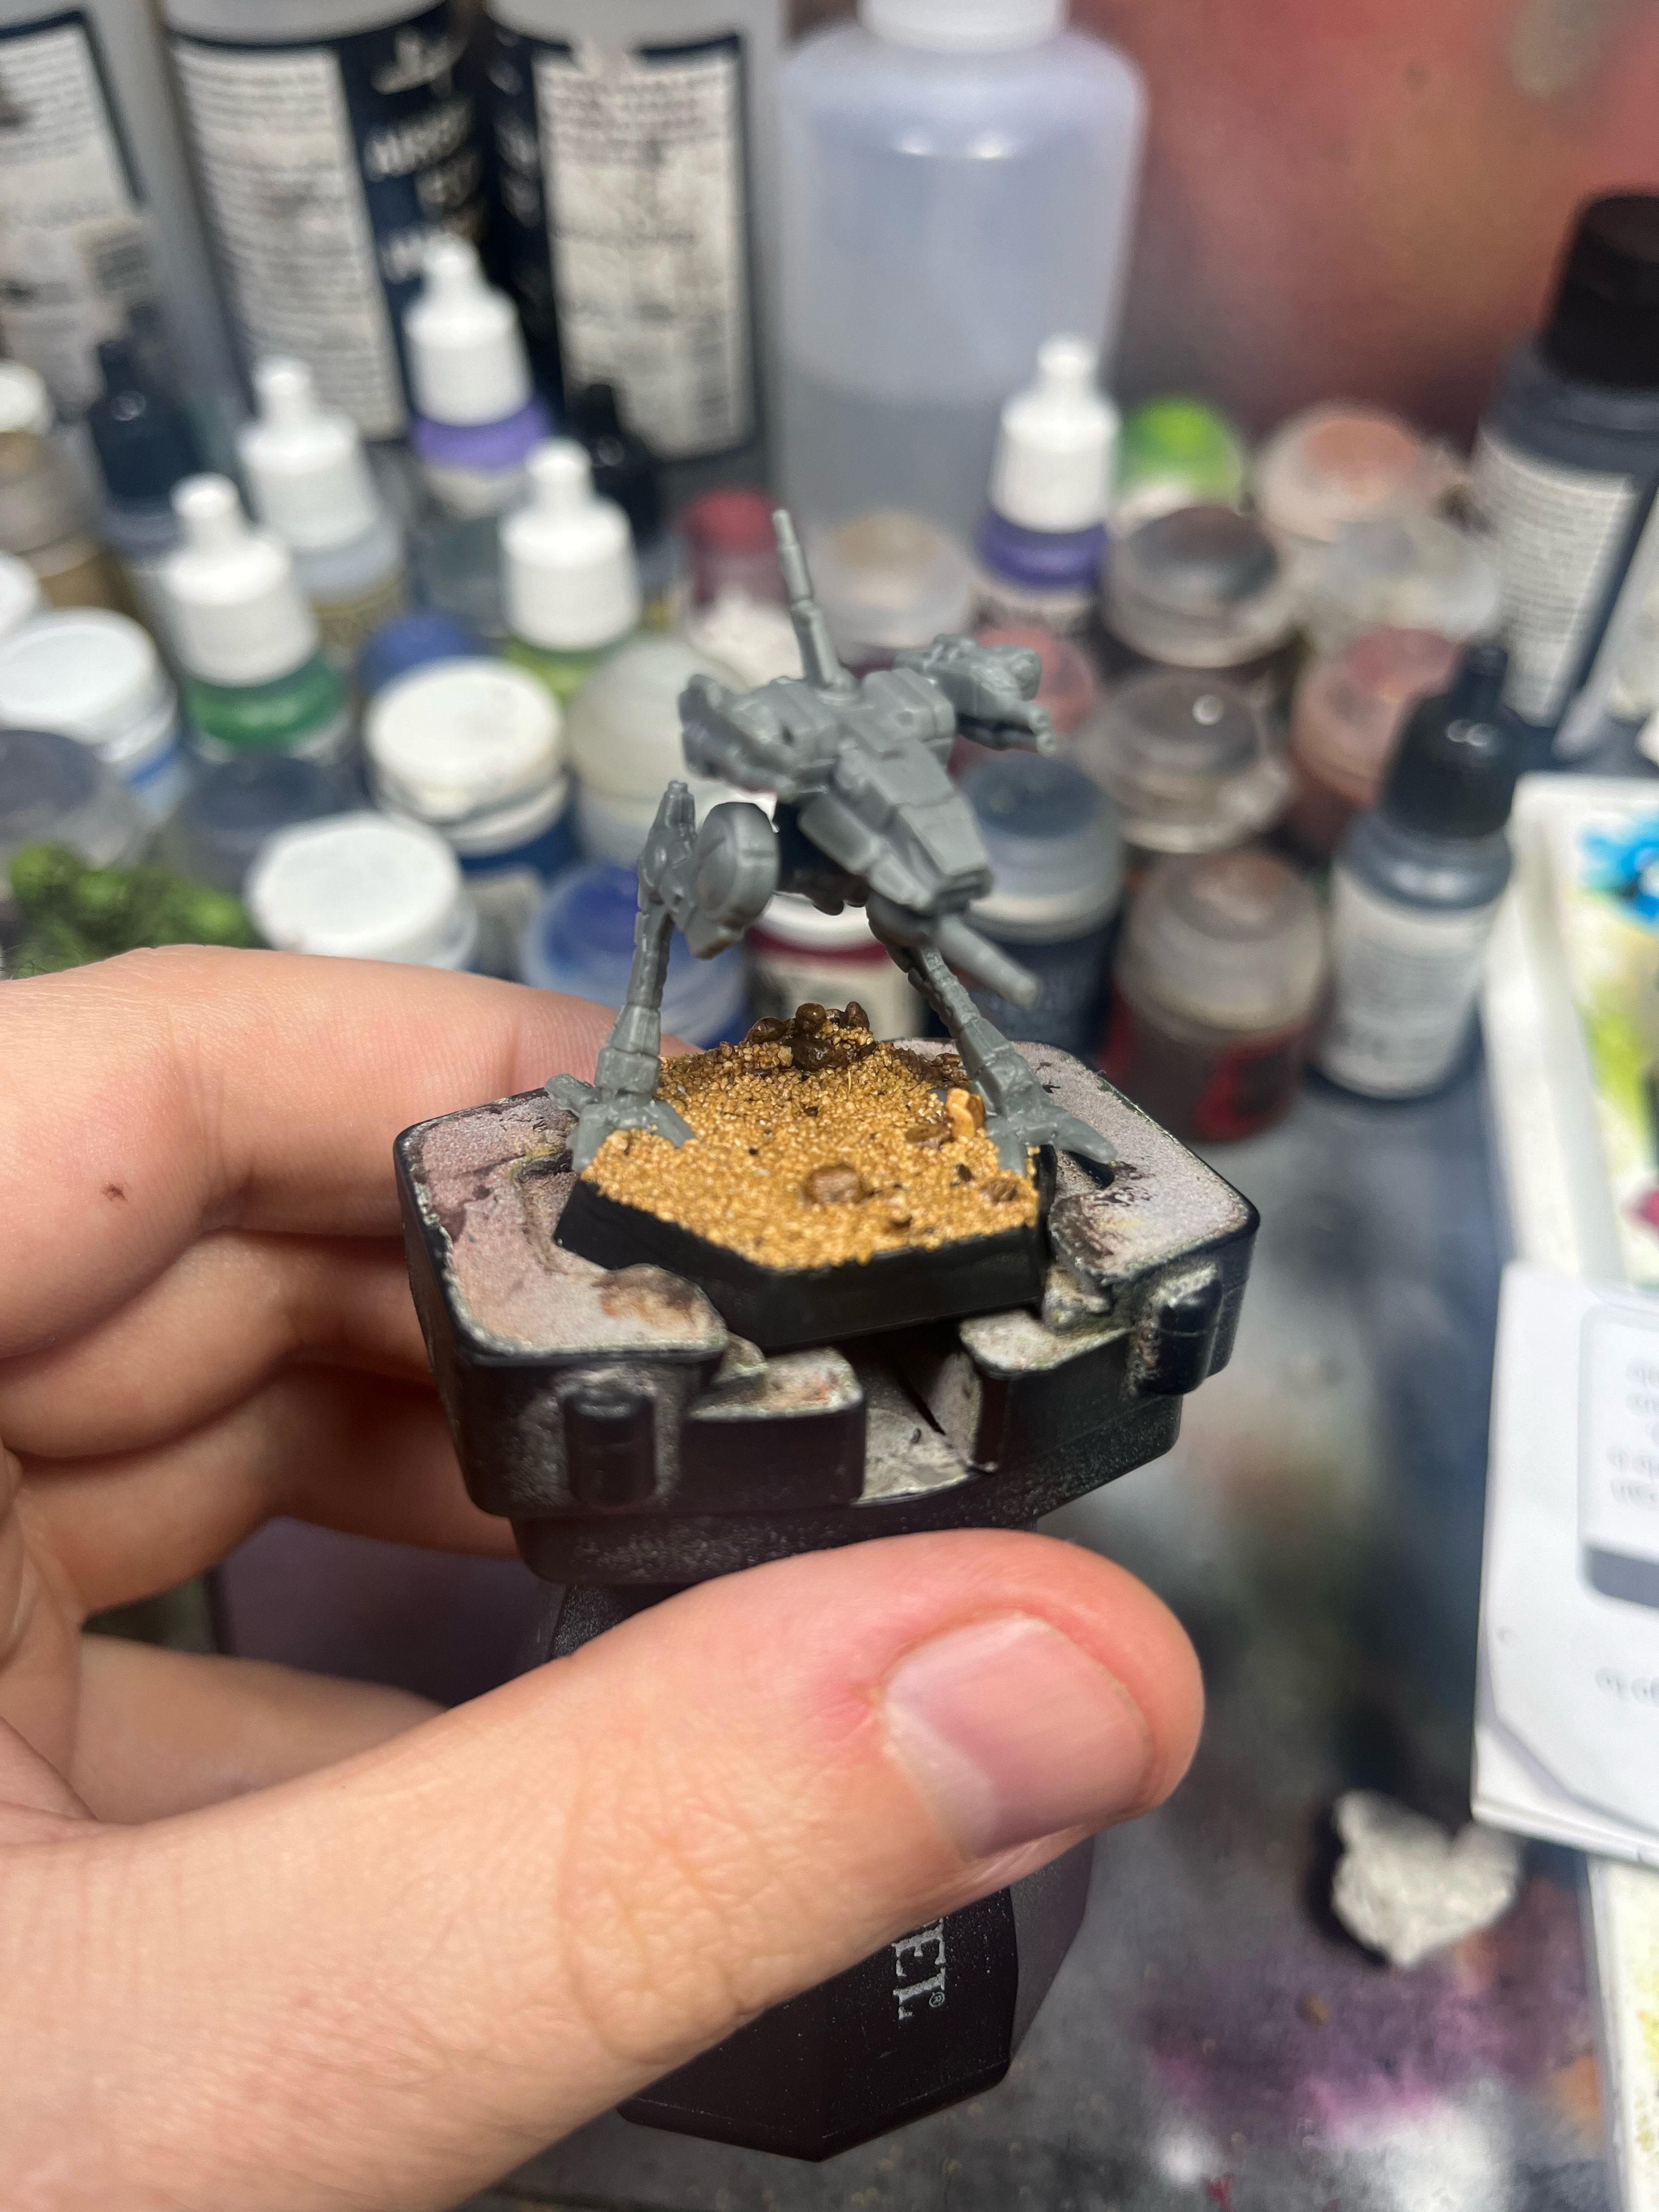
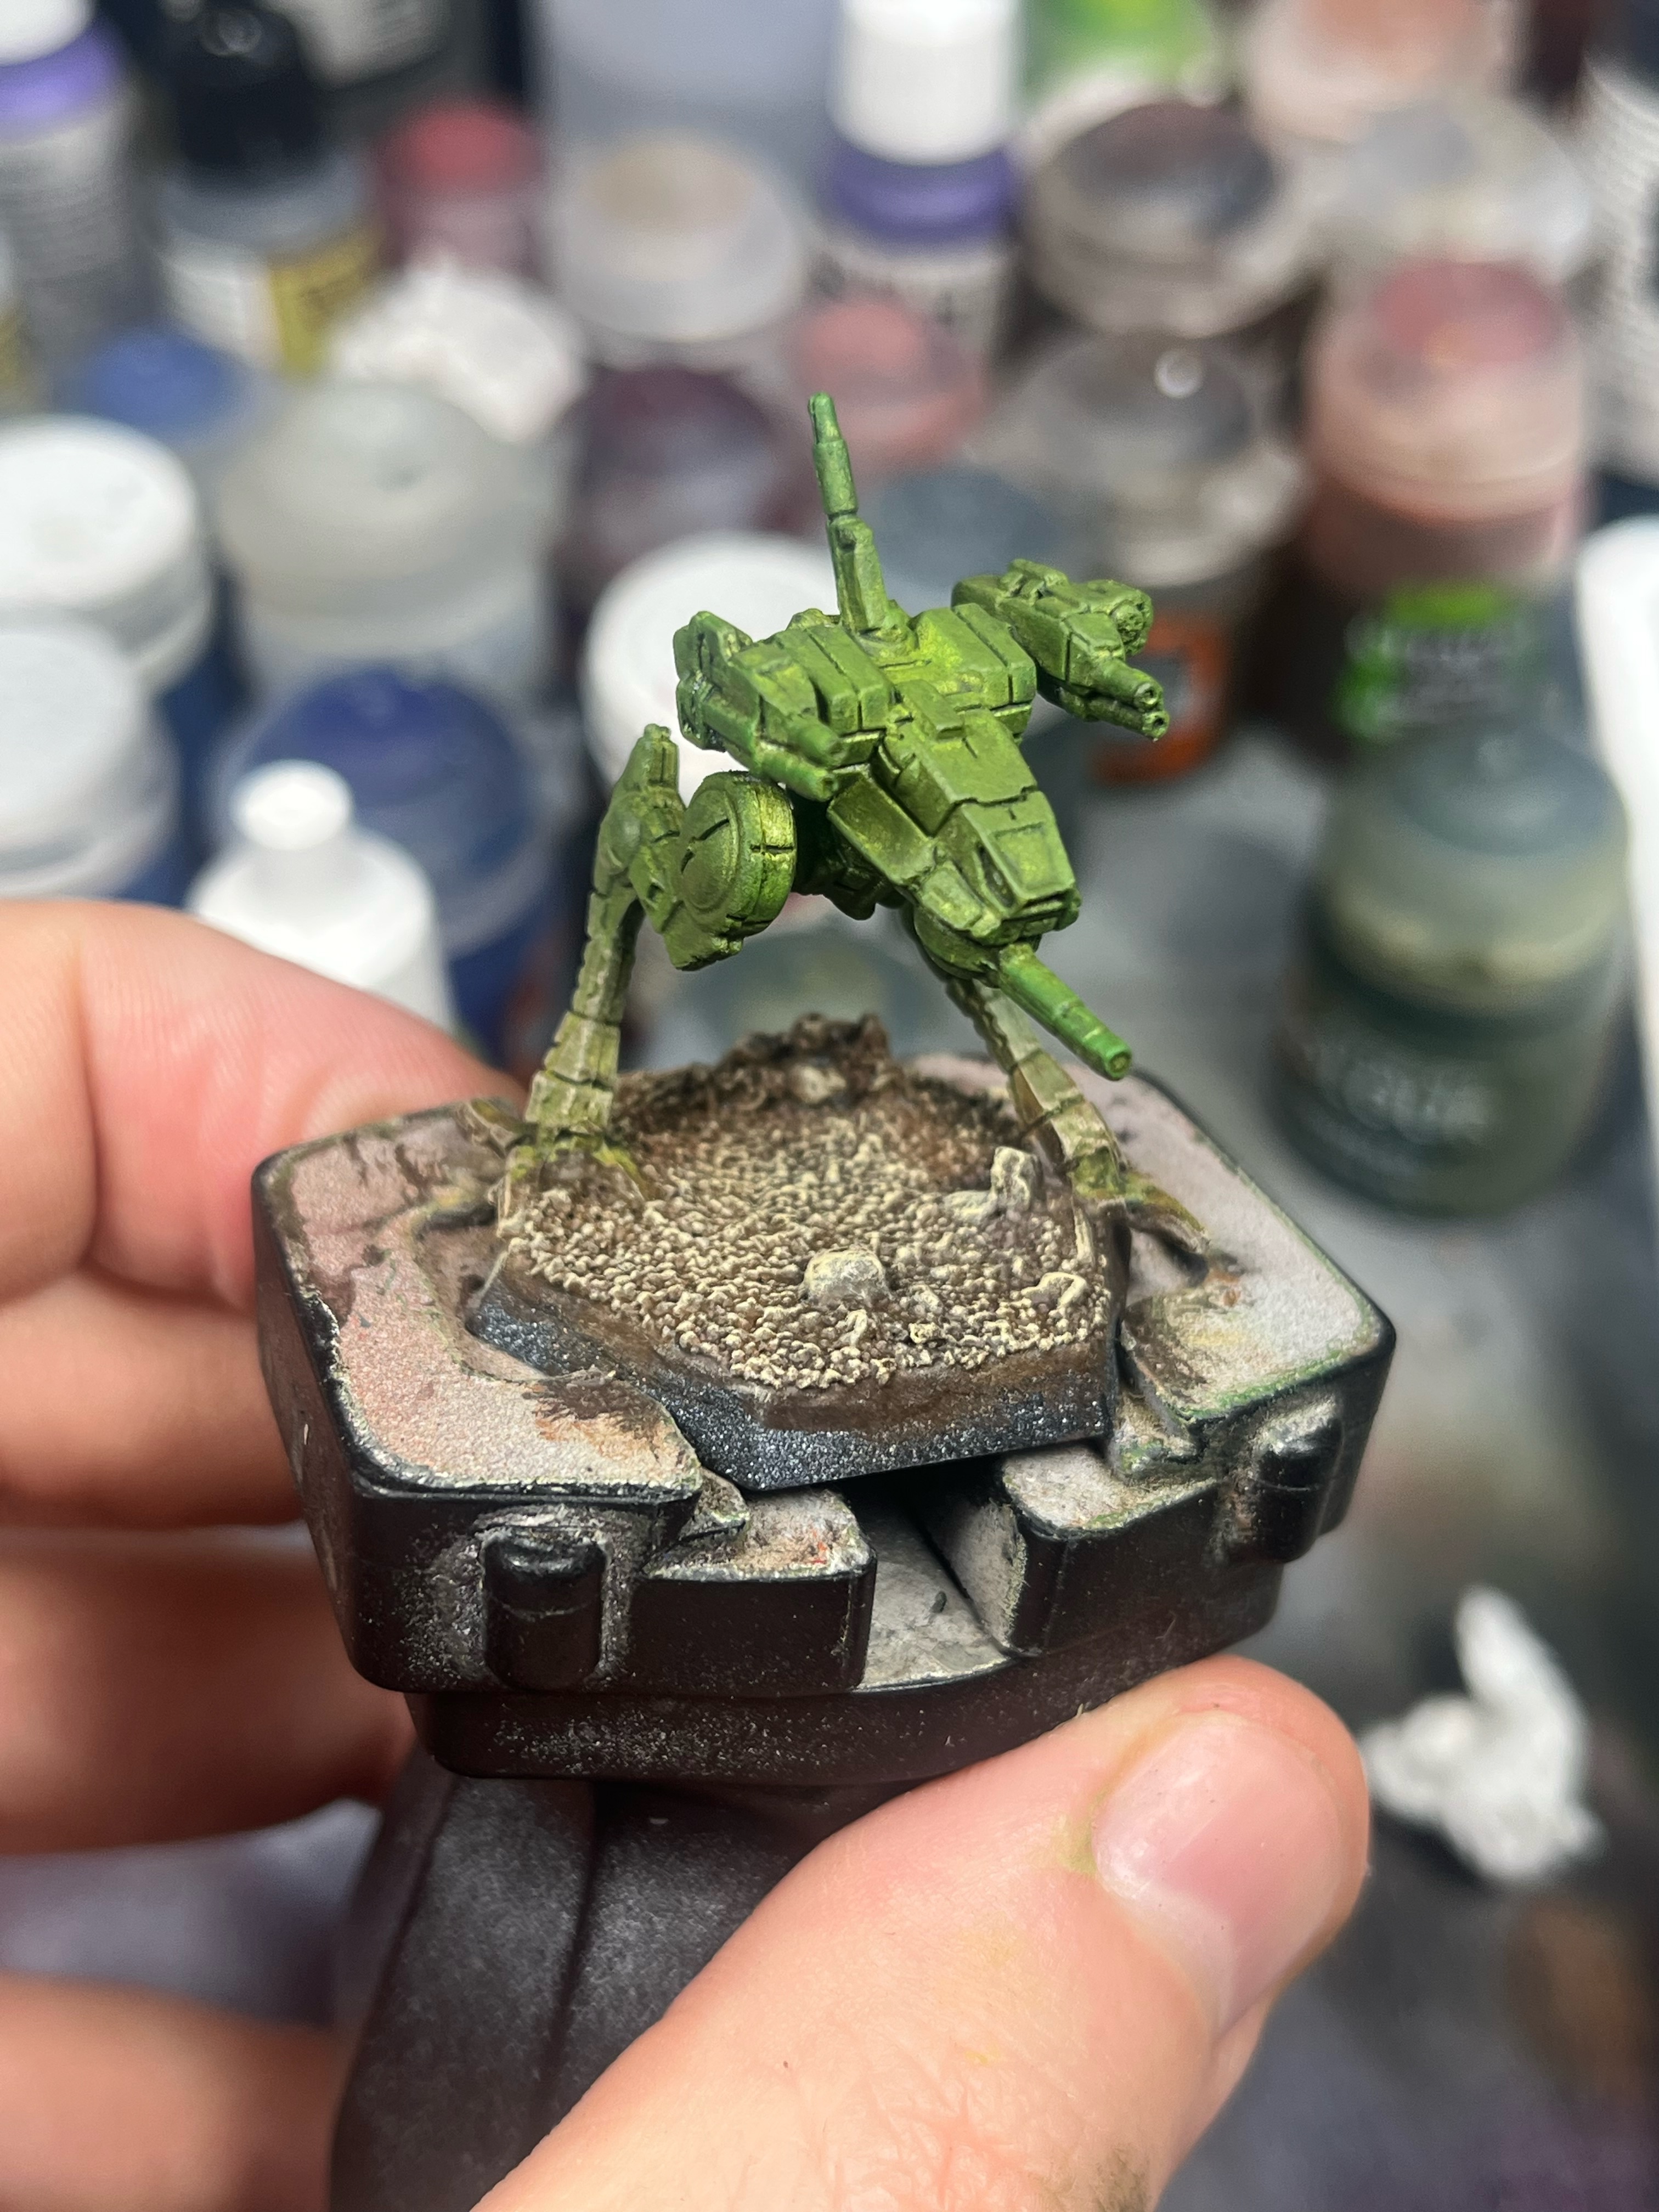
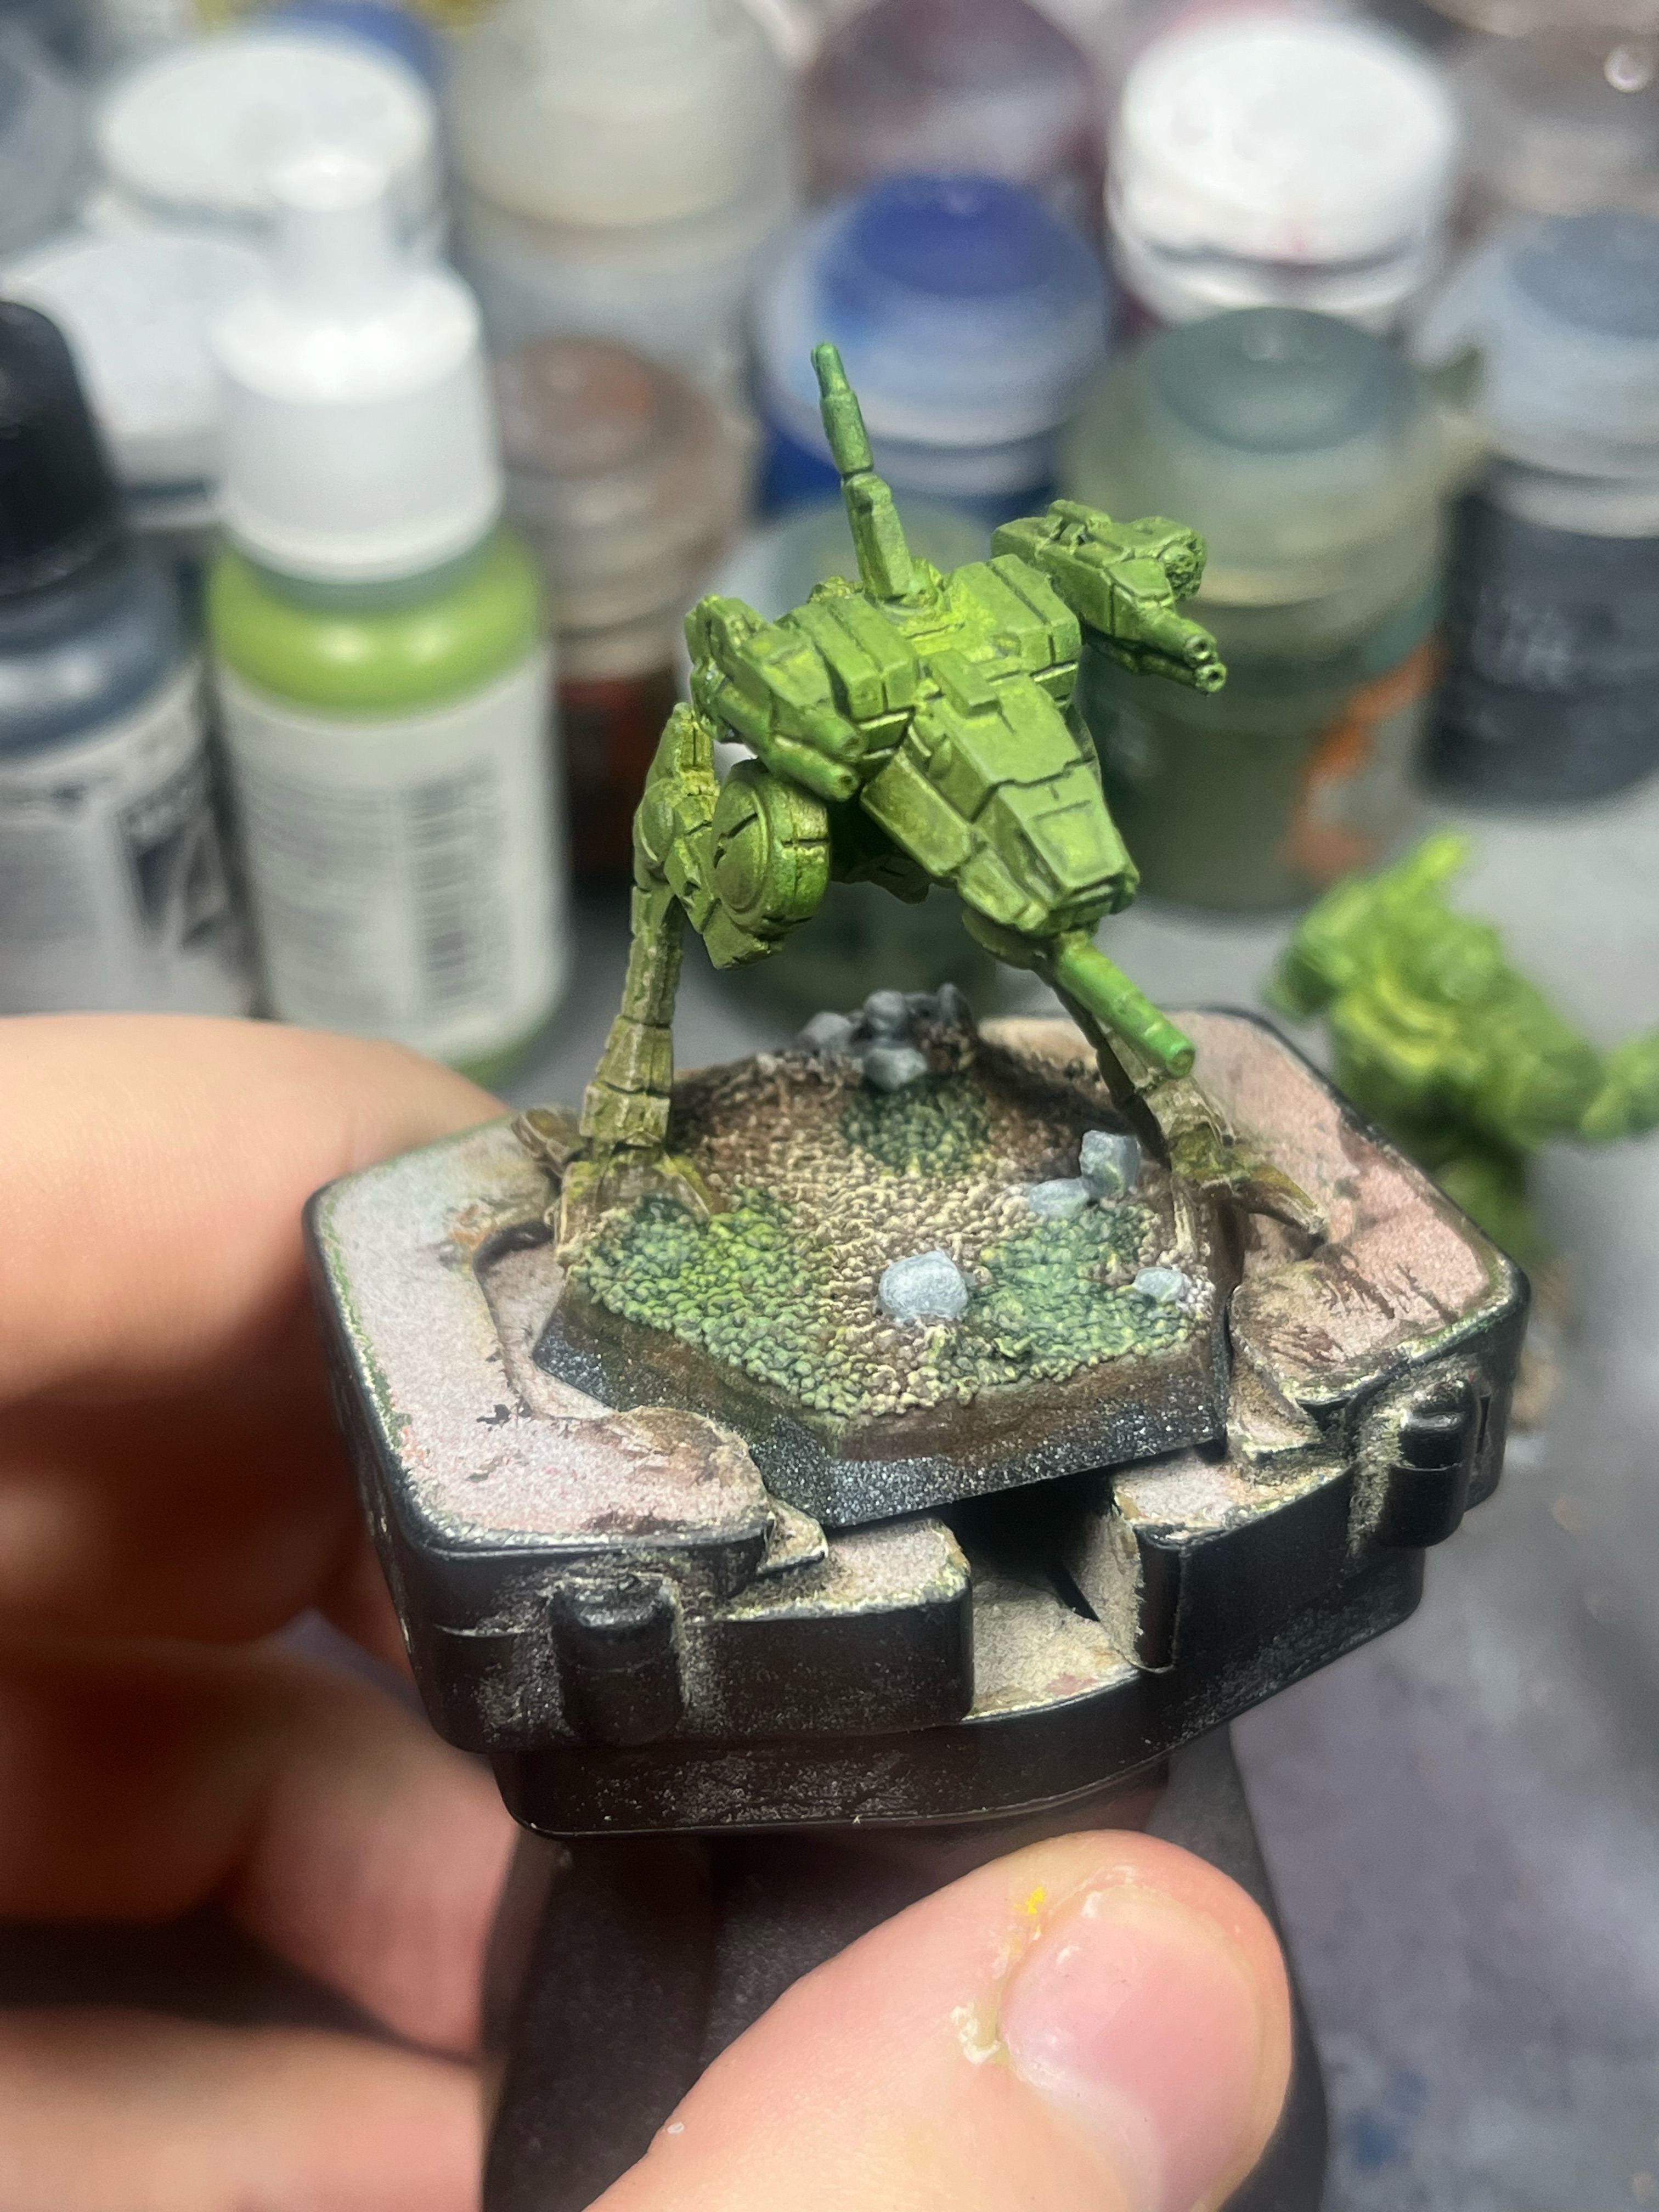
Straight to the point: this is a guide for how I base my Battletech miniatures. I’ll get all mushy about that later, but I want to make sure that the people who asked for this (hi guys!) get the meat of the post first thing. Here we go! For reference, the models are an Enforcer and a Locust from Catalyst games miniatures.
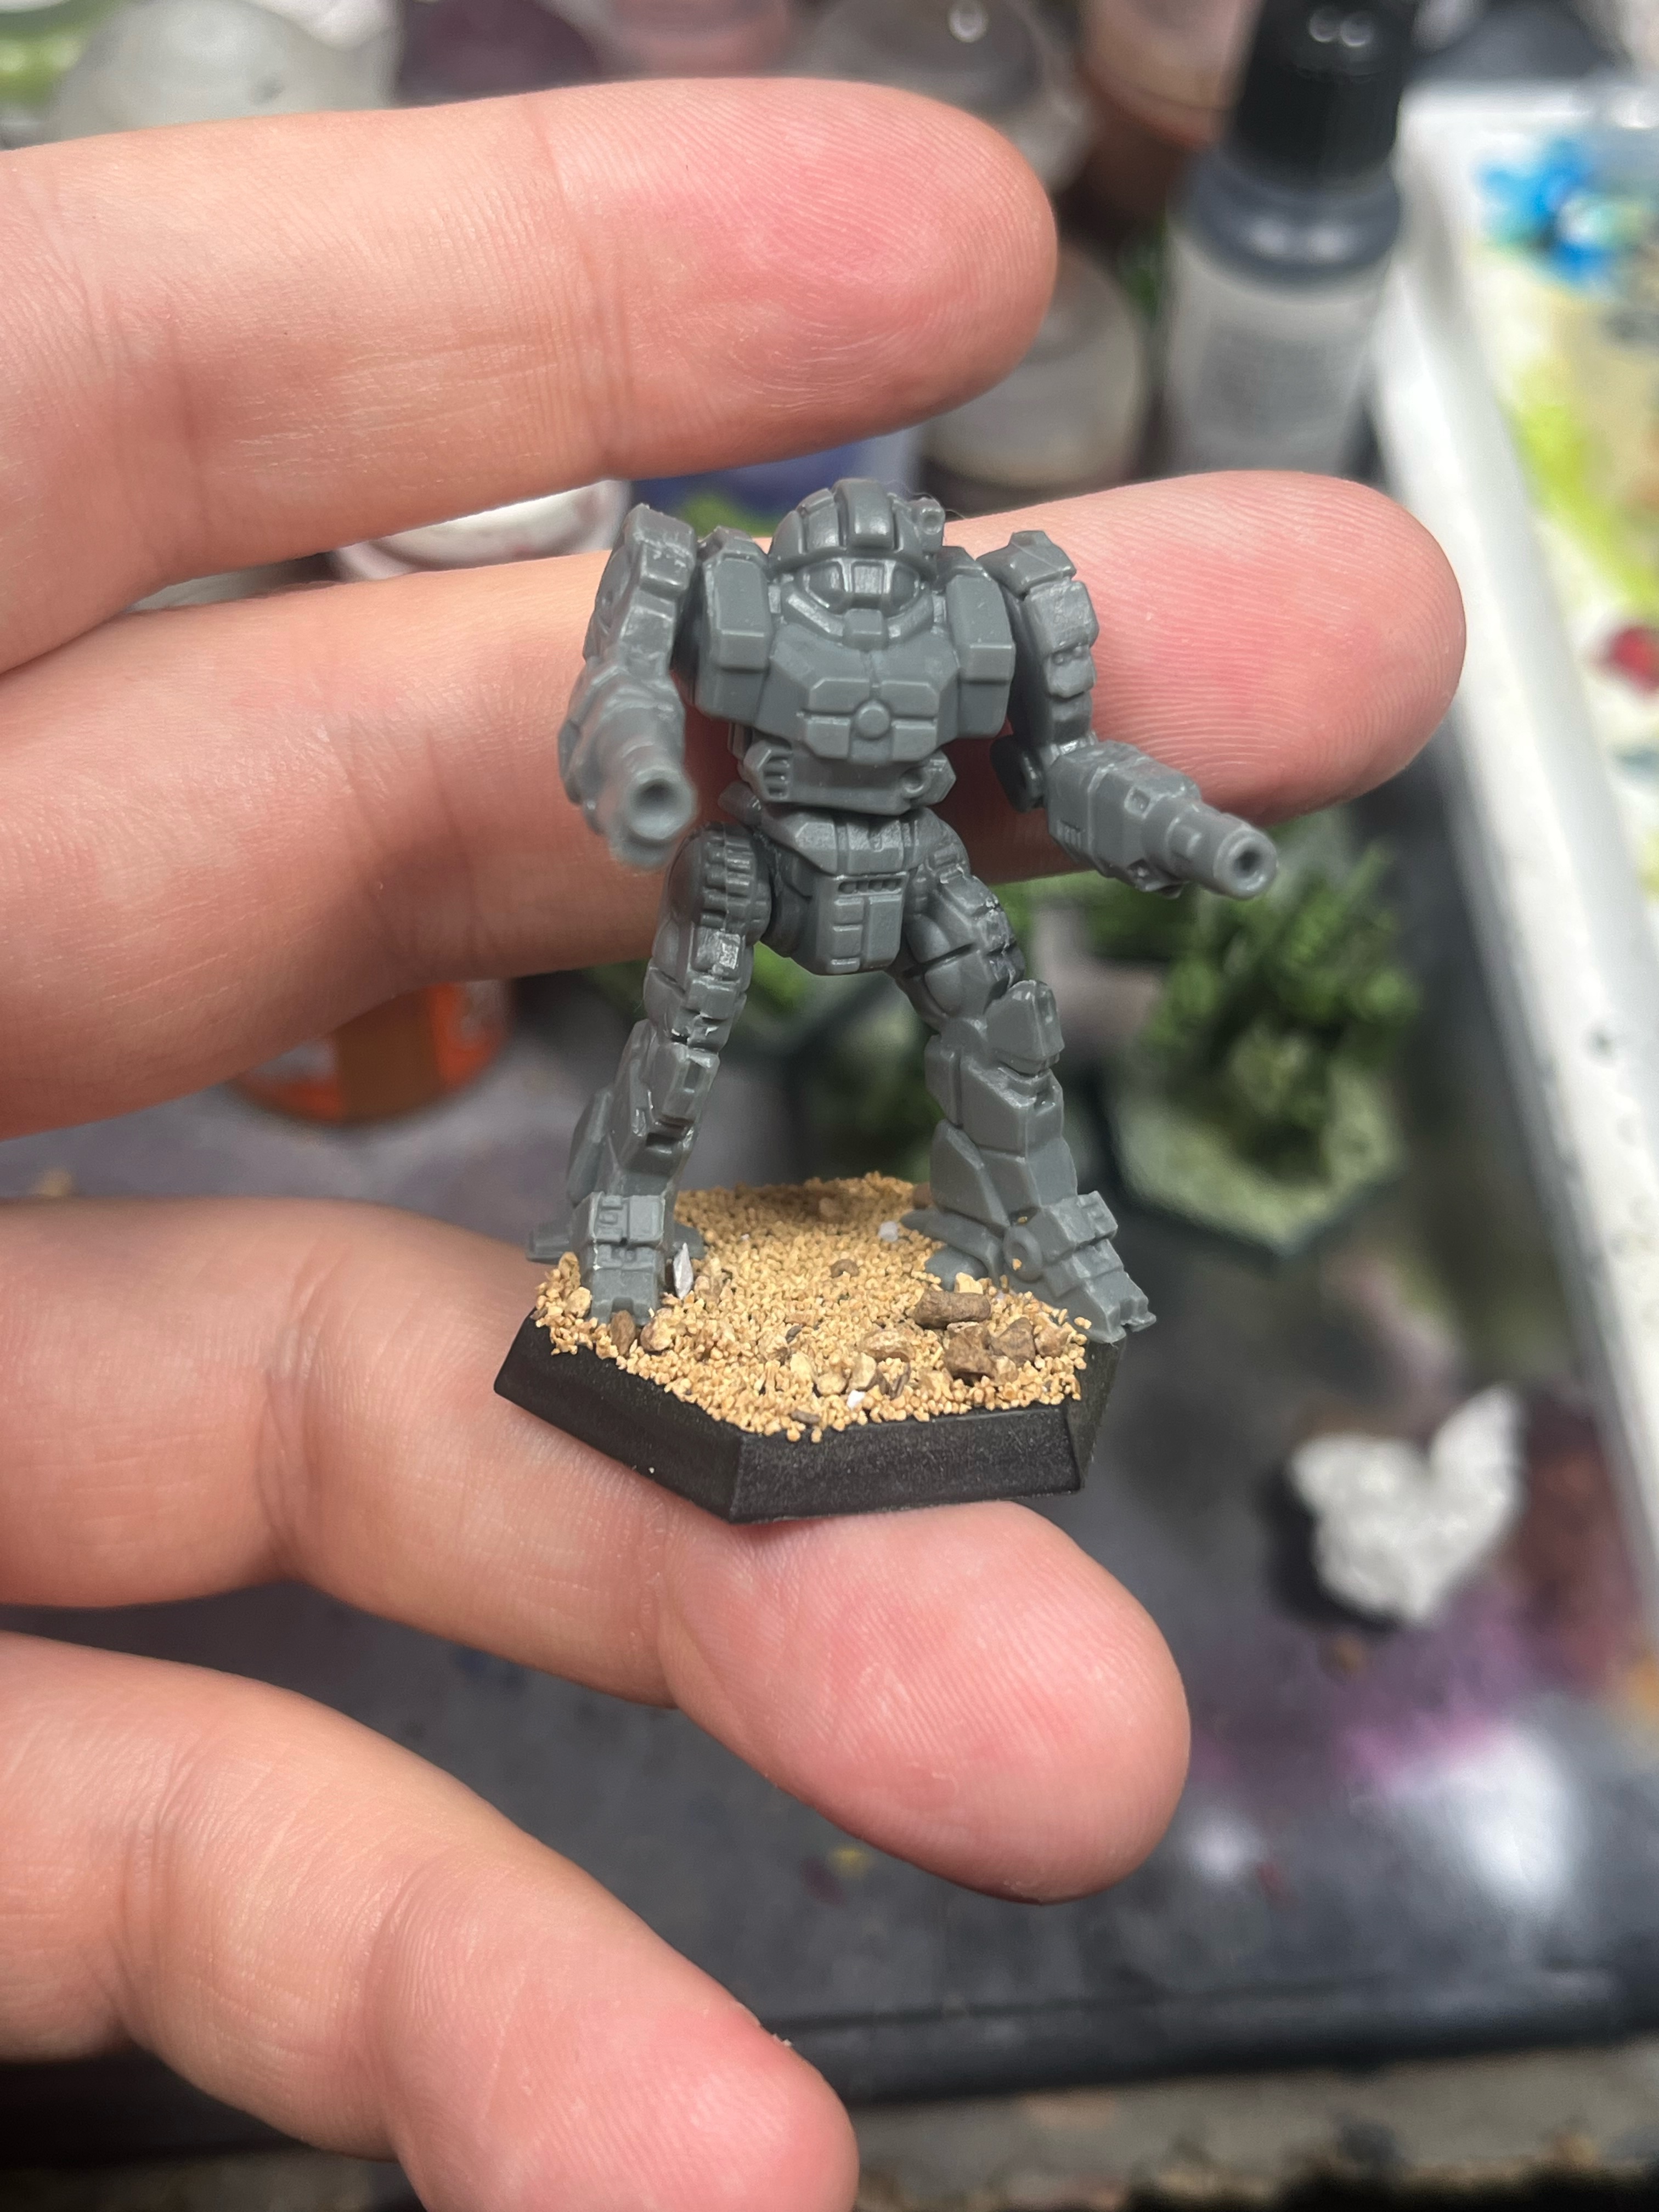
Step 1: Get those minis based! I used a fairly consistent small grain from a hobby sand kit, but if the playground nearby has something that works, use that. Try to have a few bigger pebbles in there as well.
.

Step 2: Seal the base in. After gluing the sand to the base, I sealed it in with ModPodge thinned with some water to get in those cracks. PVA glue should work here as well. Use a brush you don’t care much about that’s kinda old, if you can.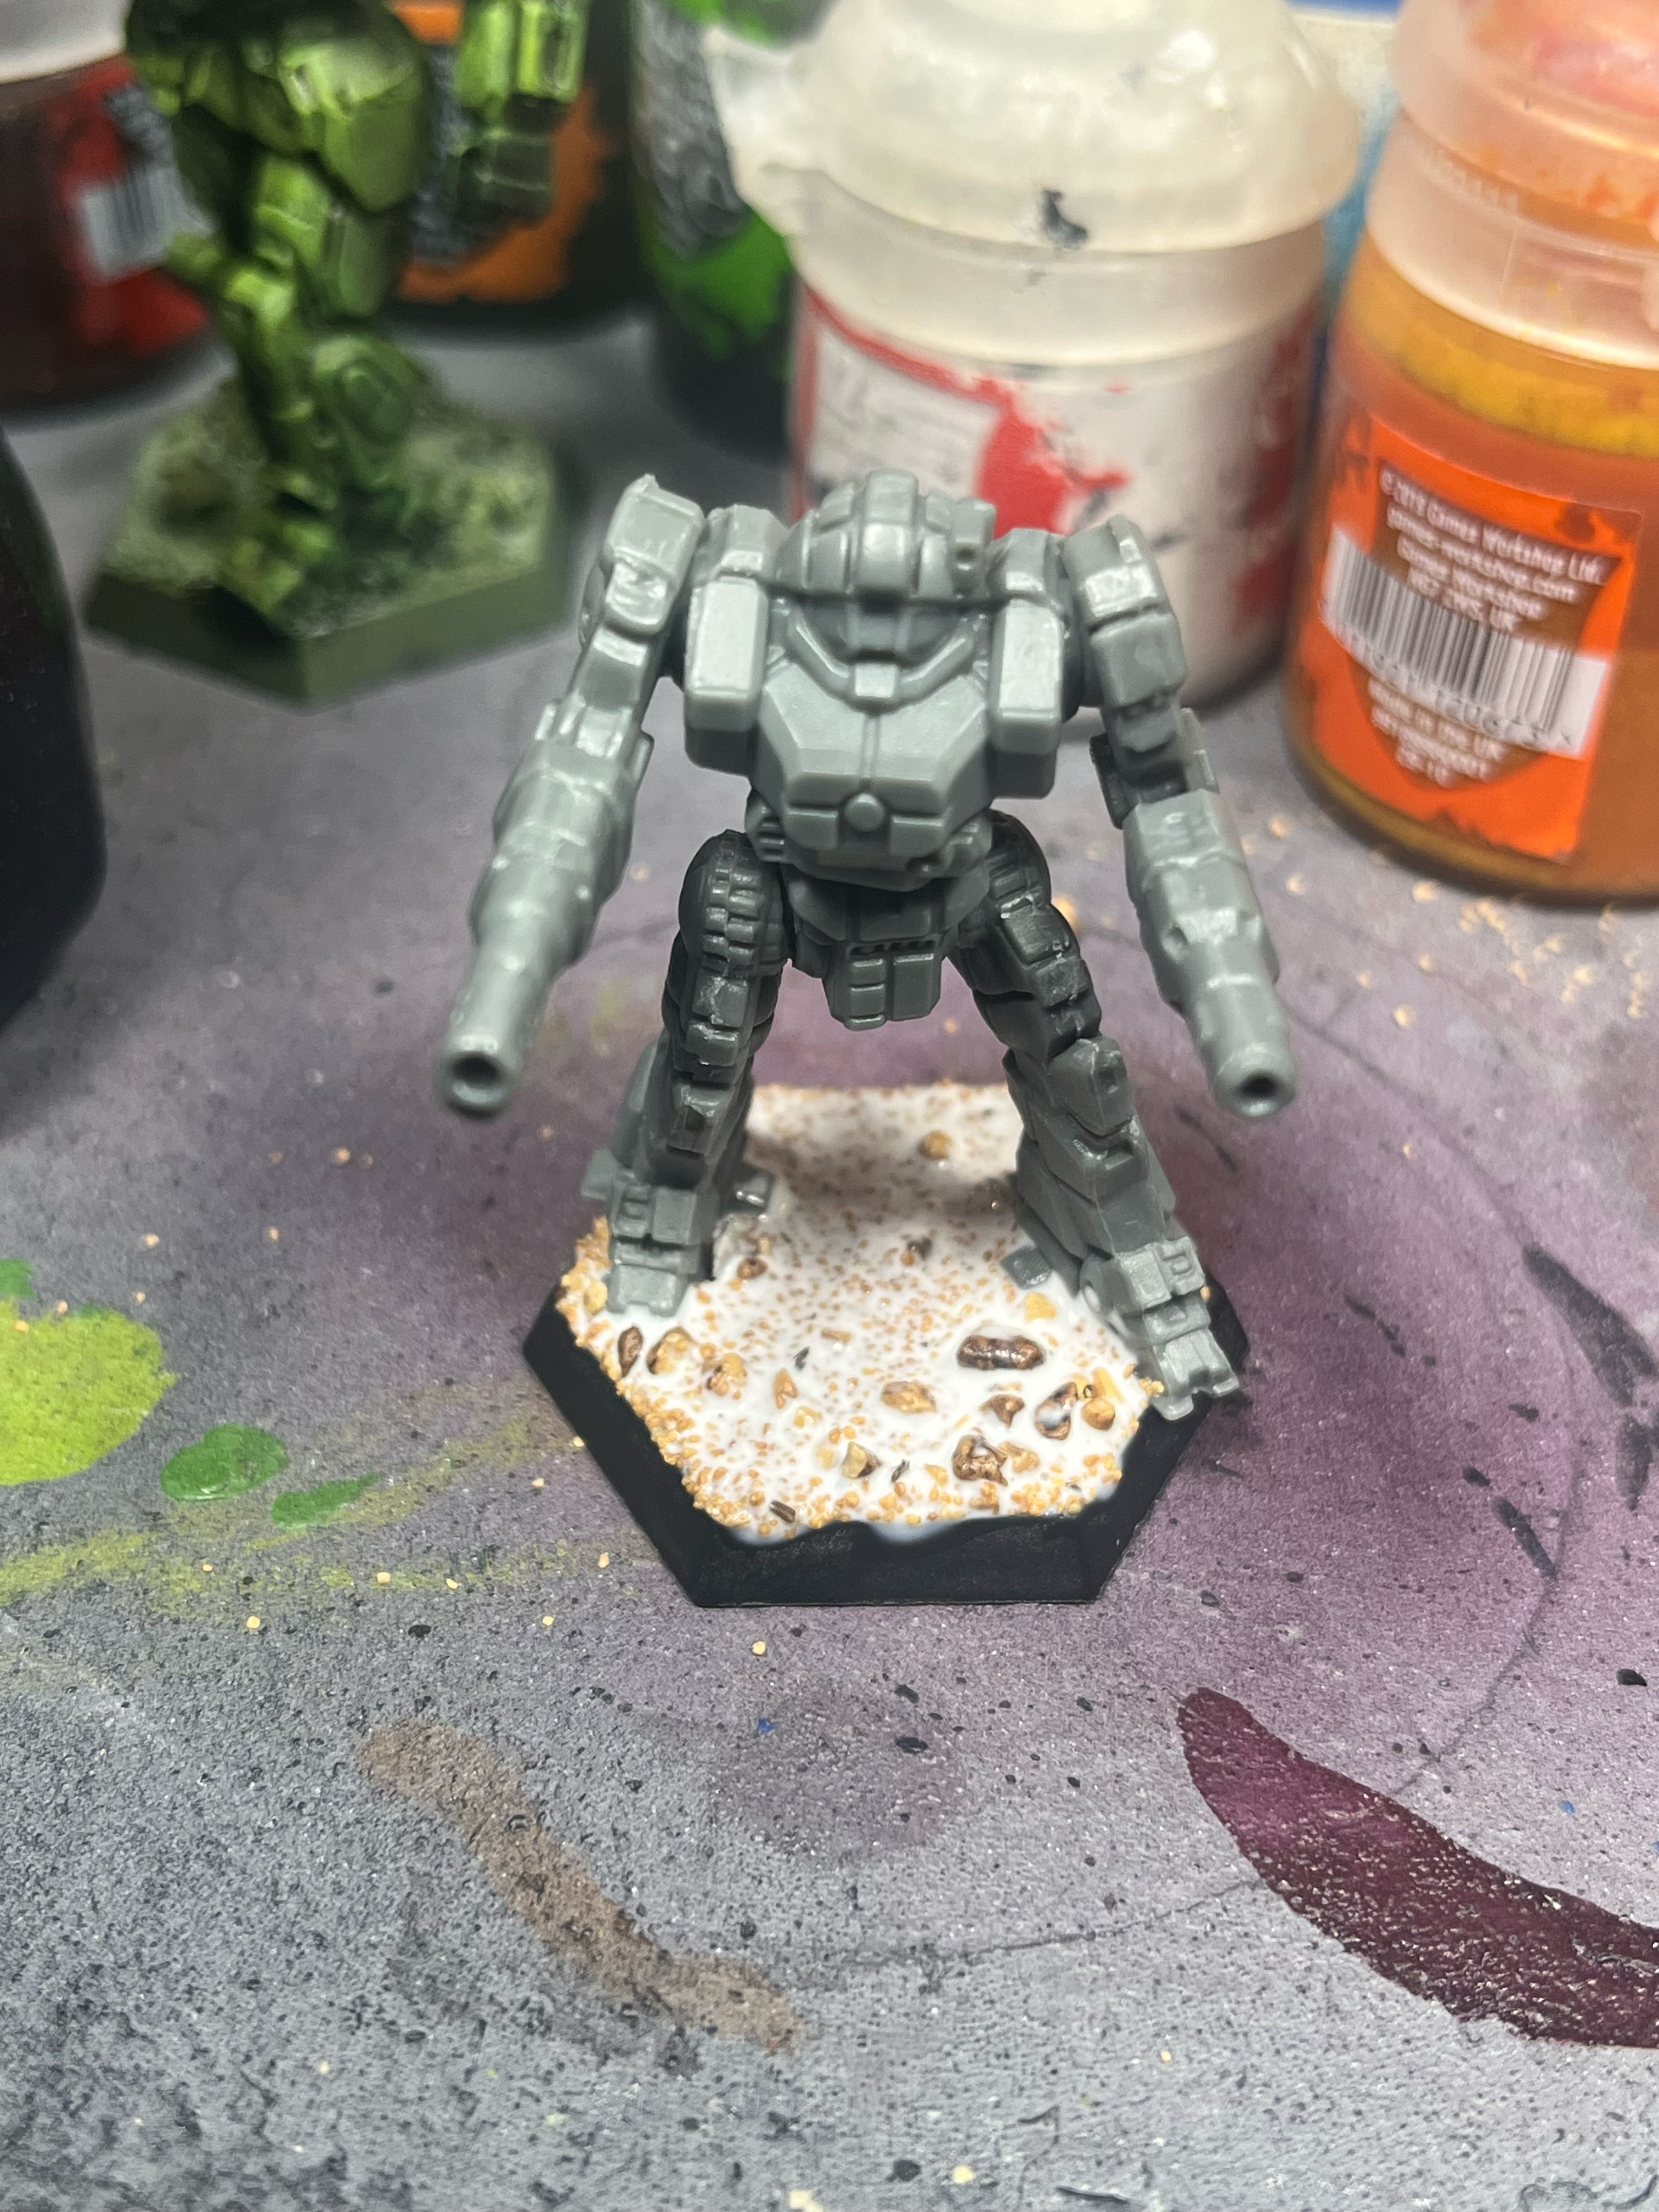

Edit: a friend (Hi MindSnap!) mentioned that it would be a good idea to wipe excess glue/’podge from the edge of the base. They’re right! Do what you can with a finger, anything left after that will dry so thinly that the primer you apply in the next step will cover it perfectly.
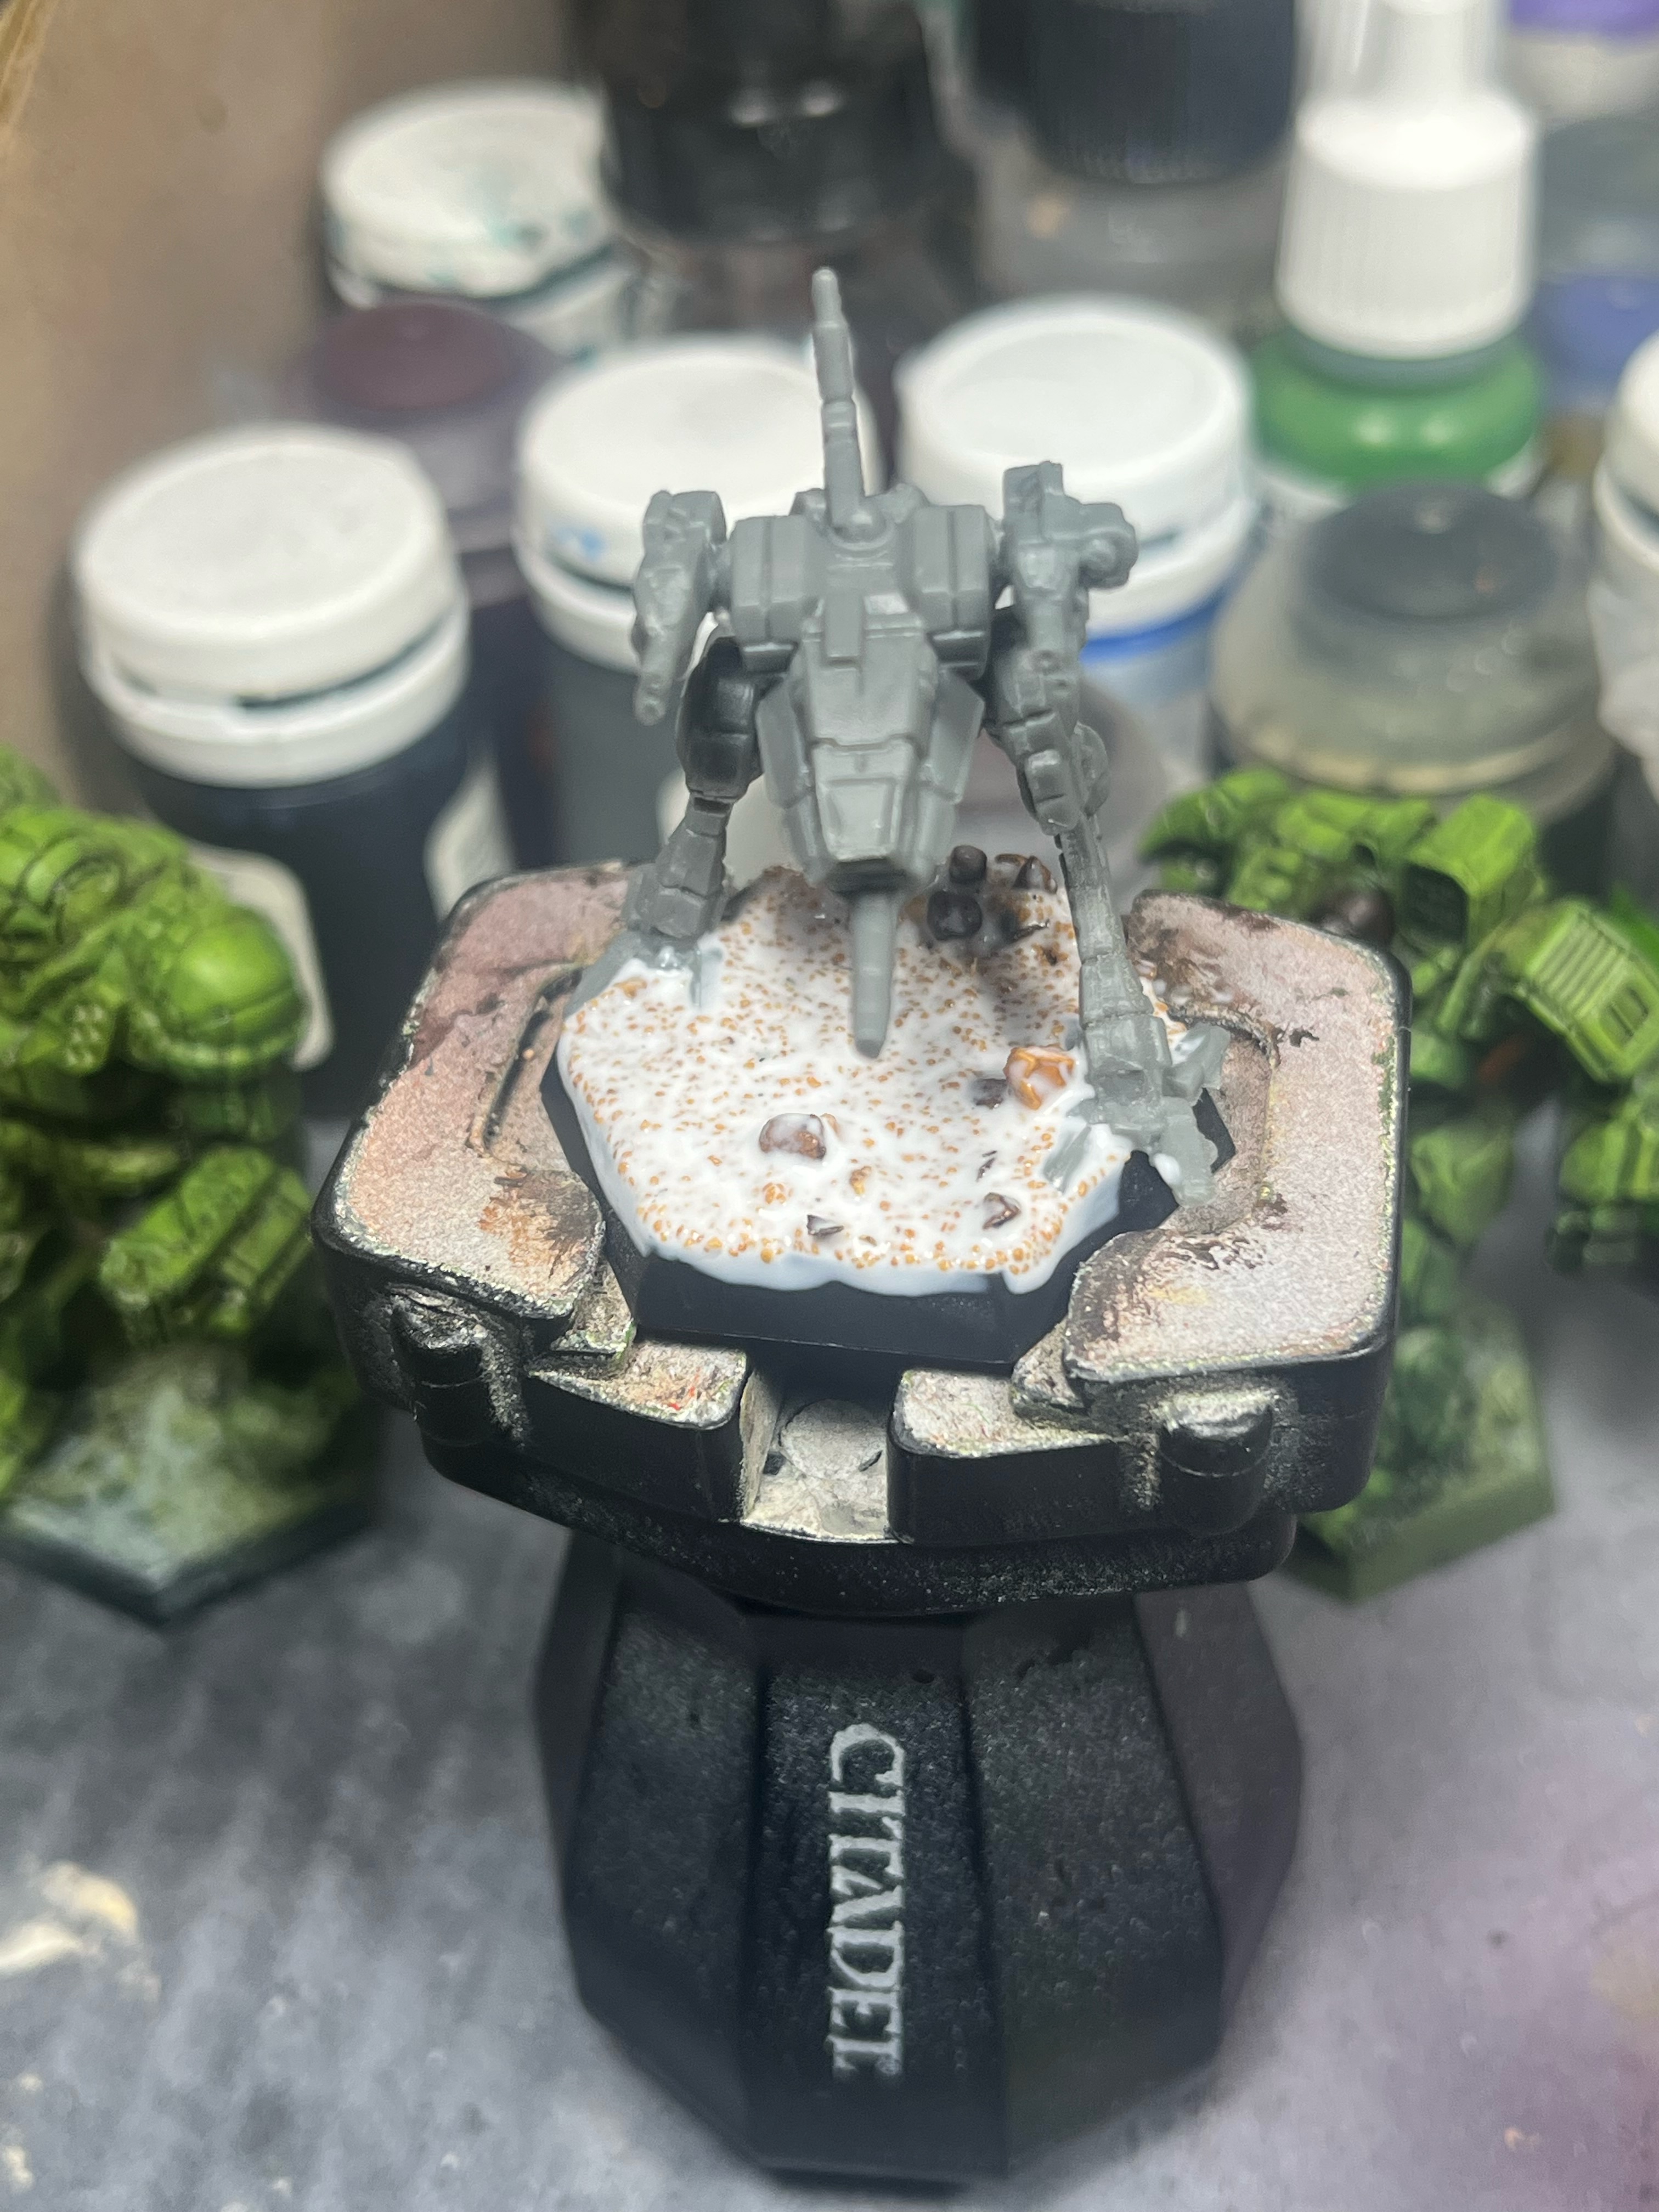
Step 3: Prime the miniature. I don’t care if it’s by brush, spray can or airbrush. It doesn’t matter for the base: just get the sucker primed. My base is primed white at the moment, but it won’t matter much.

From here on out, I’m going to be showing the colours I used on my mechs. If you’ve got a desolate crystal world, a tundra, or some other crazy corner of clan space all figured out, just substitute colours wherever you’d like.
Paints used in the next 3 steps: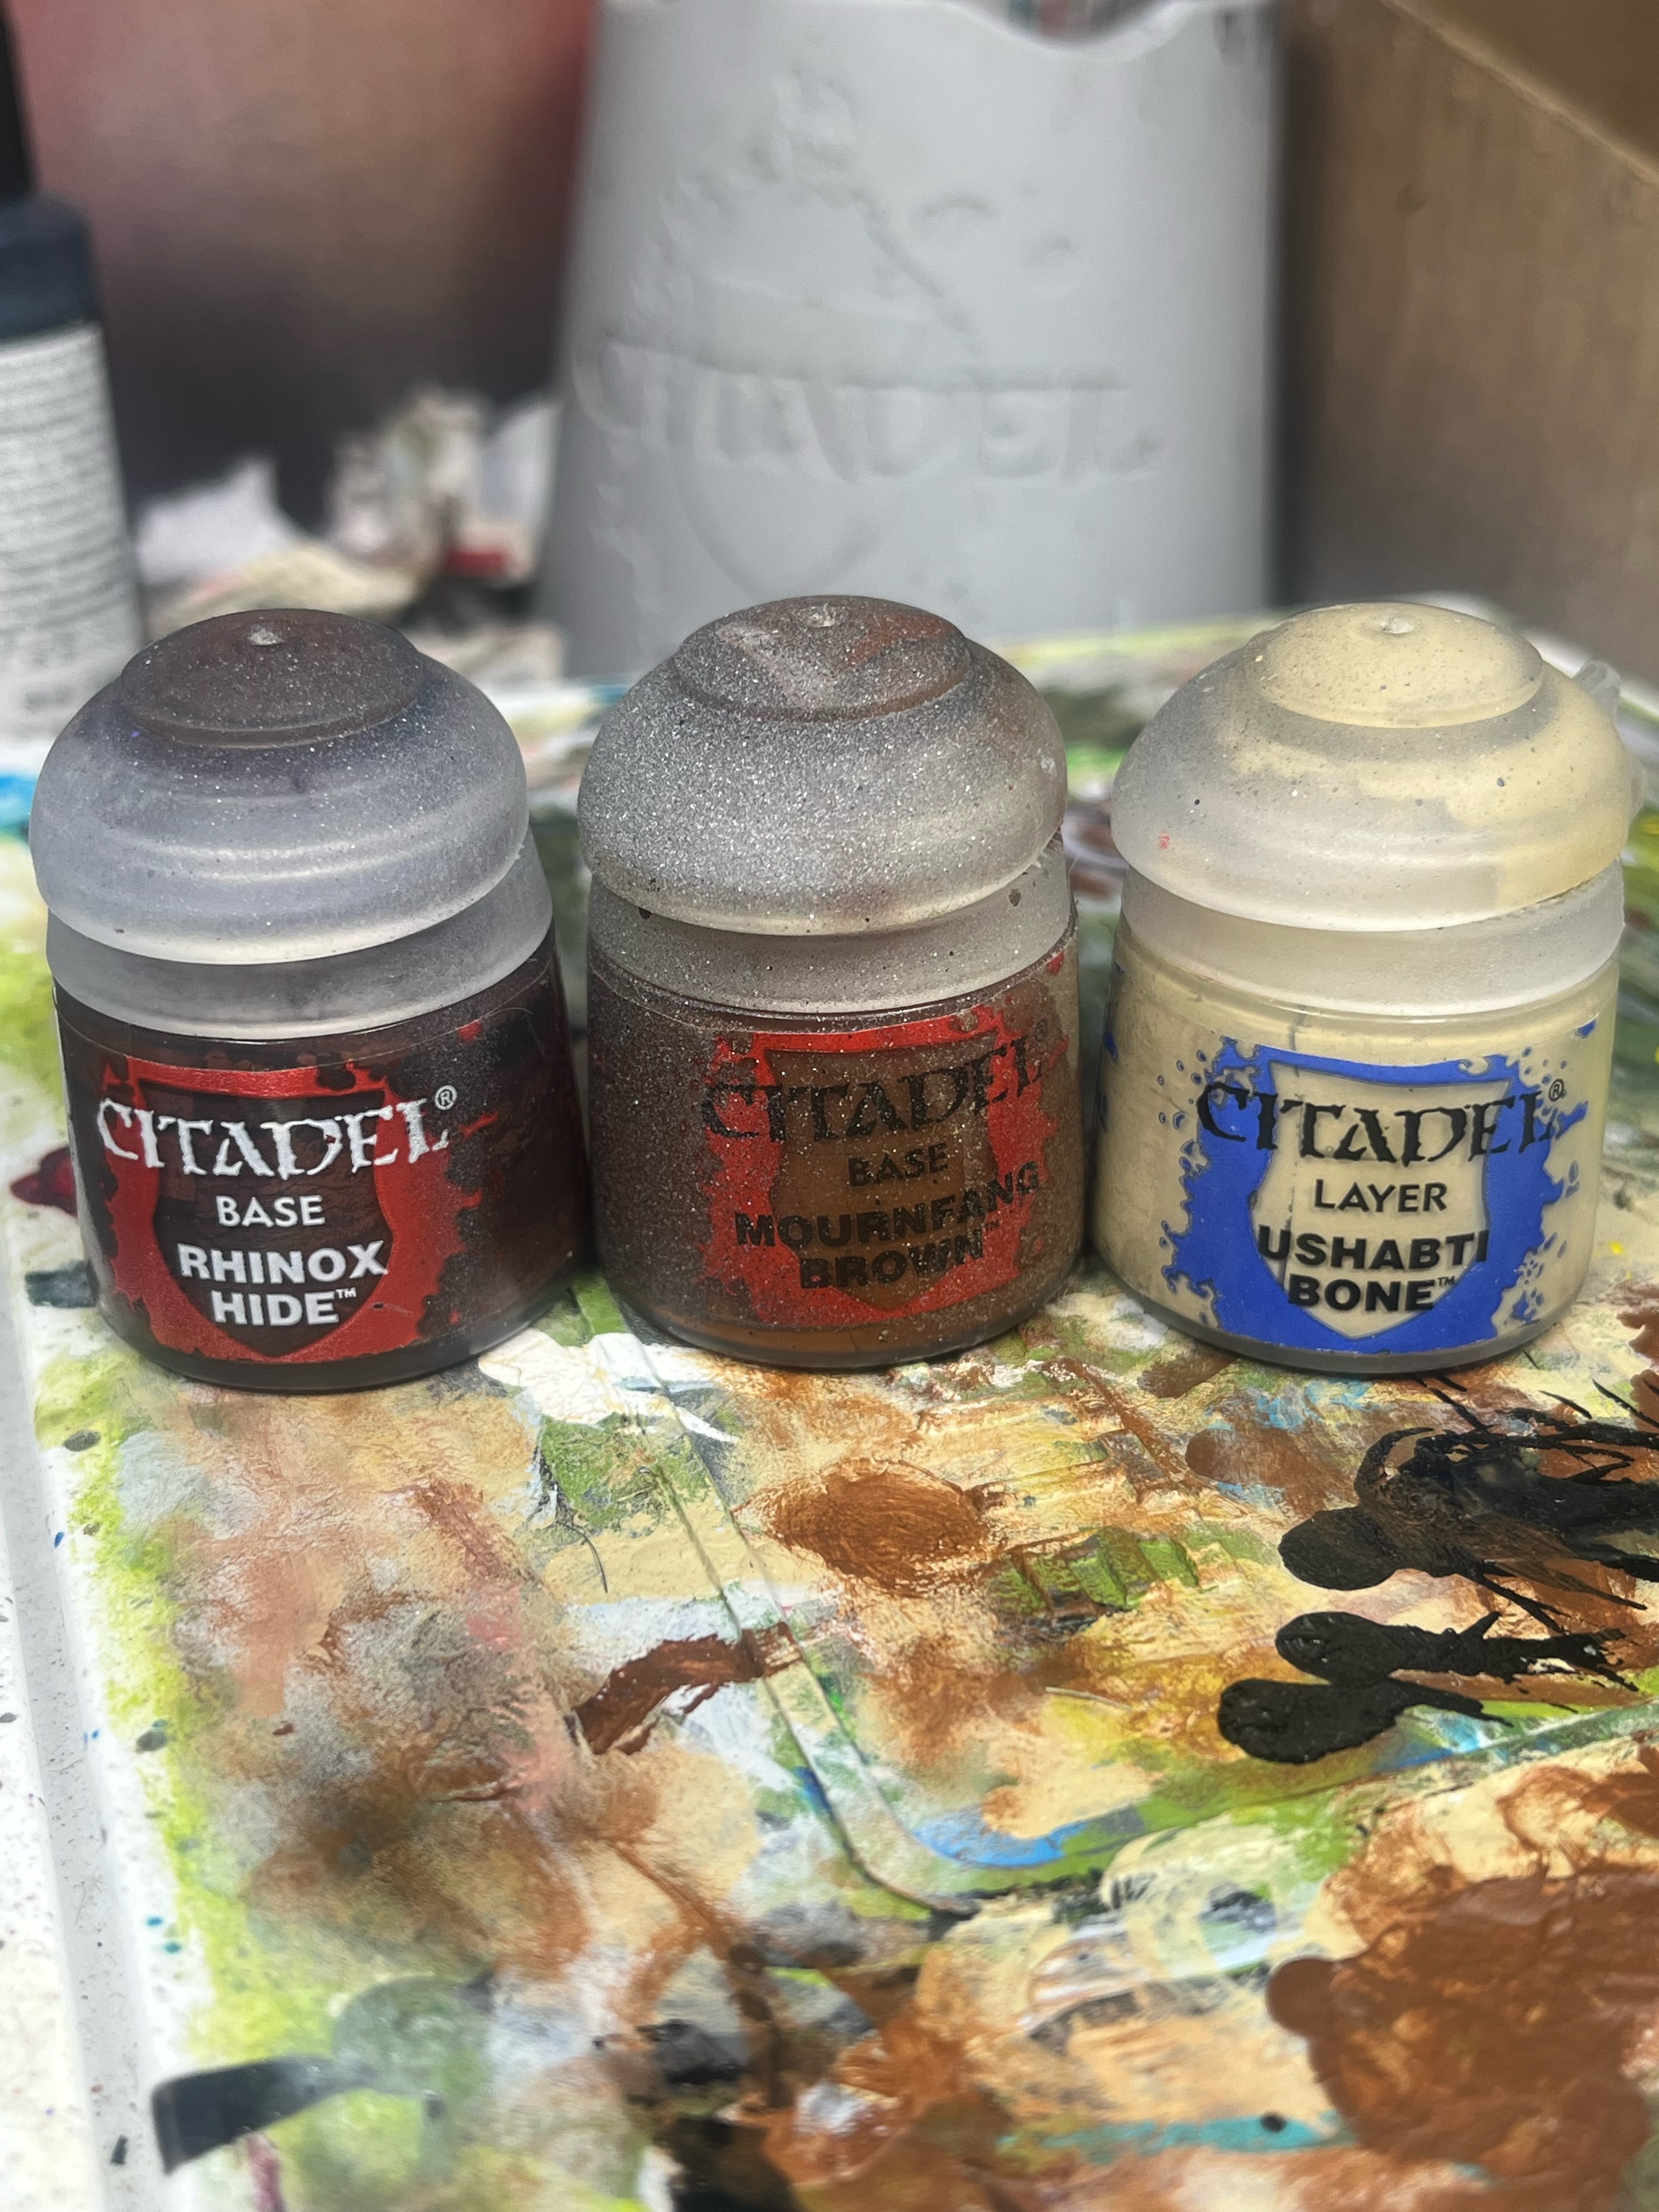
Rhinox Hide (Citadel), Mournfang Brown (Citadel), Ushabti Bone (Citadel)
Step 4: Brown, all the way down. Thinning down the paint enough to make sure it gets into the crevices of the sand is pretty important. Also paint some of the brown on the bottom parts and sides of the mech feet. It’ll help tie everything up nicely. 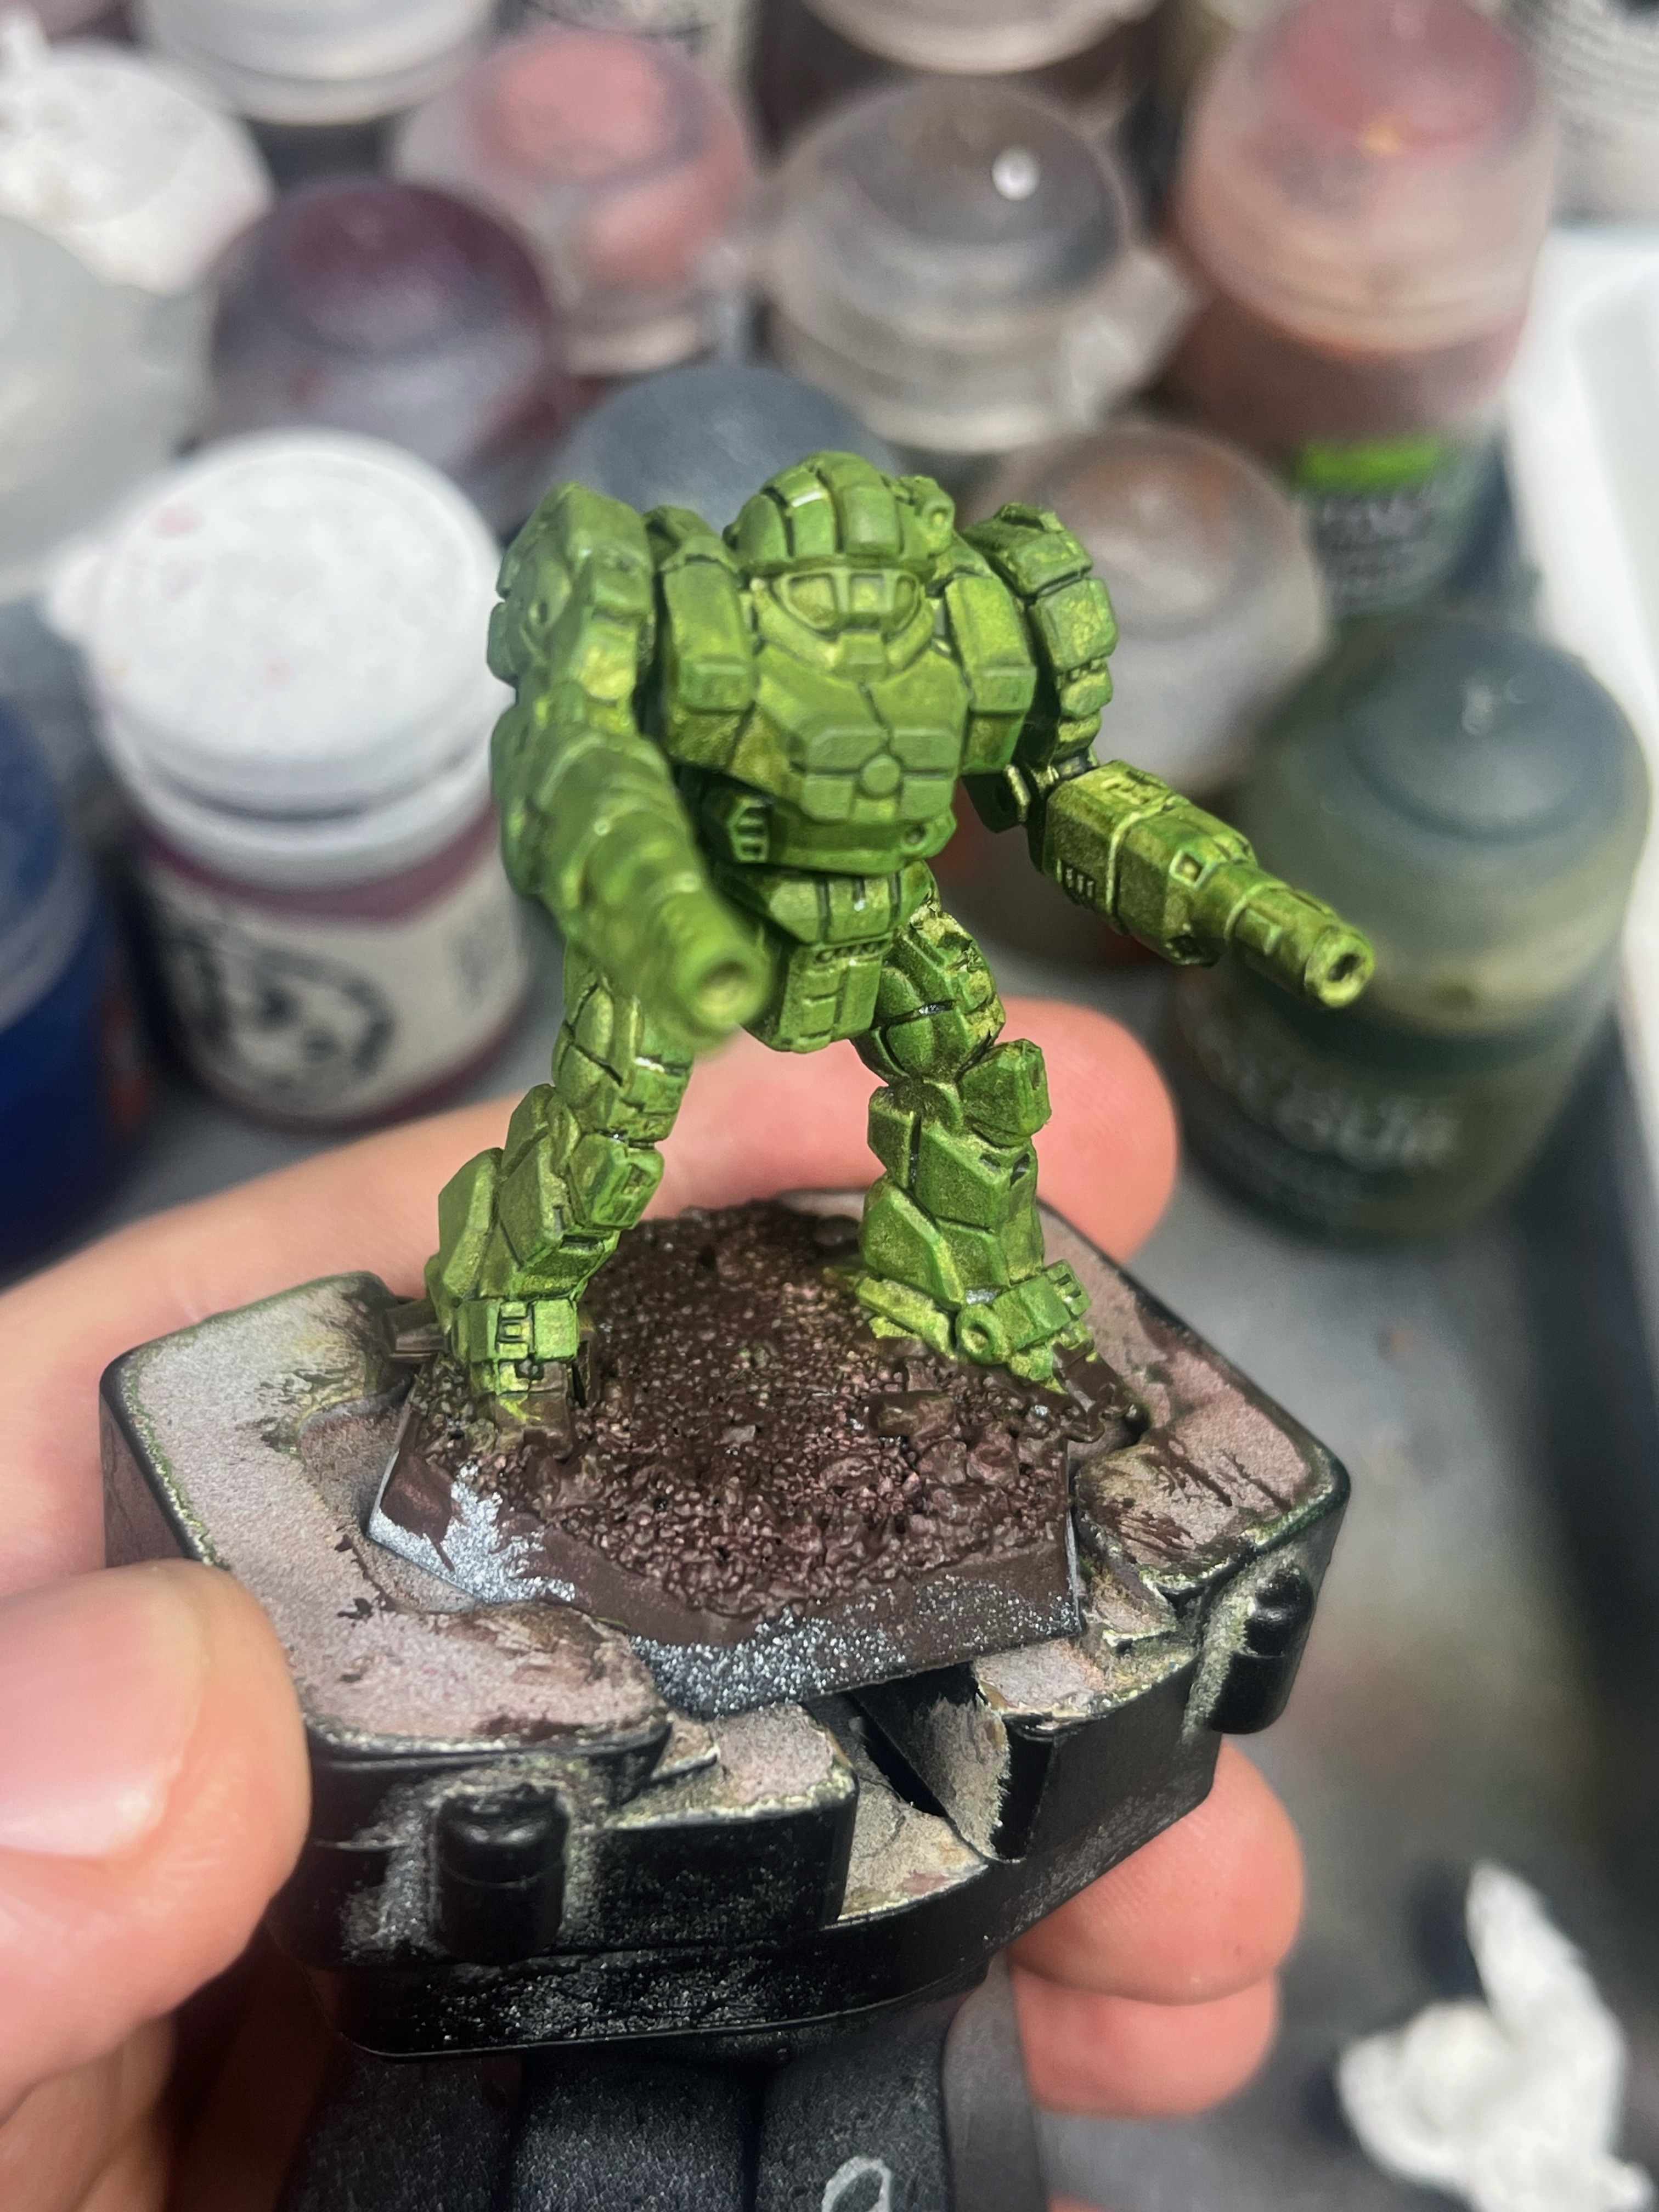
Step 5: Drybrush Mournfang brown heavily. It should still show some dark brown, for sure, but make sure that the top part is now visibly the lighter brown. Drybrush some up to the ankles of the mechs to help tie the mech to the base.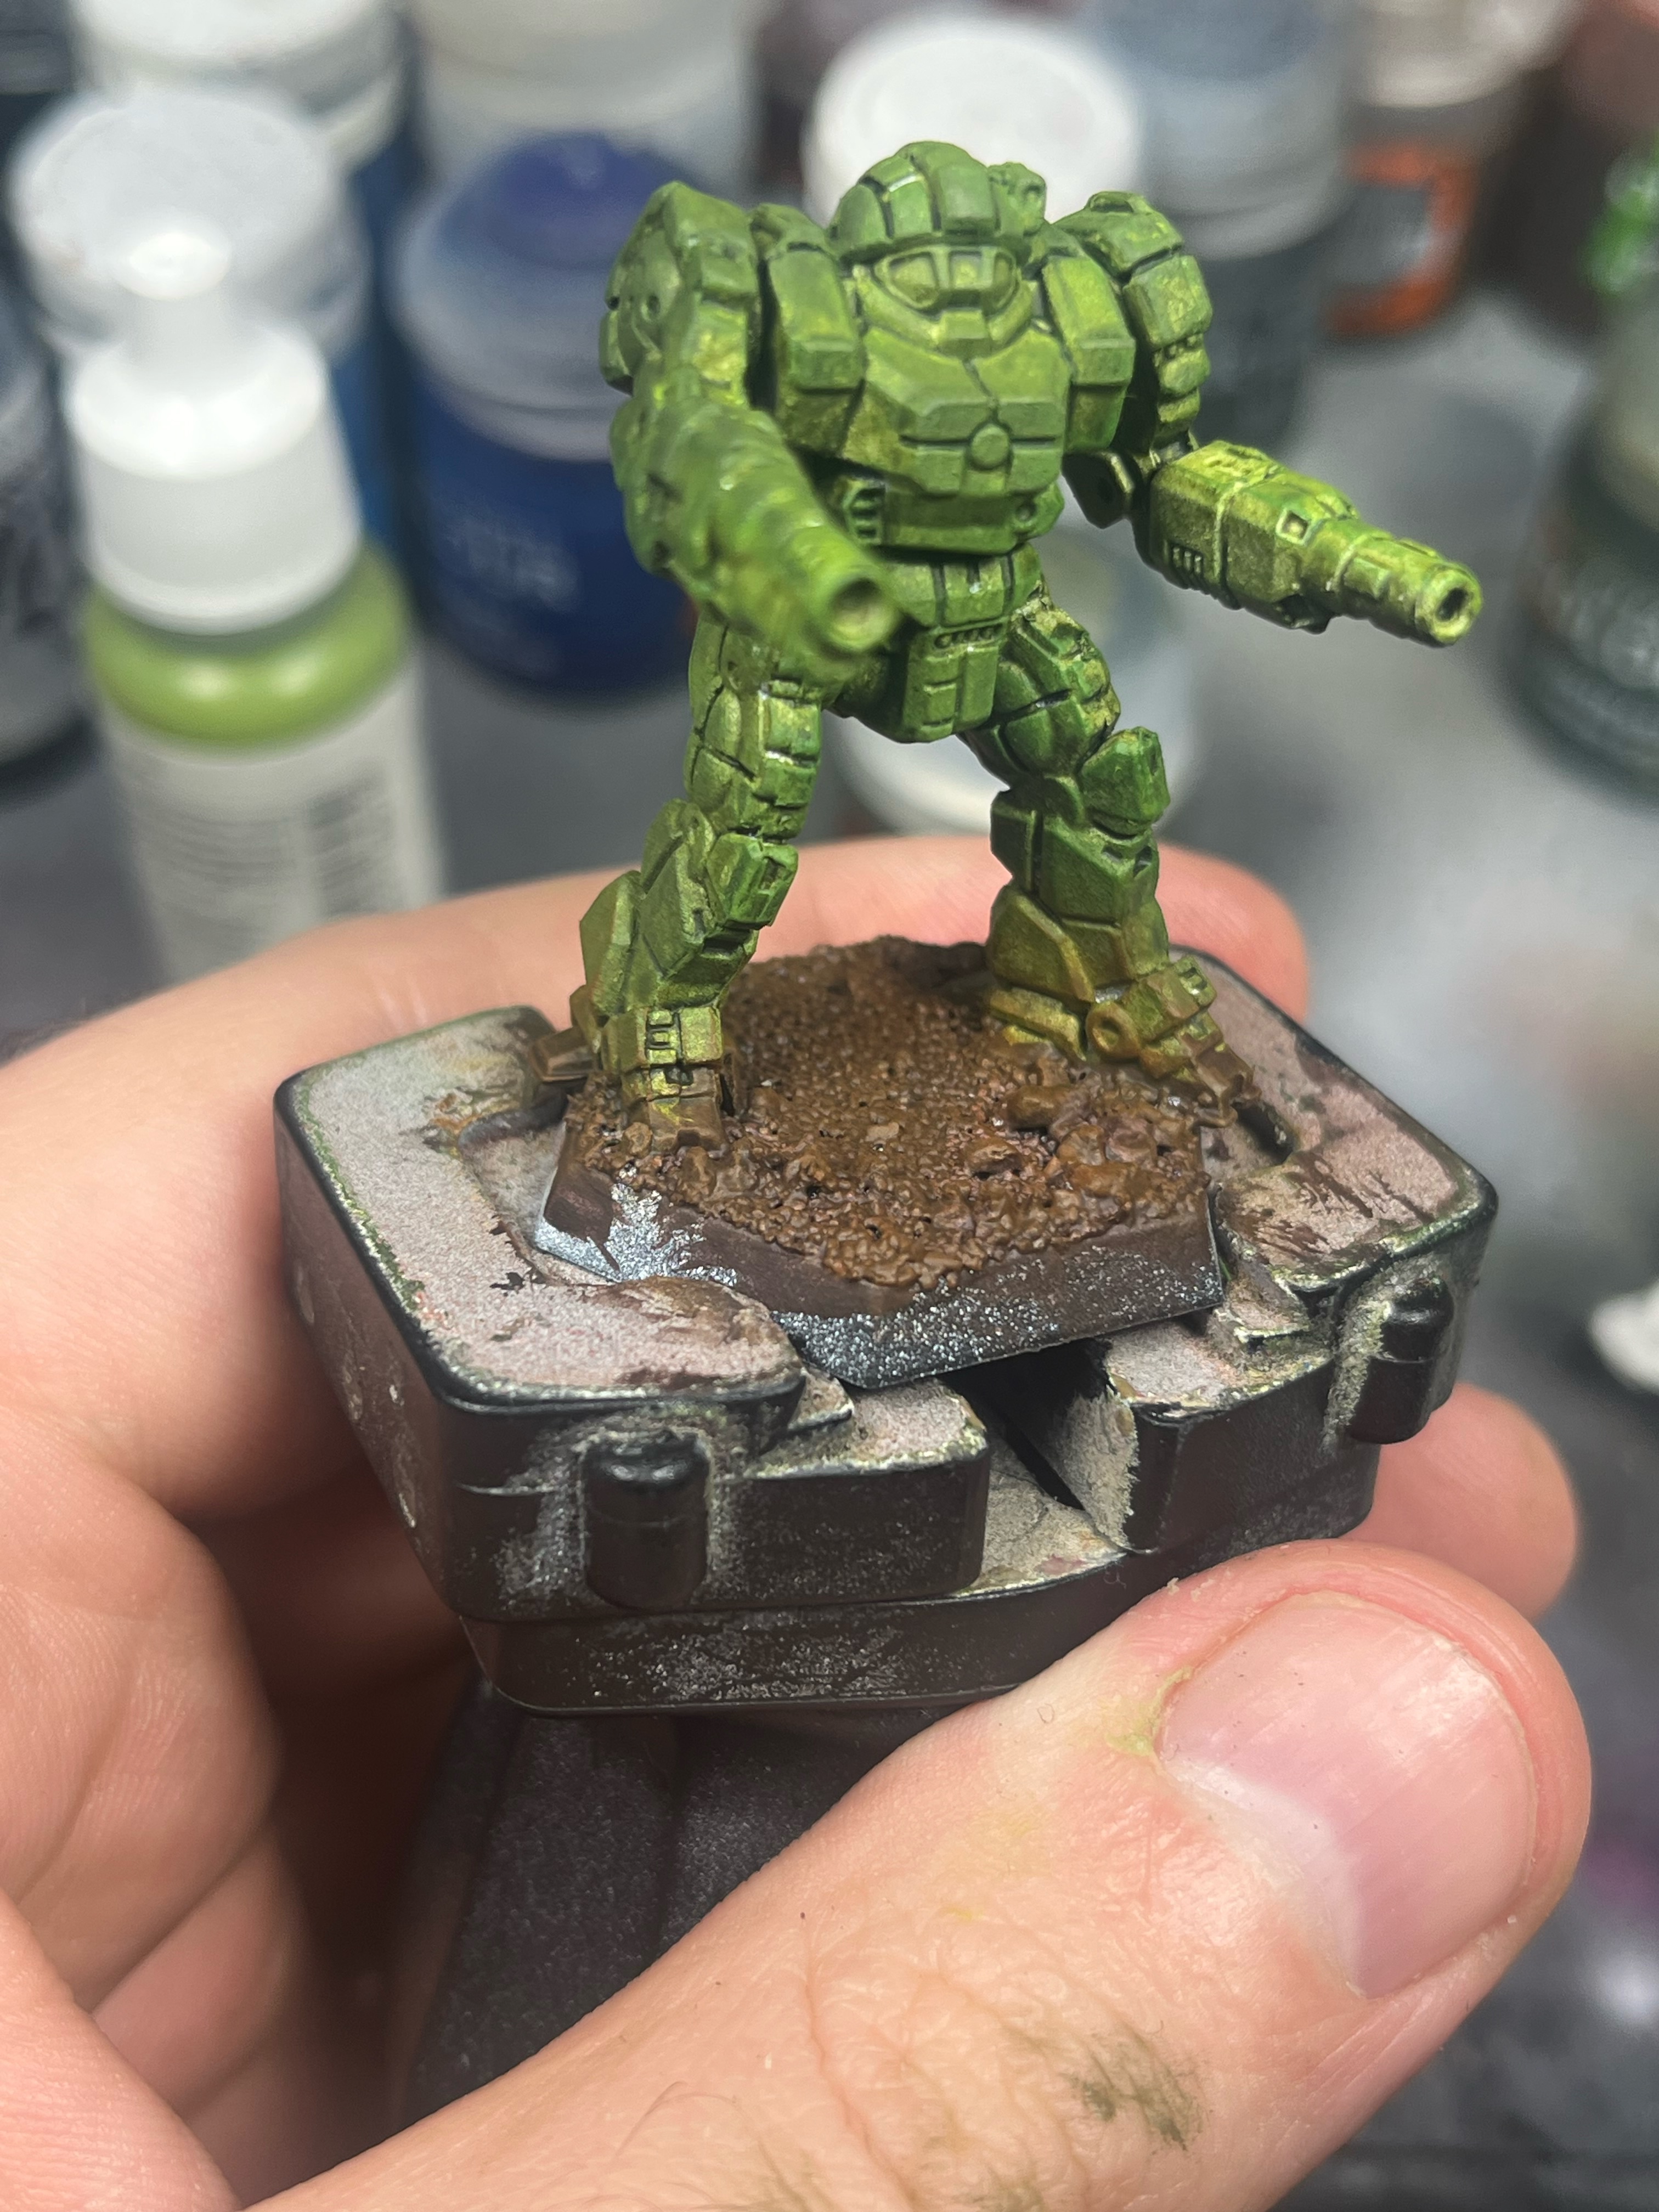

Step 6: Drybrush Ushabti Bone. This does a few things, but right now it finalizes the illusion of dirt. Drybrush up the leg of the mech to taste. 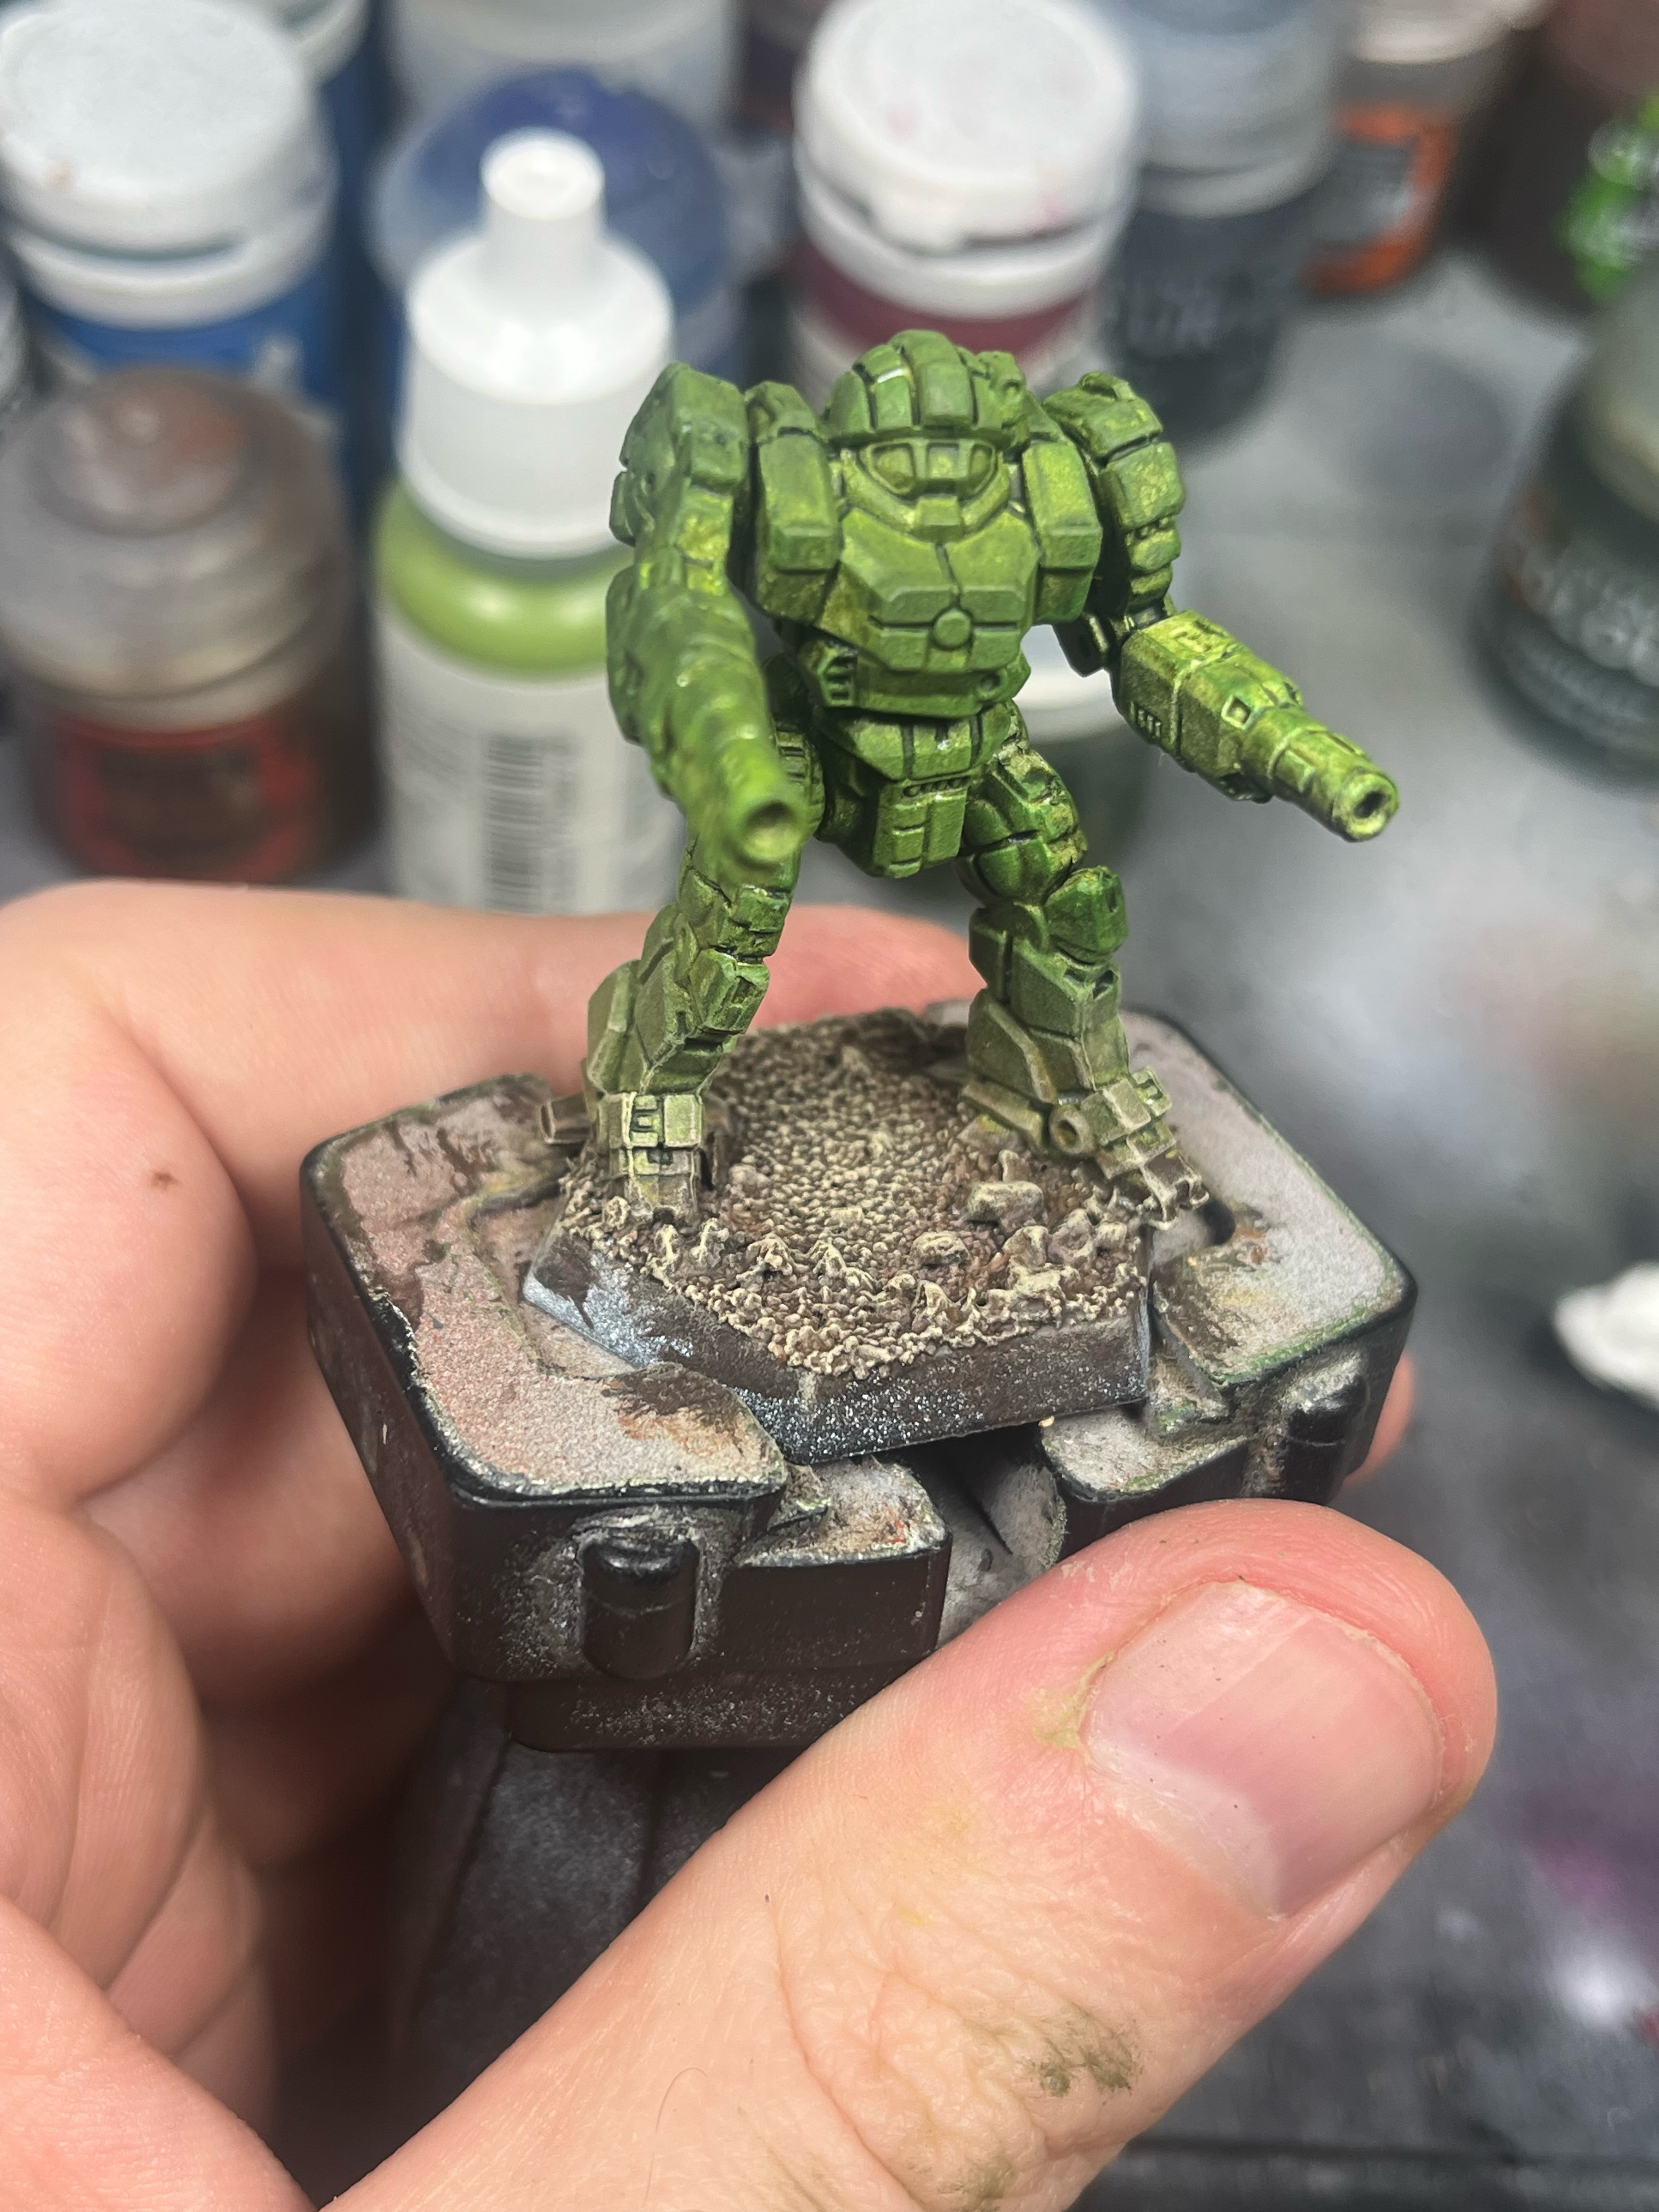
Paints used in the next 2 steps: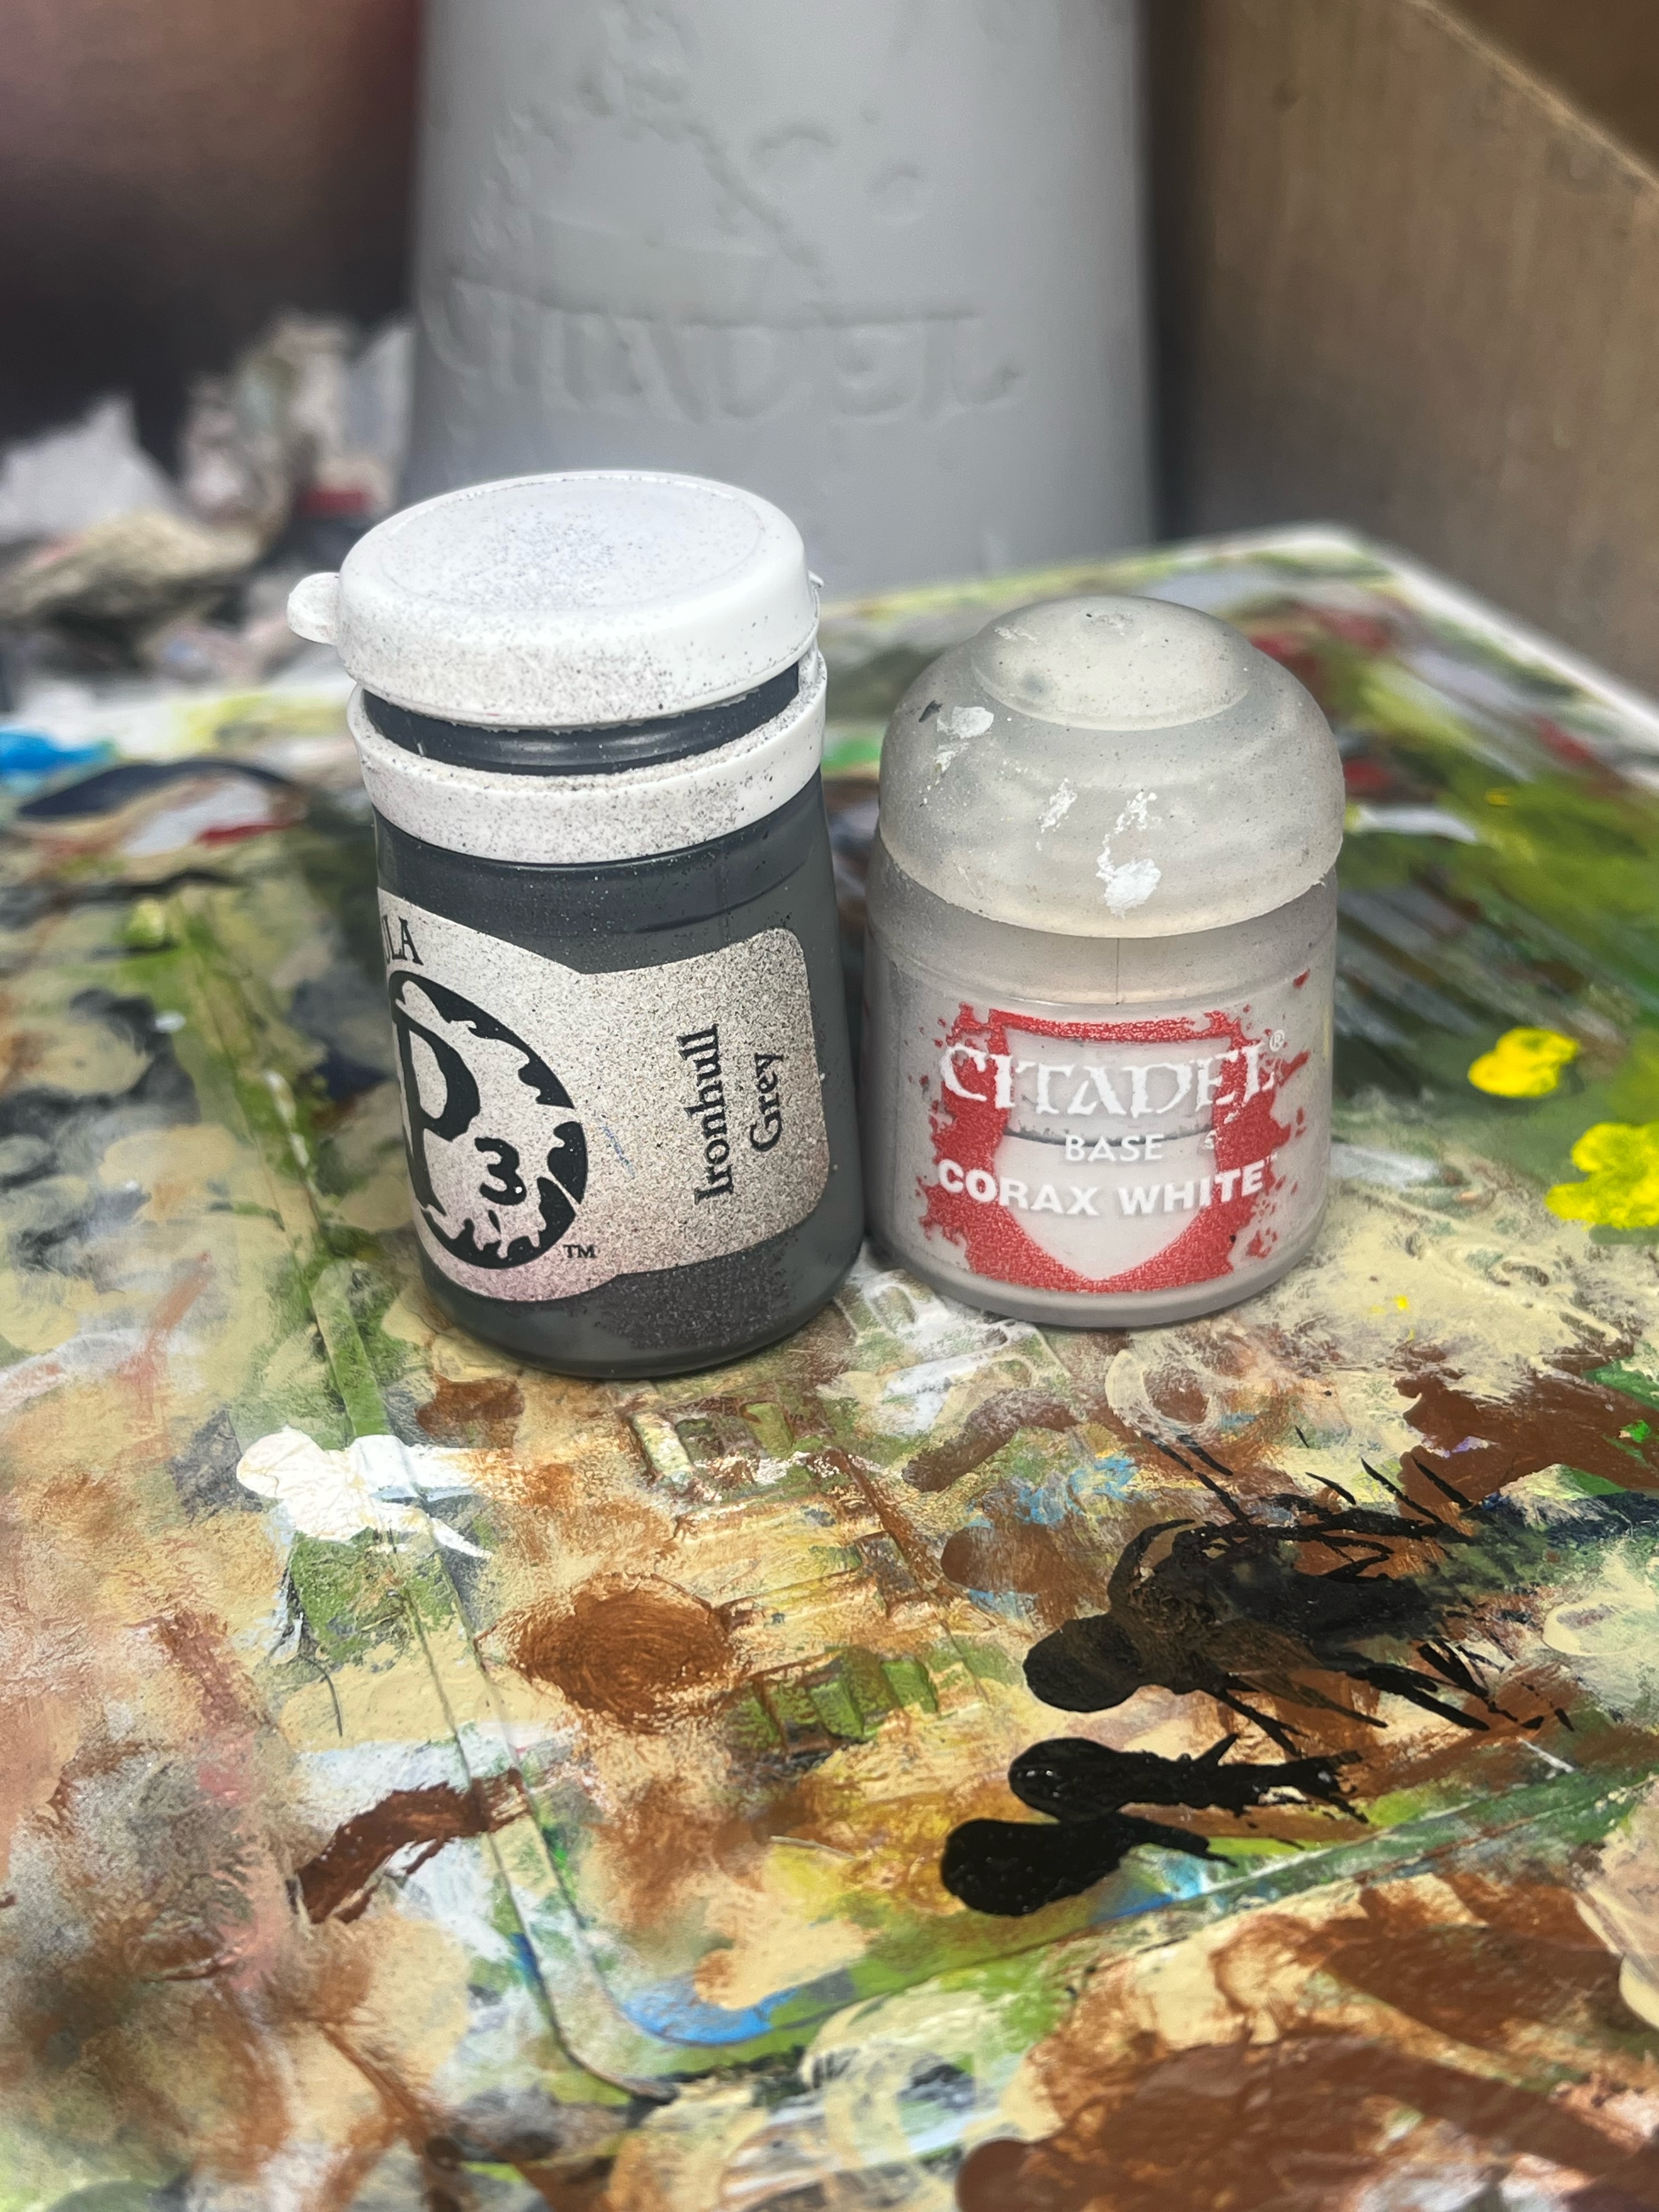
Ironhull Grey (P3 formula), Corax White (Citadel)
Step 7: Paint the happy little rocks grey. This doesn’t need to be perfect. Stick to the biggest, most obvious pebbles on the base, wherever they chose to be.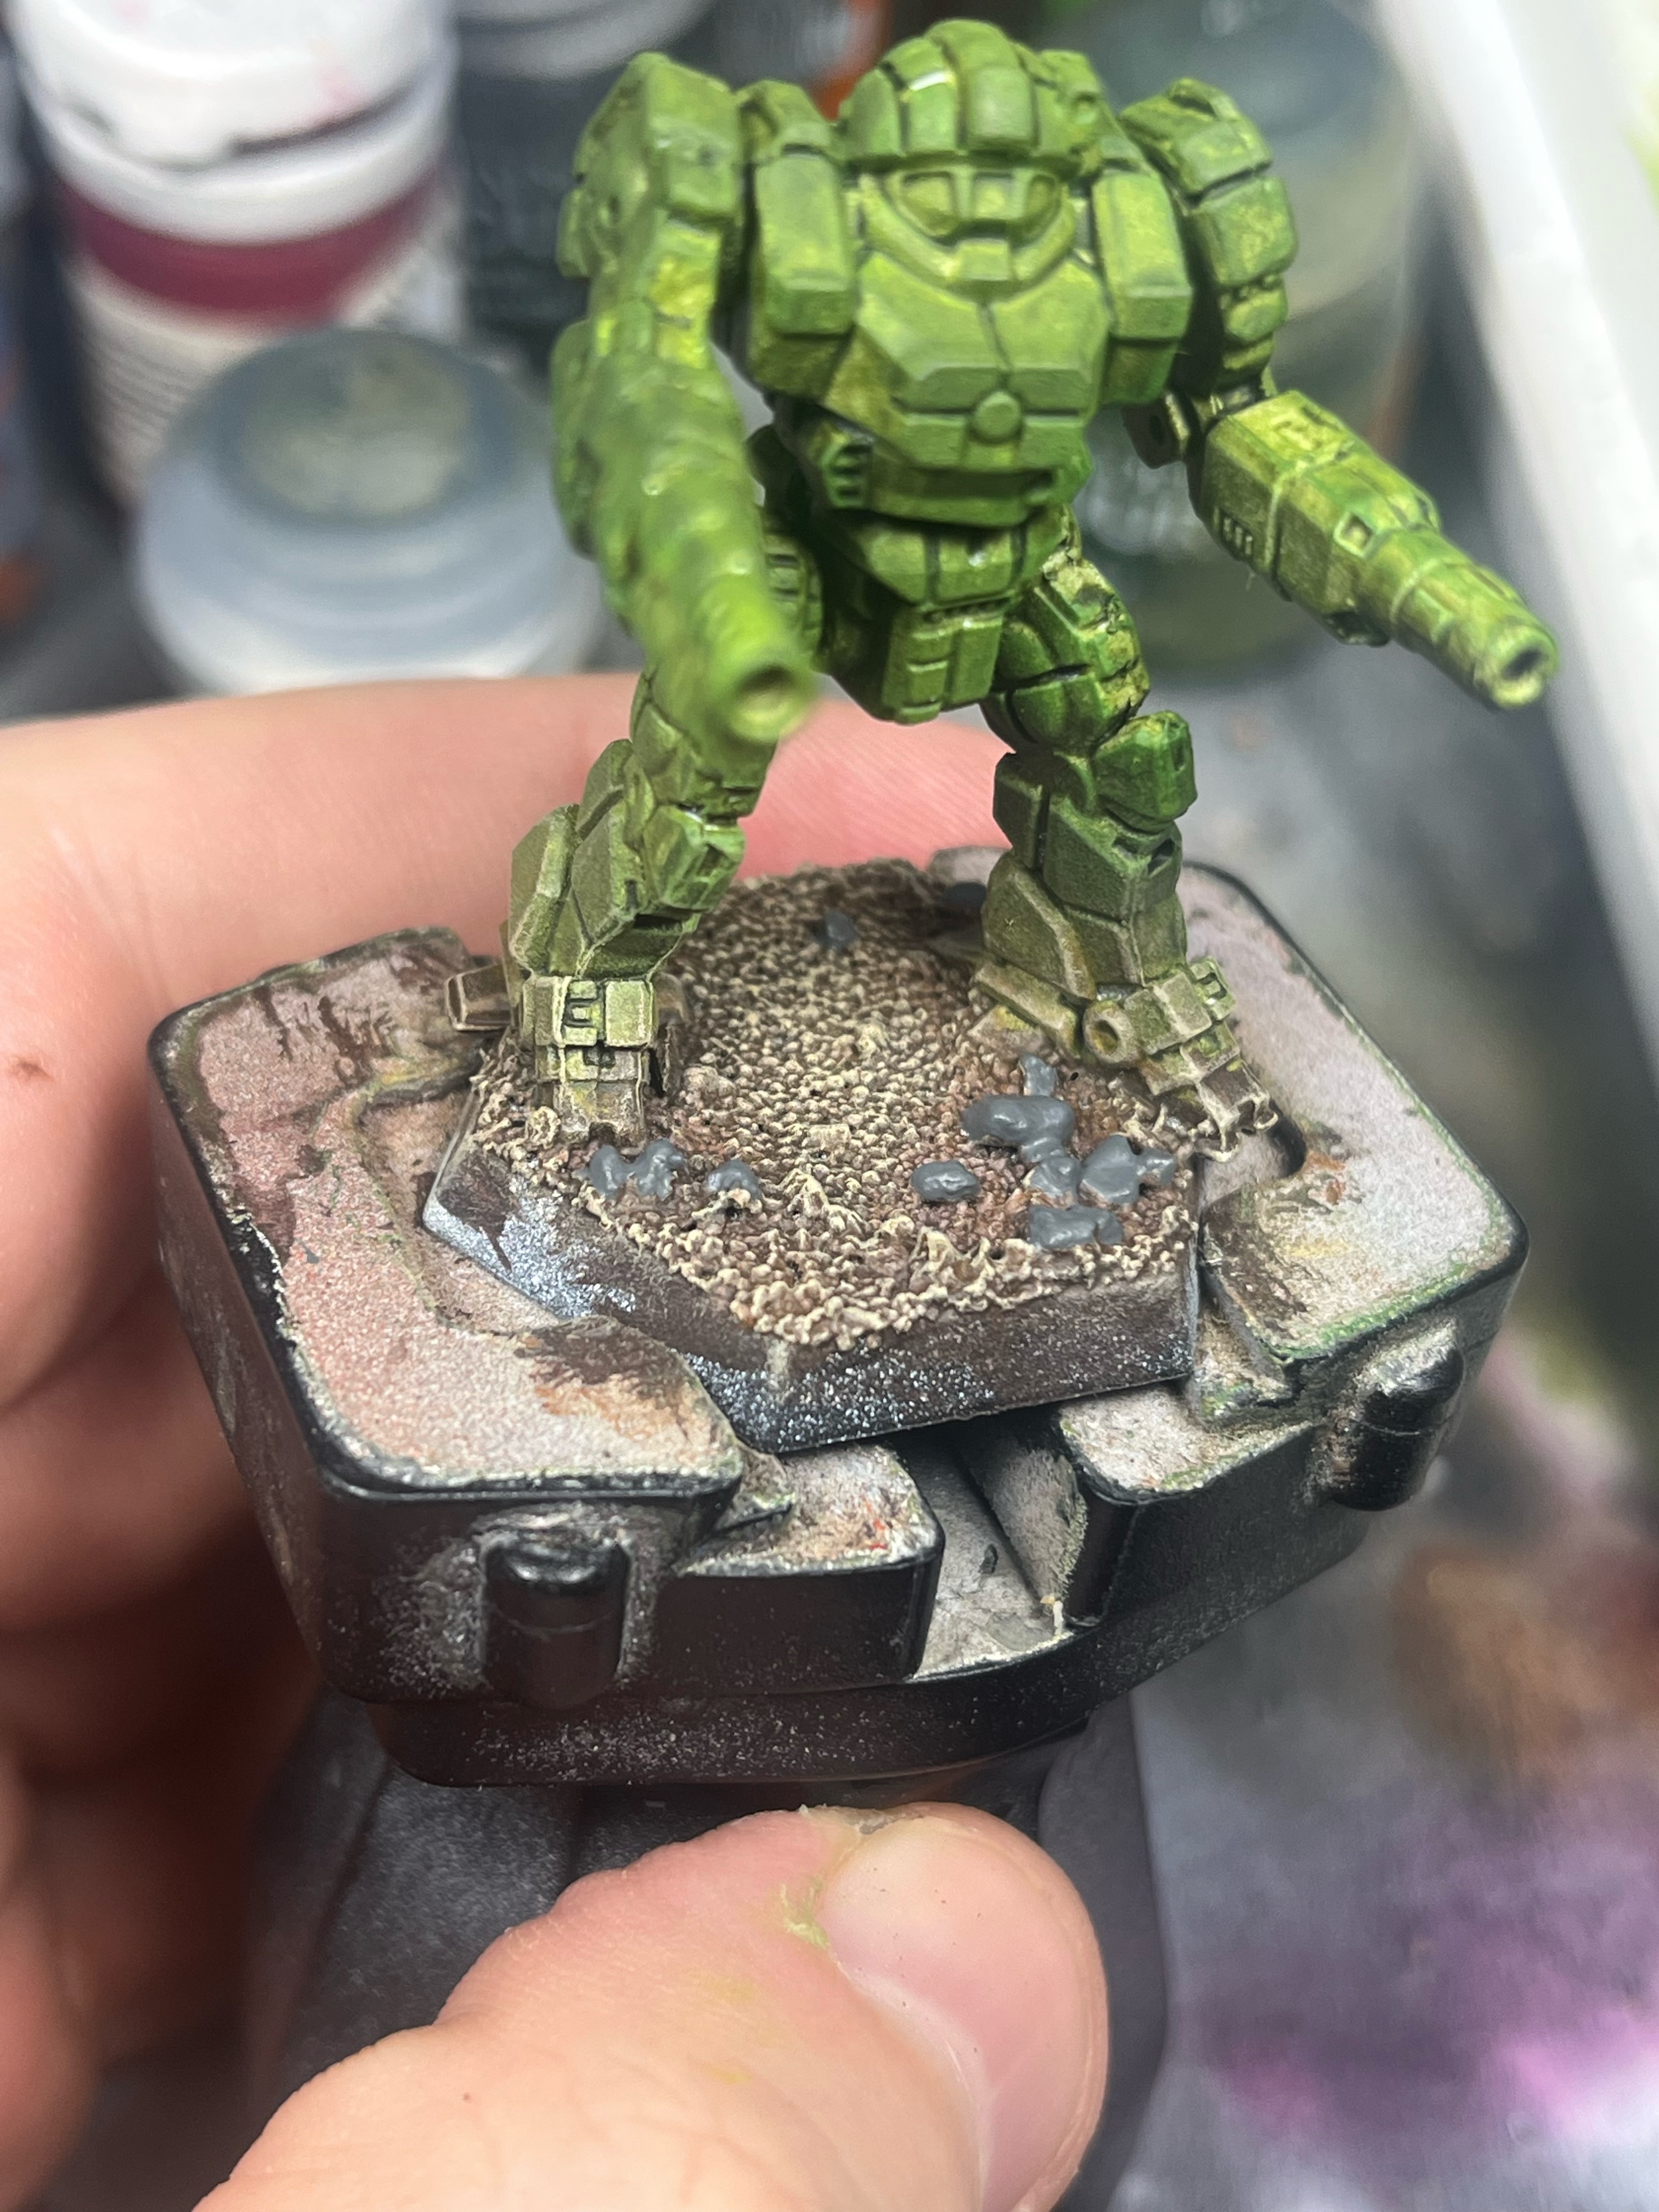
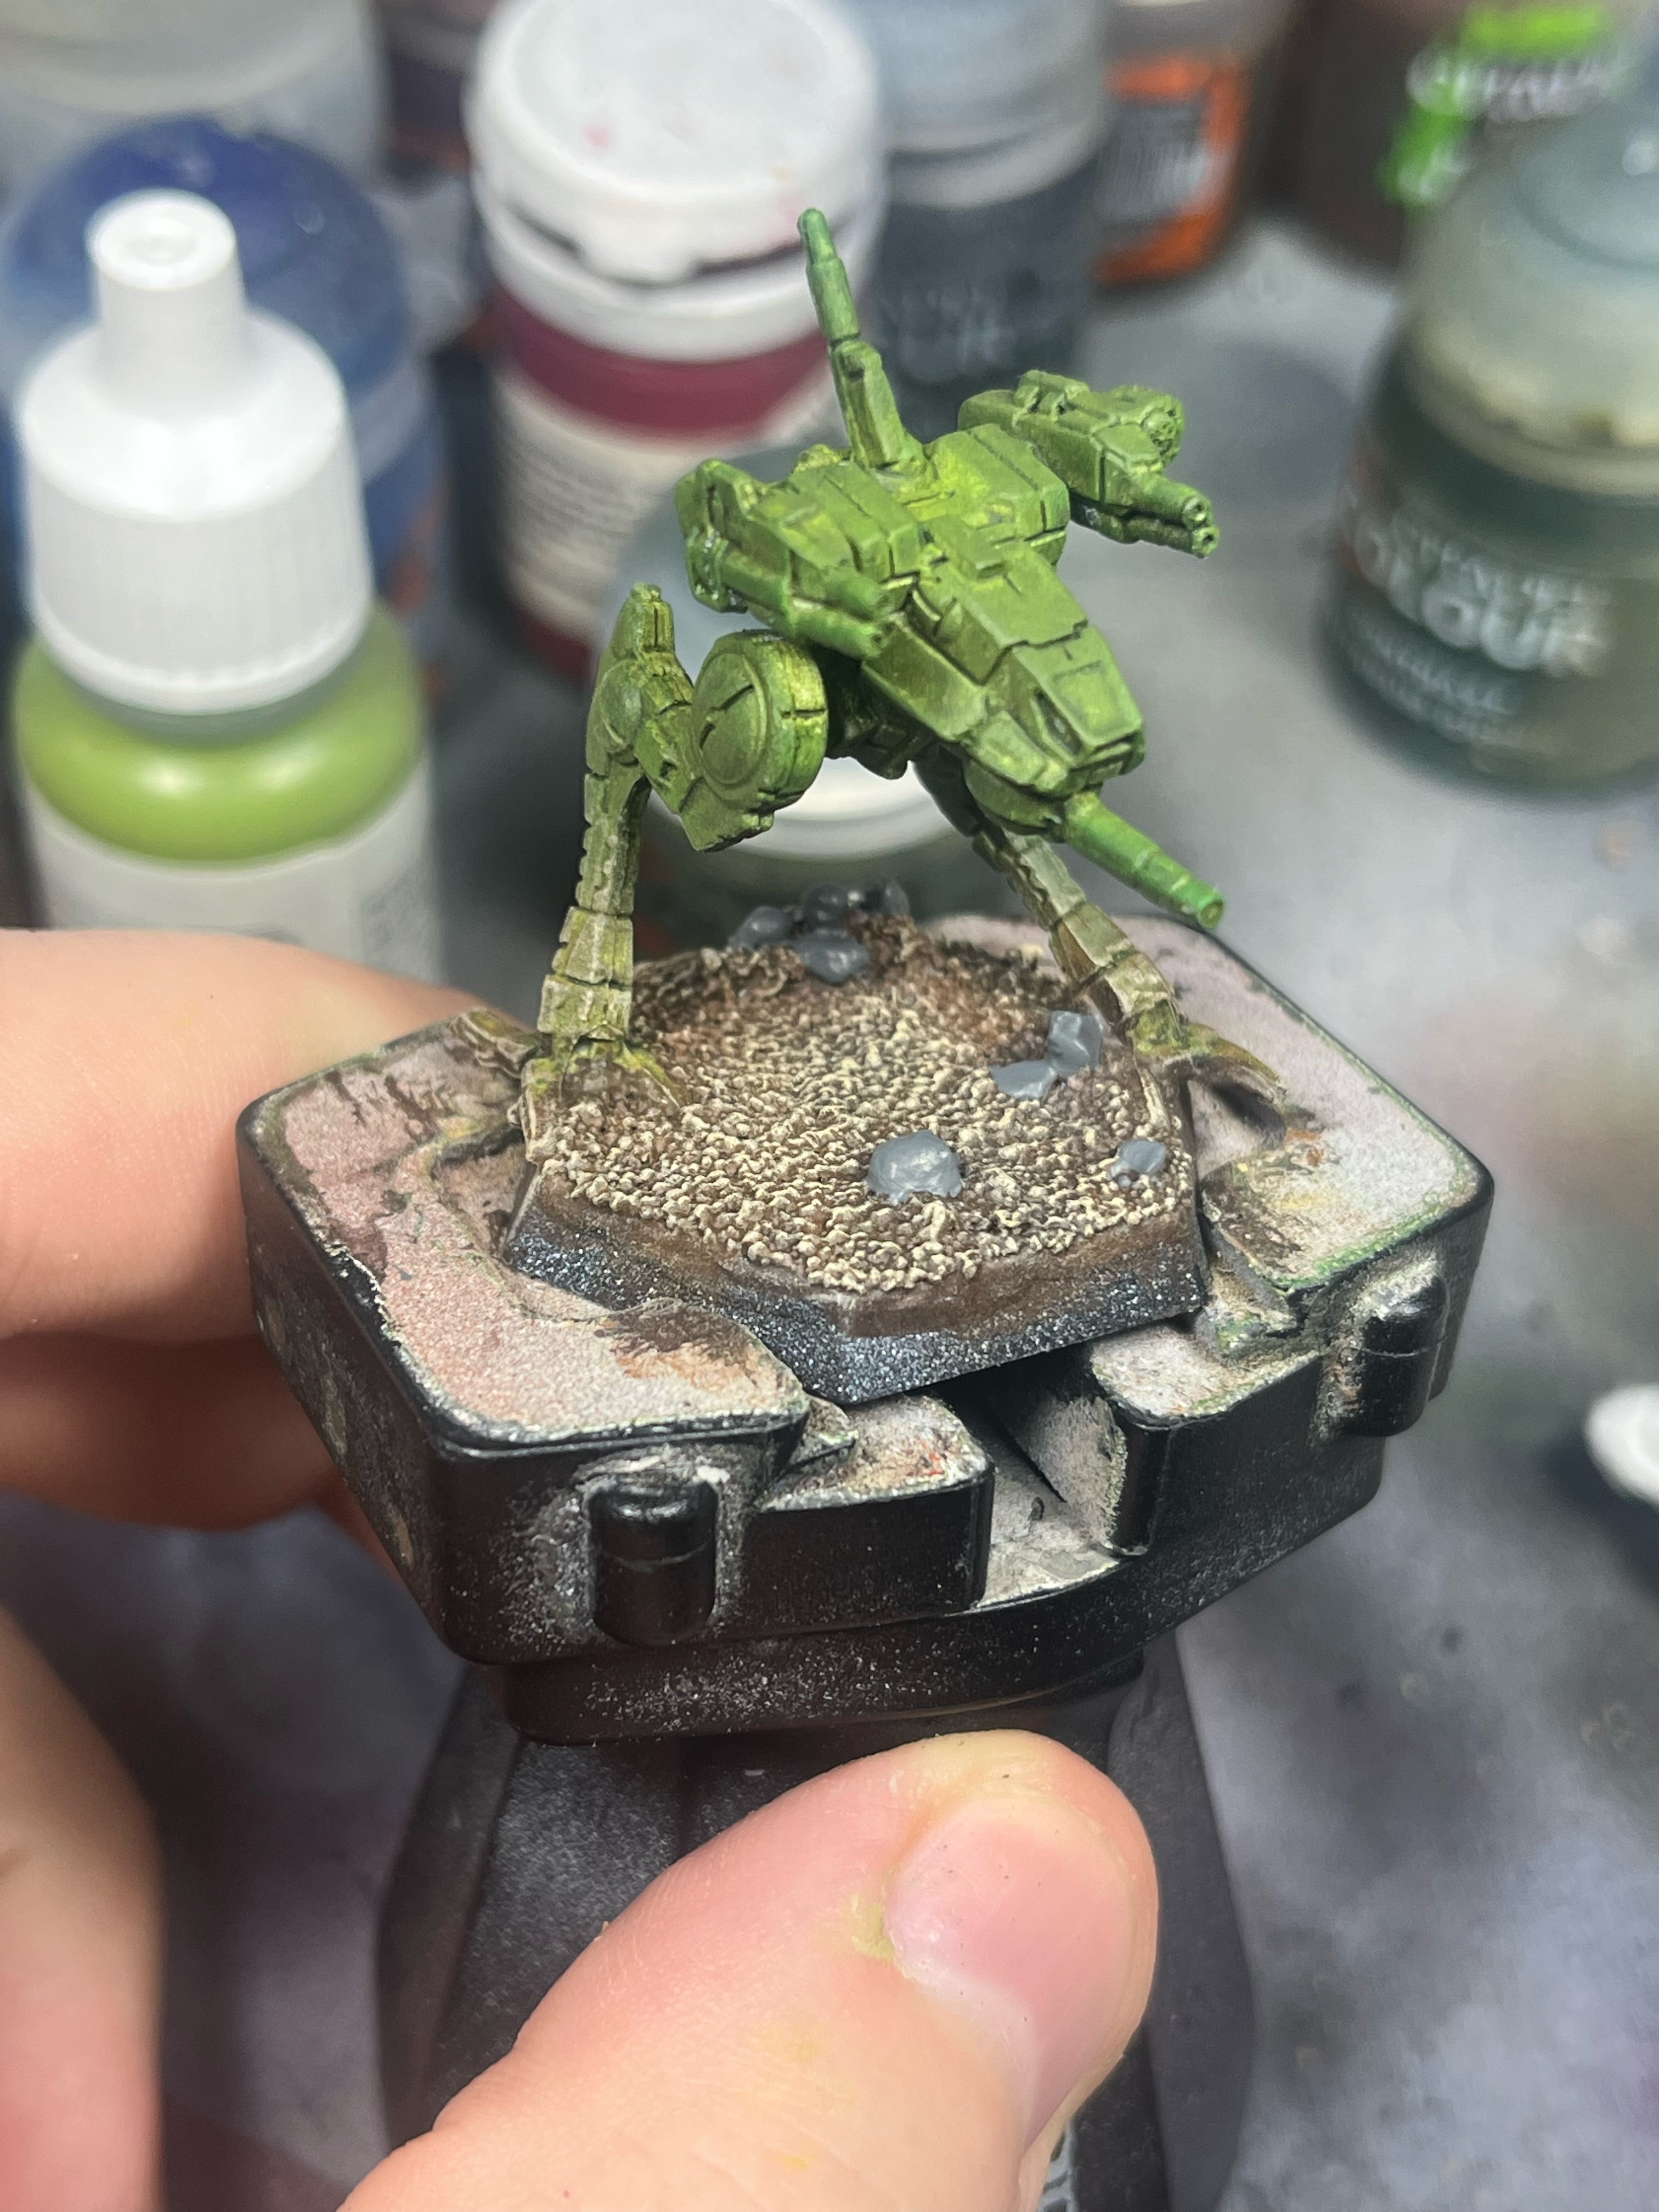
Step 8: Drybrush the rocks moderately with the white. Make sure some grey shows (don’t kill your dark!) but these are “big” rocks: they’re okay being bright.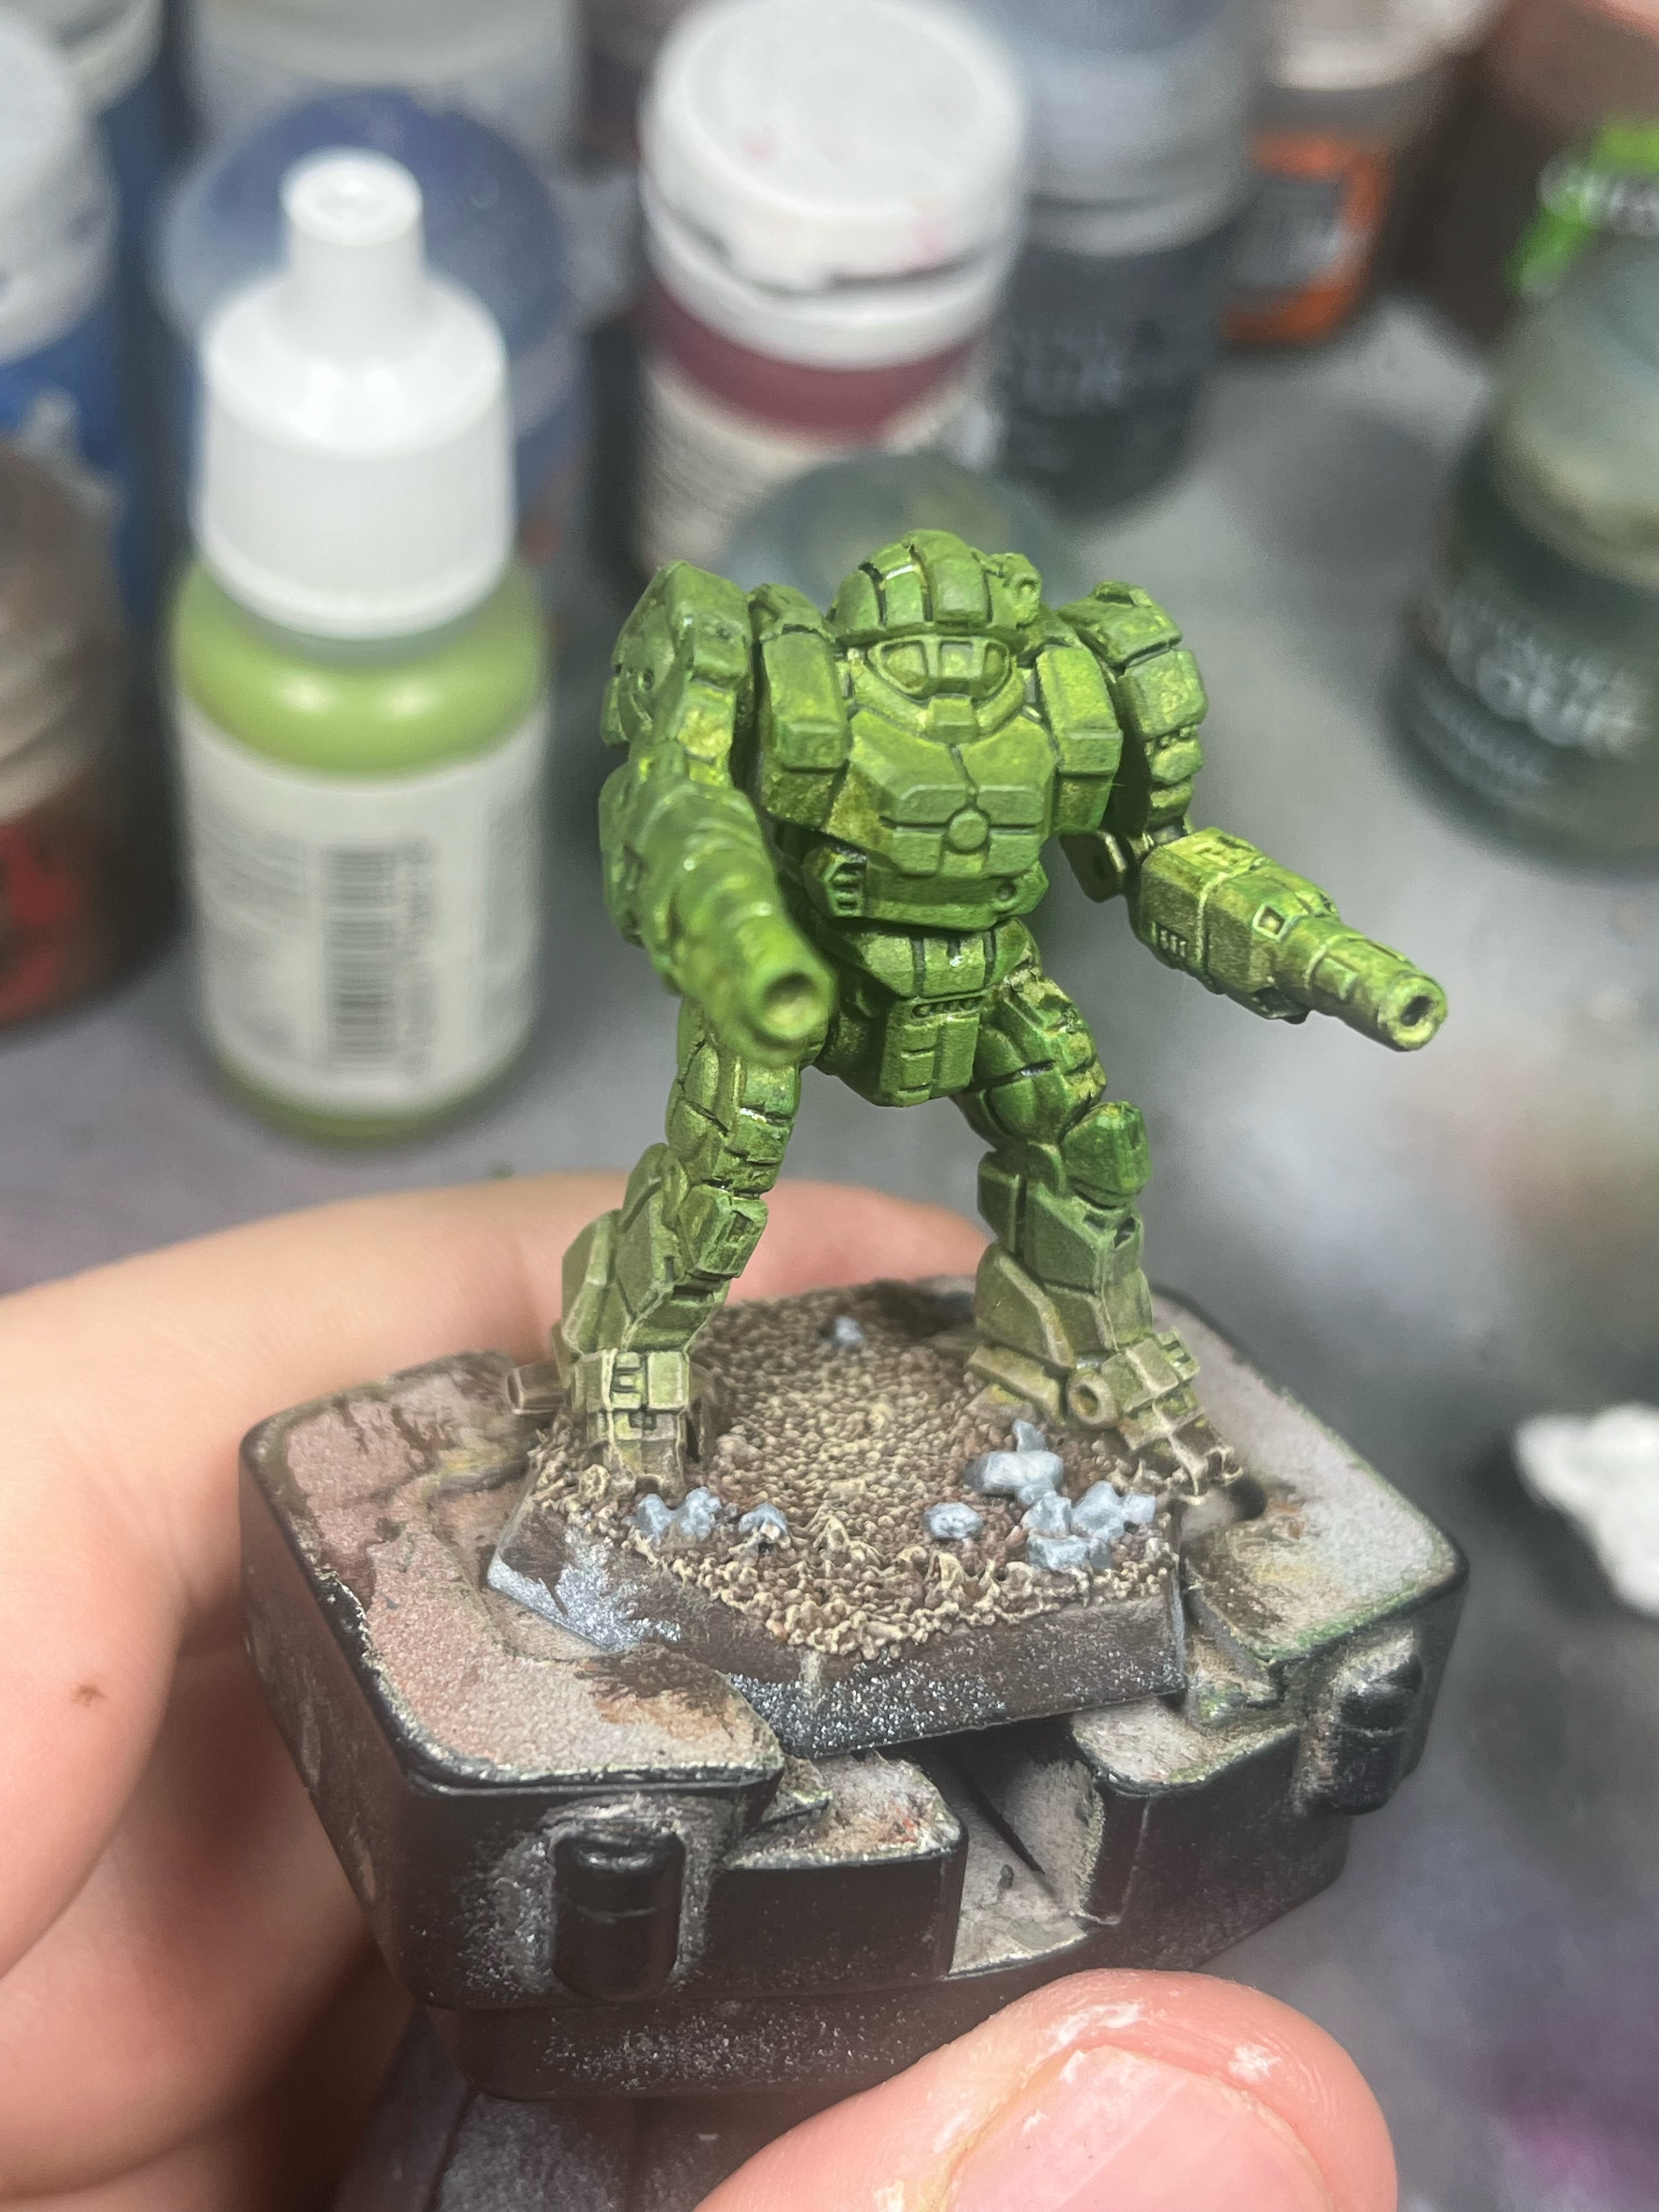
Paints used in the next 3 steps: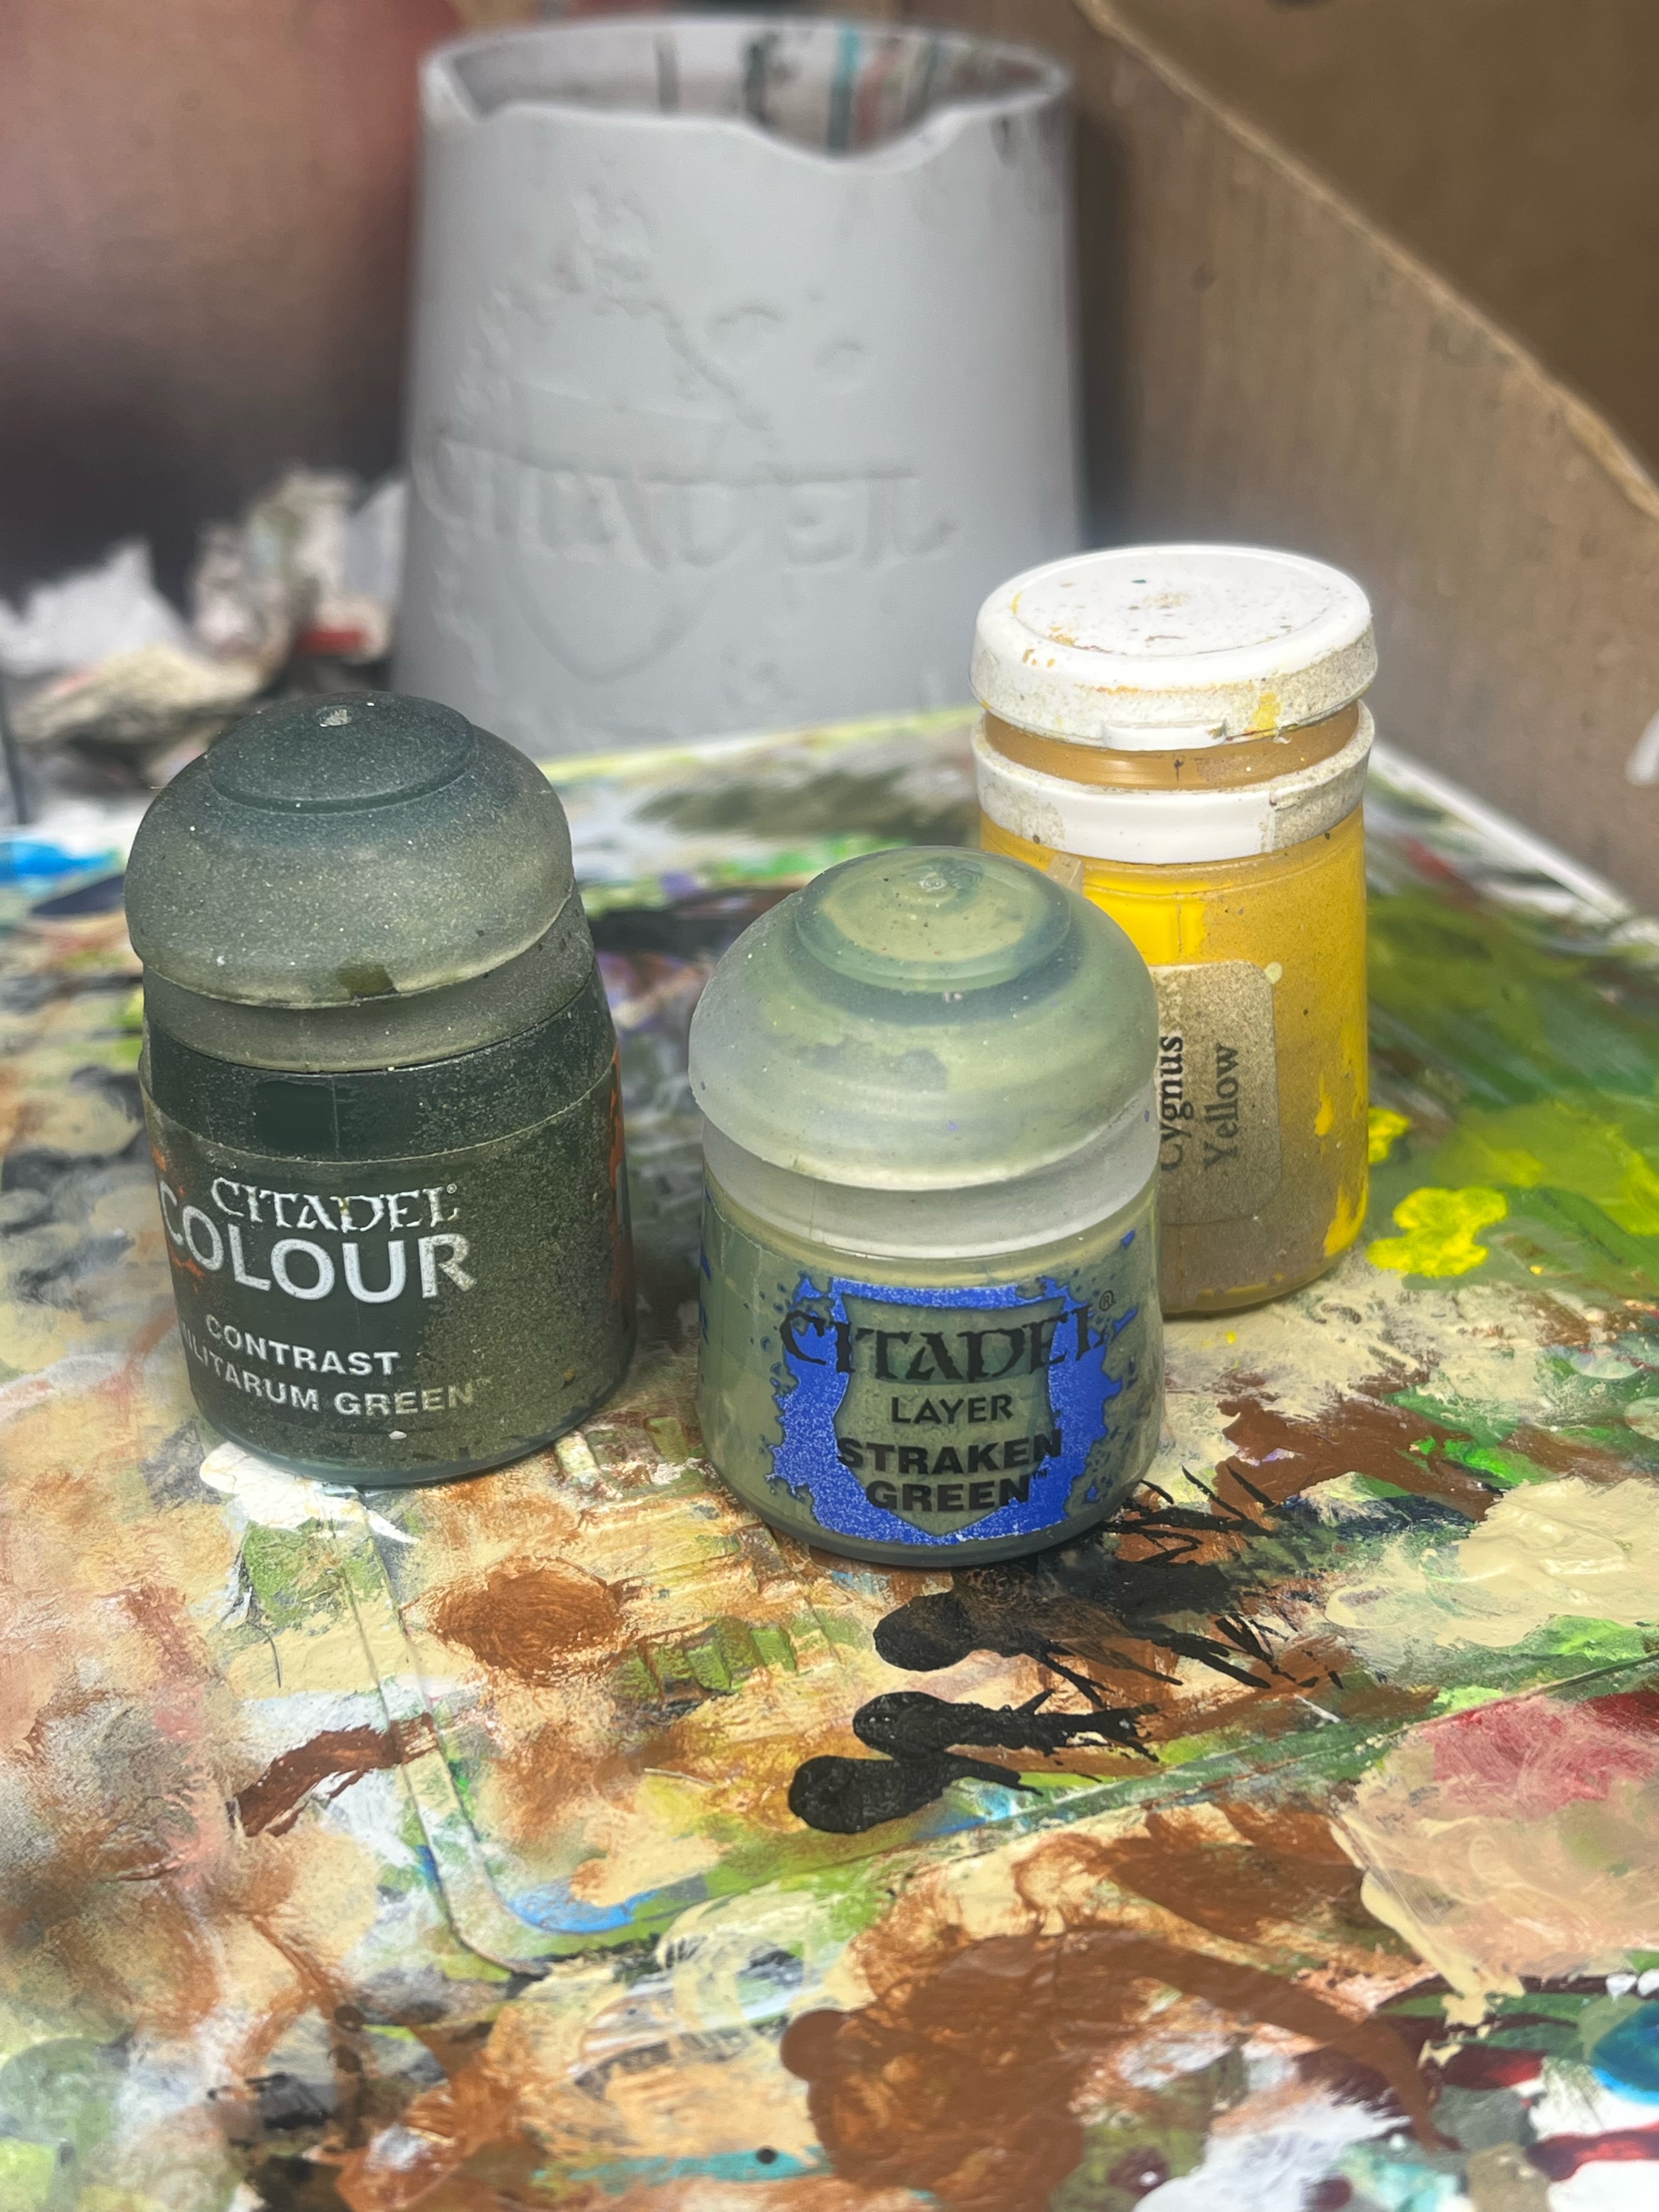
Militarum Green (Contrast, Citadel), Straken Green (Citadel), Cygnus Yellow (P3 Formula)
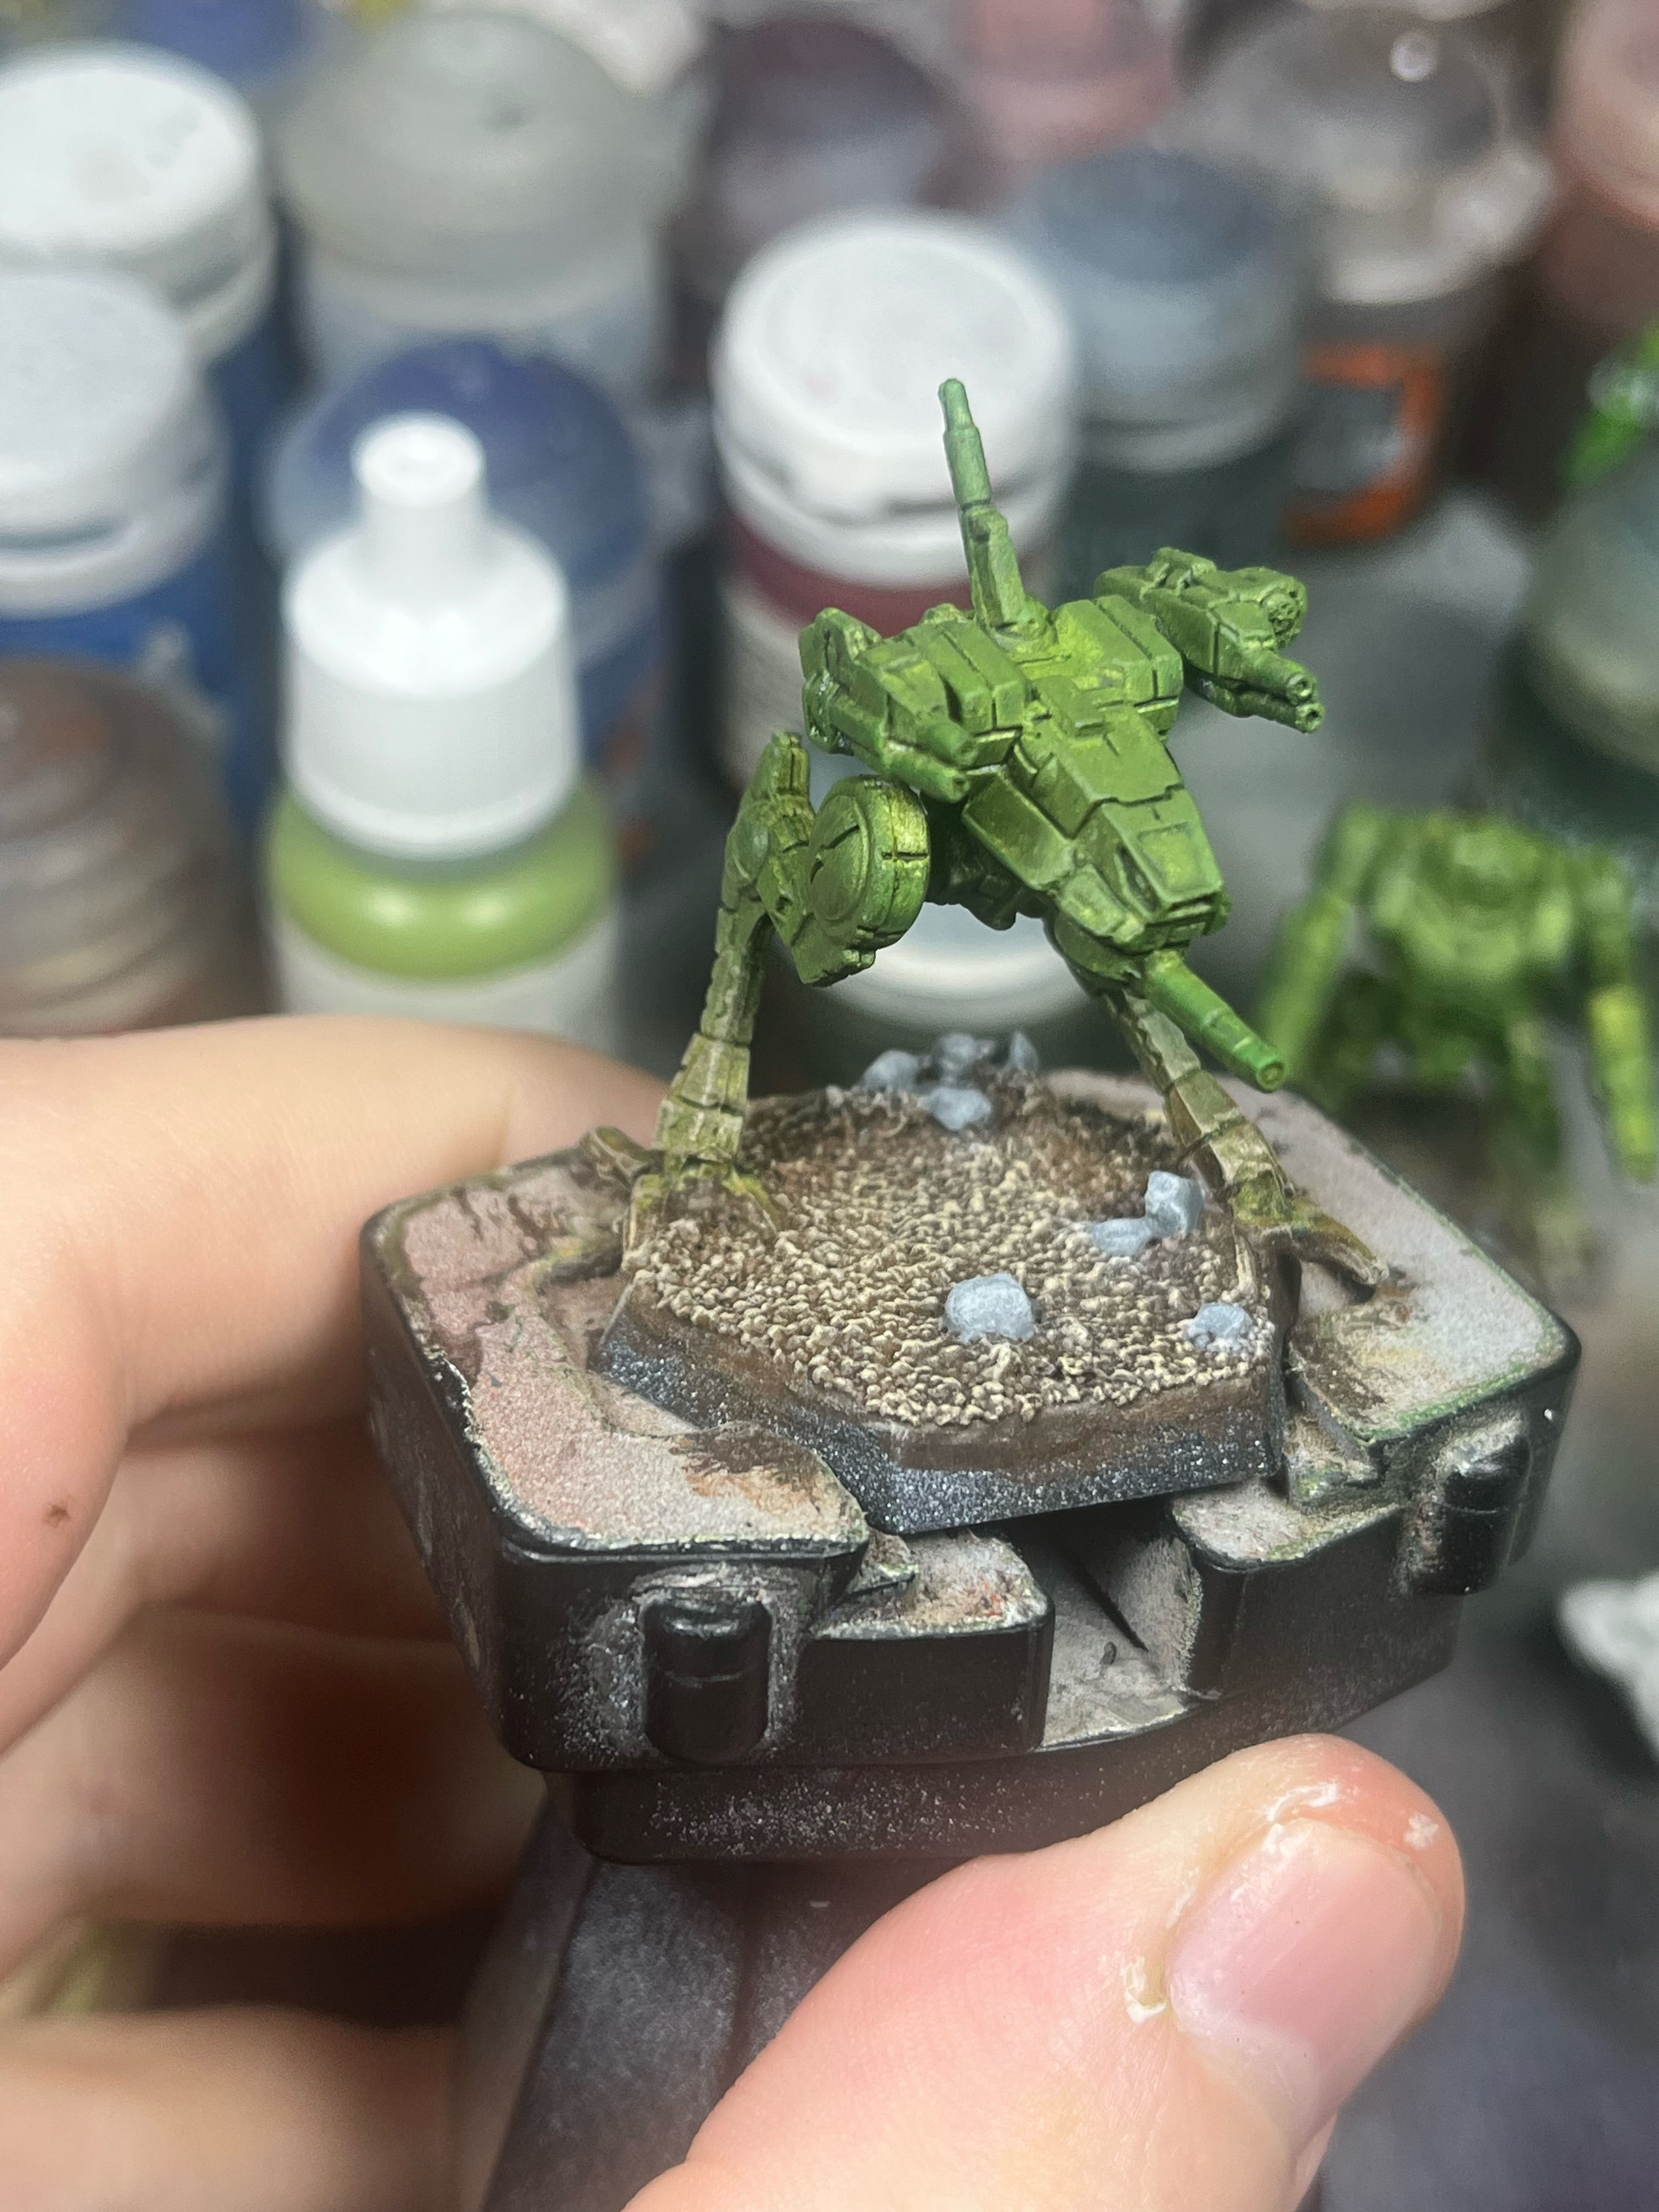
Step 9: Plot the grass. Paint the contrast paint down where you want to have grass. I like to try to have an odd number. Just looks good to me, I dunno. If I say asymmetry, do I earn smartie points?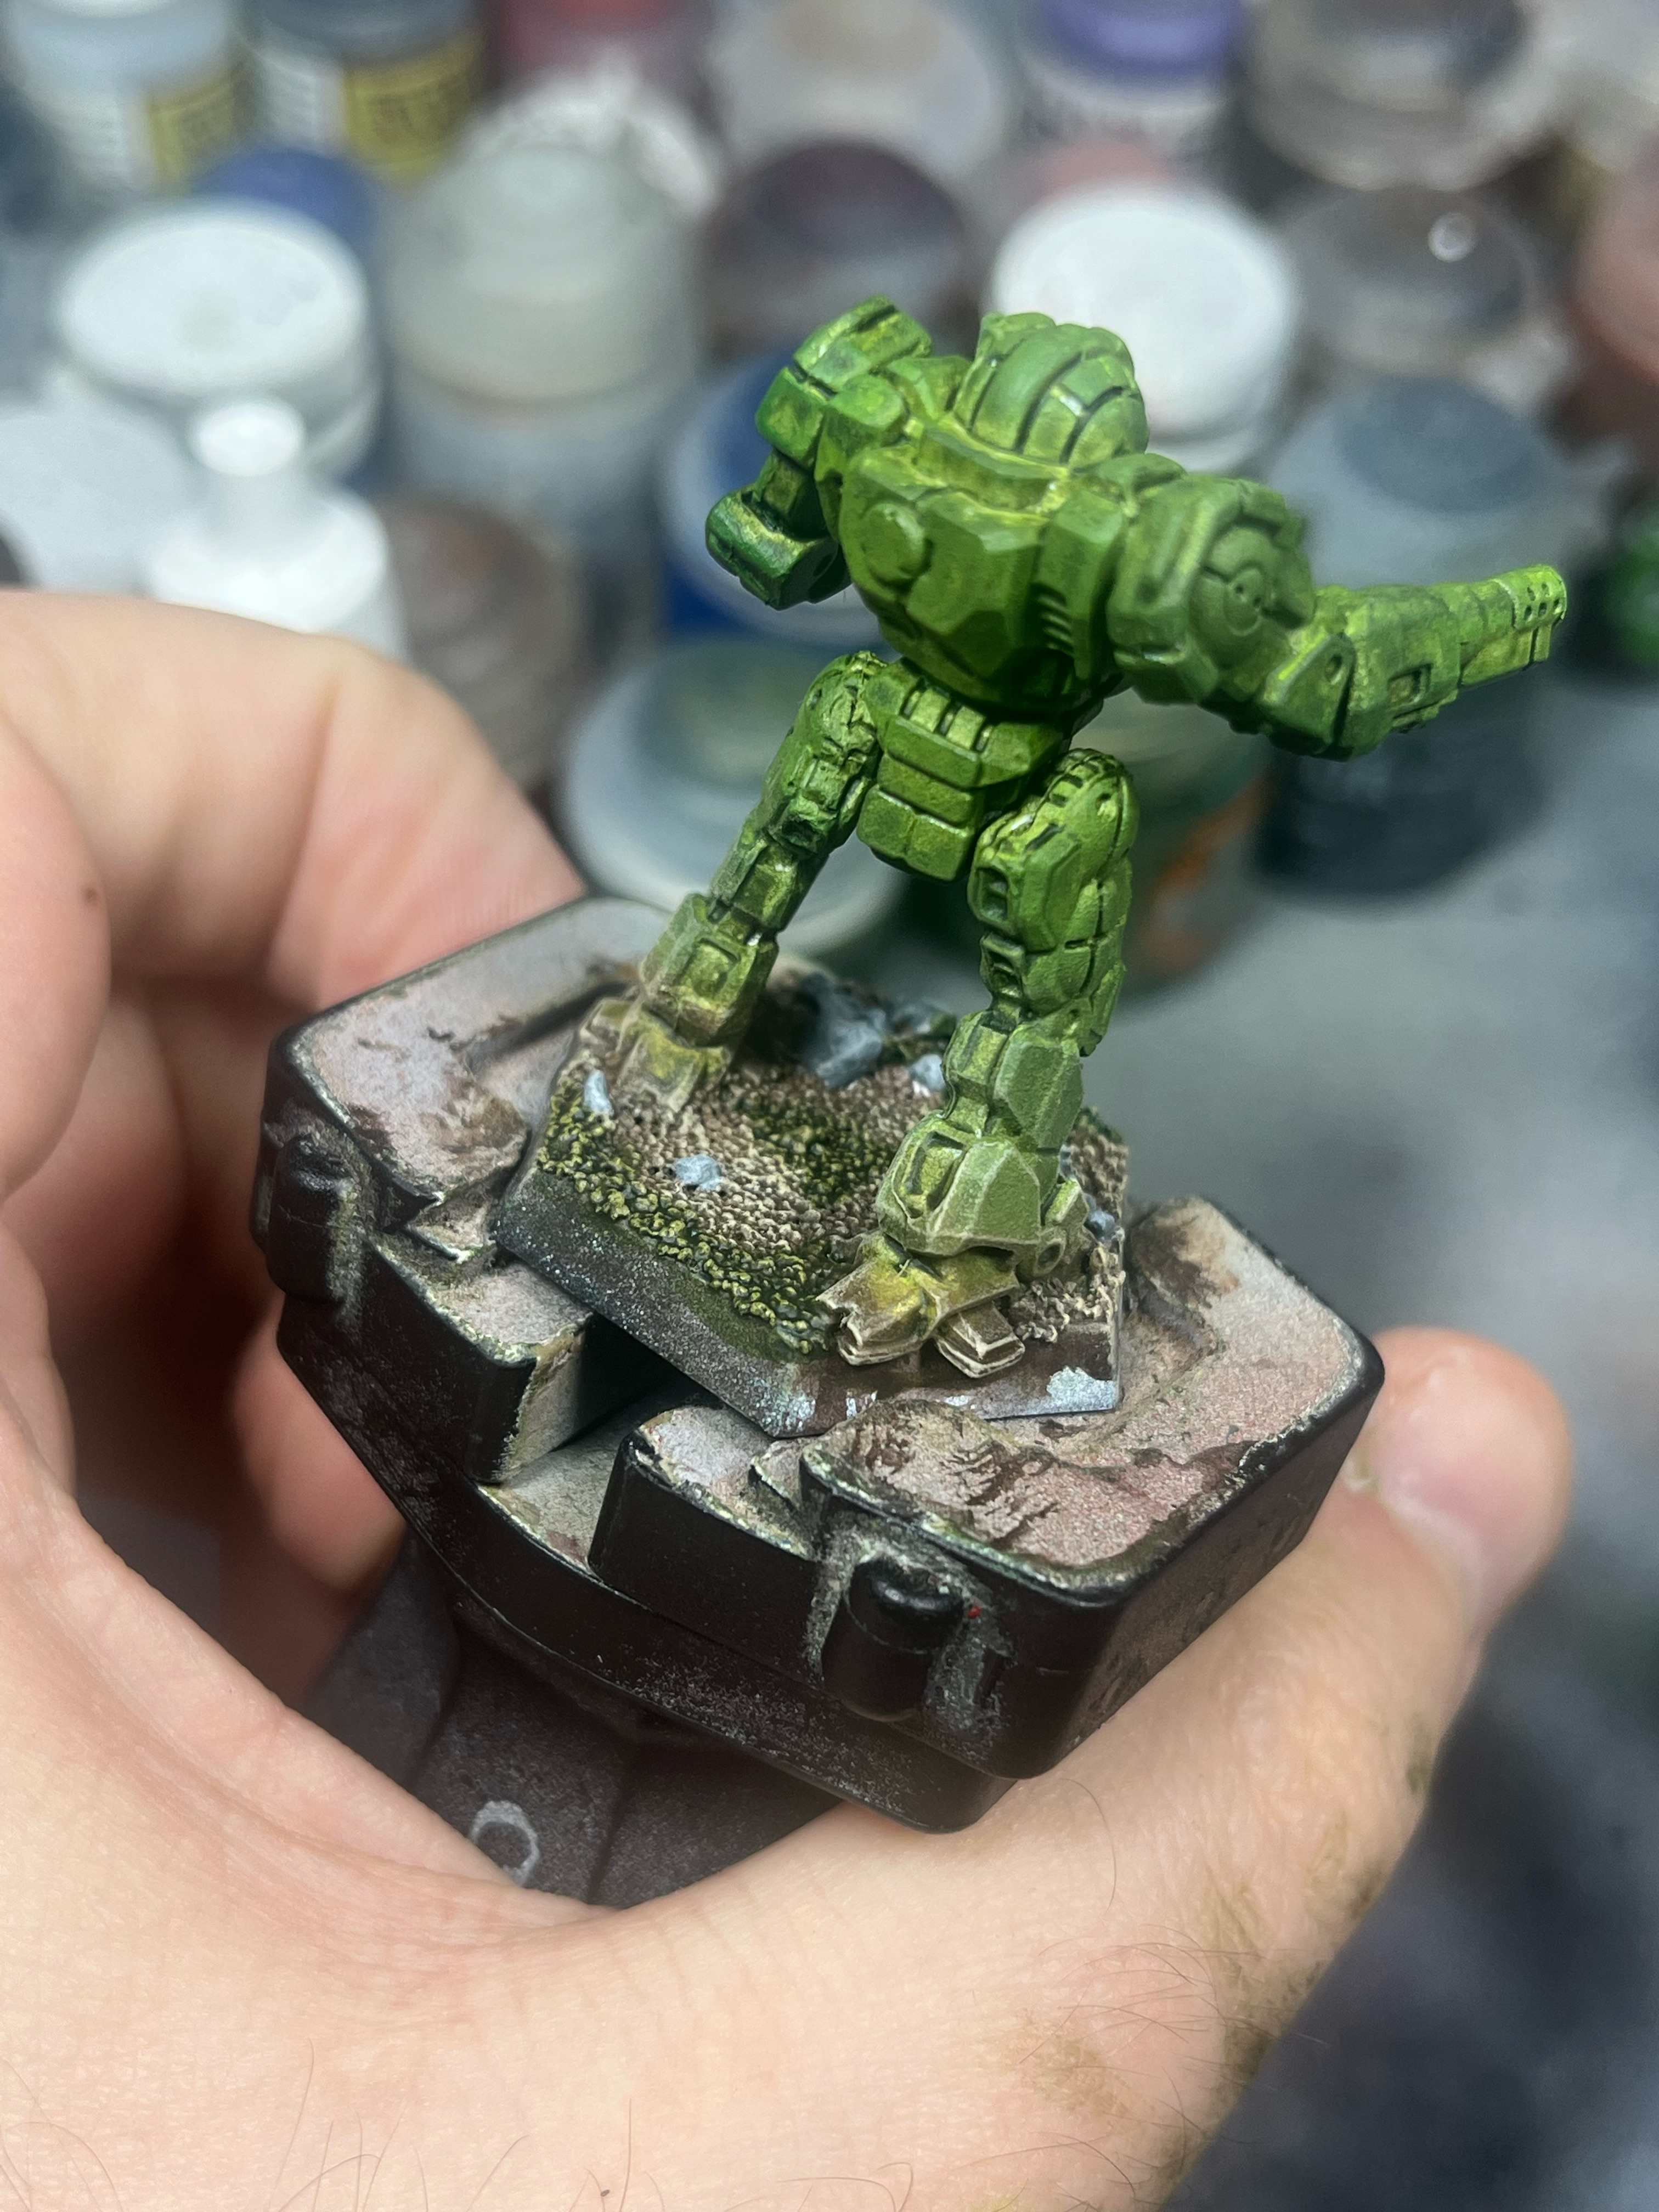

Step 10: Drybrush Straken Green. I didn’t do a good job of it here, but try to keep a bit of the dark showing still. Again, the grass is very smoll so don’t sweat the details.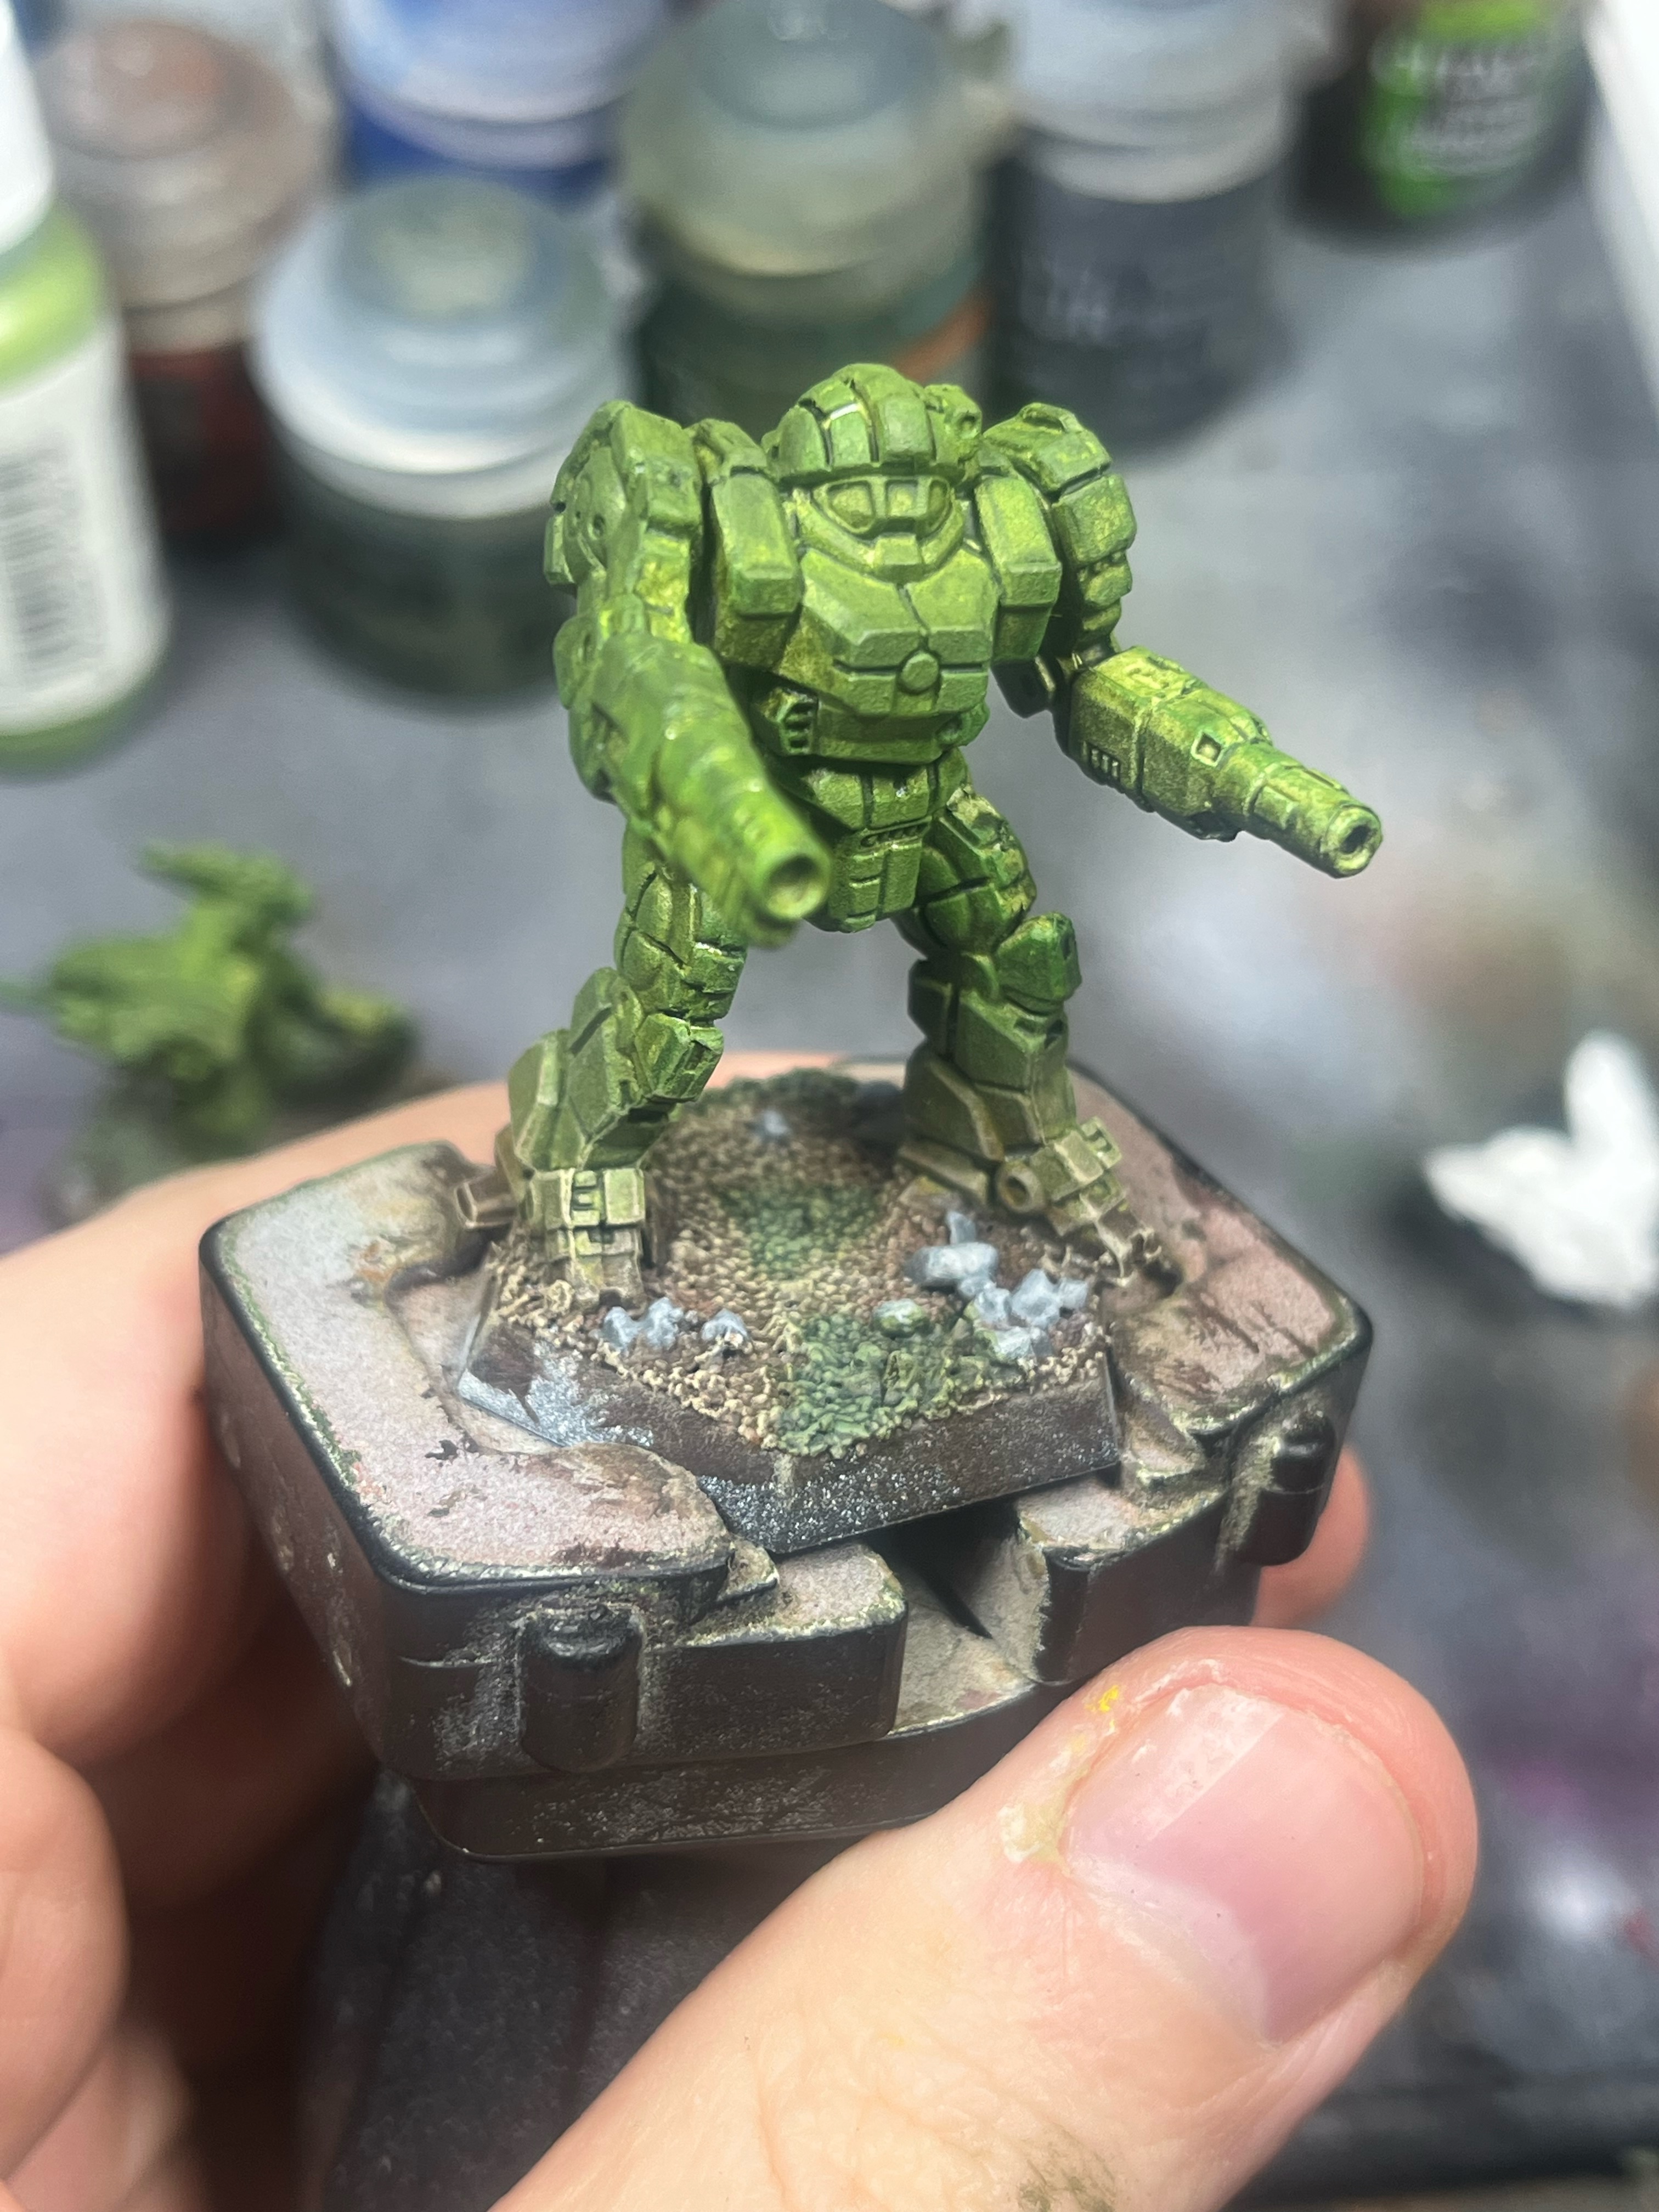
Step 11: Mix some yellow into your Straken Green (1:3 ratio for me, but mix to taste), then lightly drybrush the grass. Again, I didn’t do a good job with the “lightly” part, but that’s okay: the grass is super small. Just so long as you’re dry brushing, you’re likely guaranteed to get a good look here. 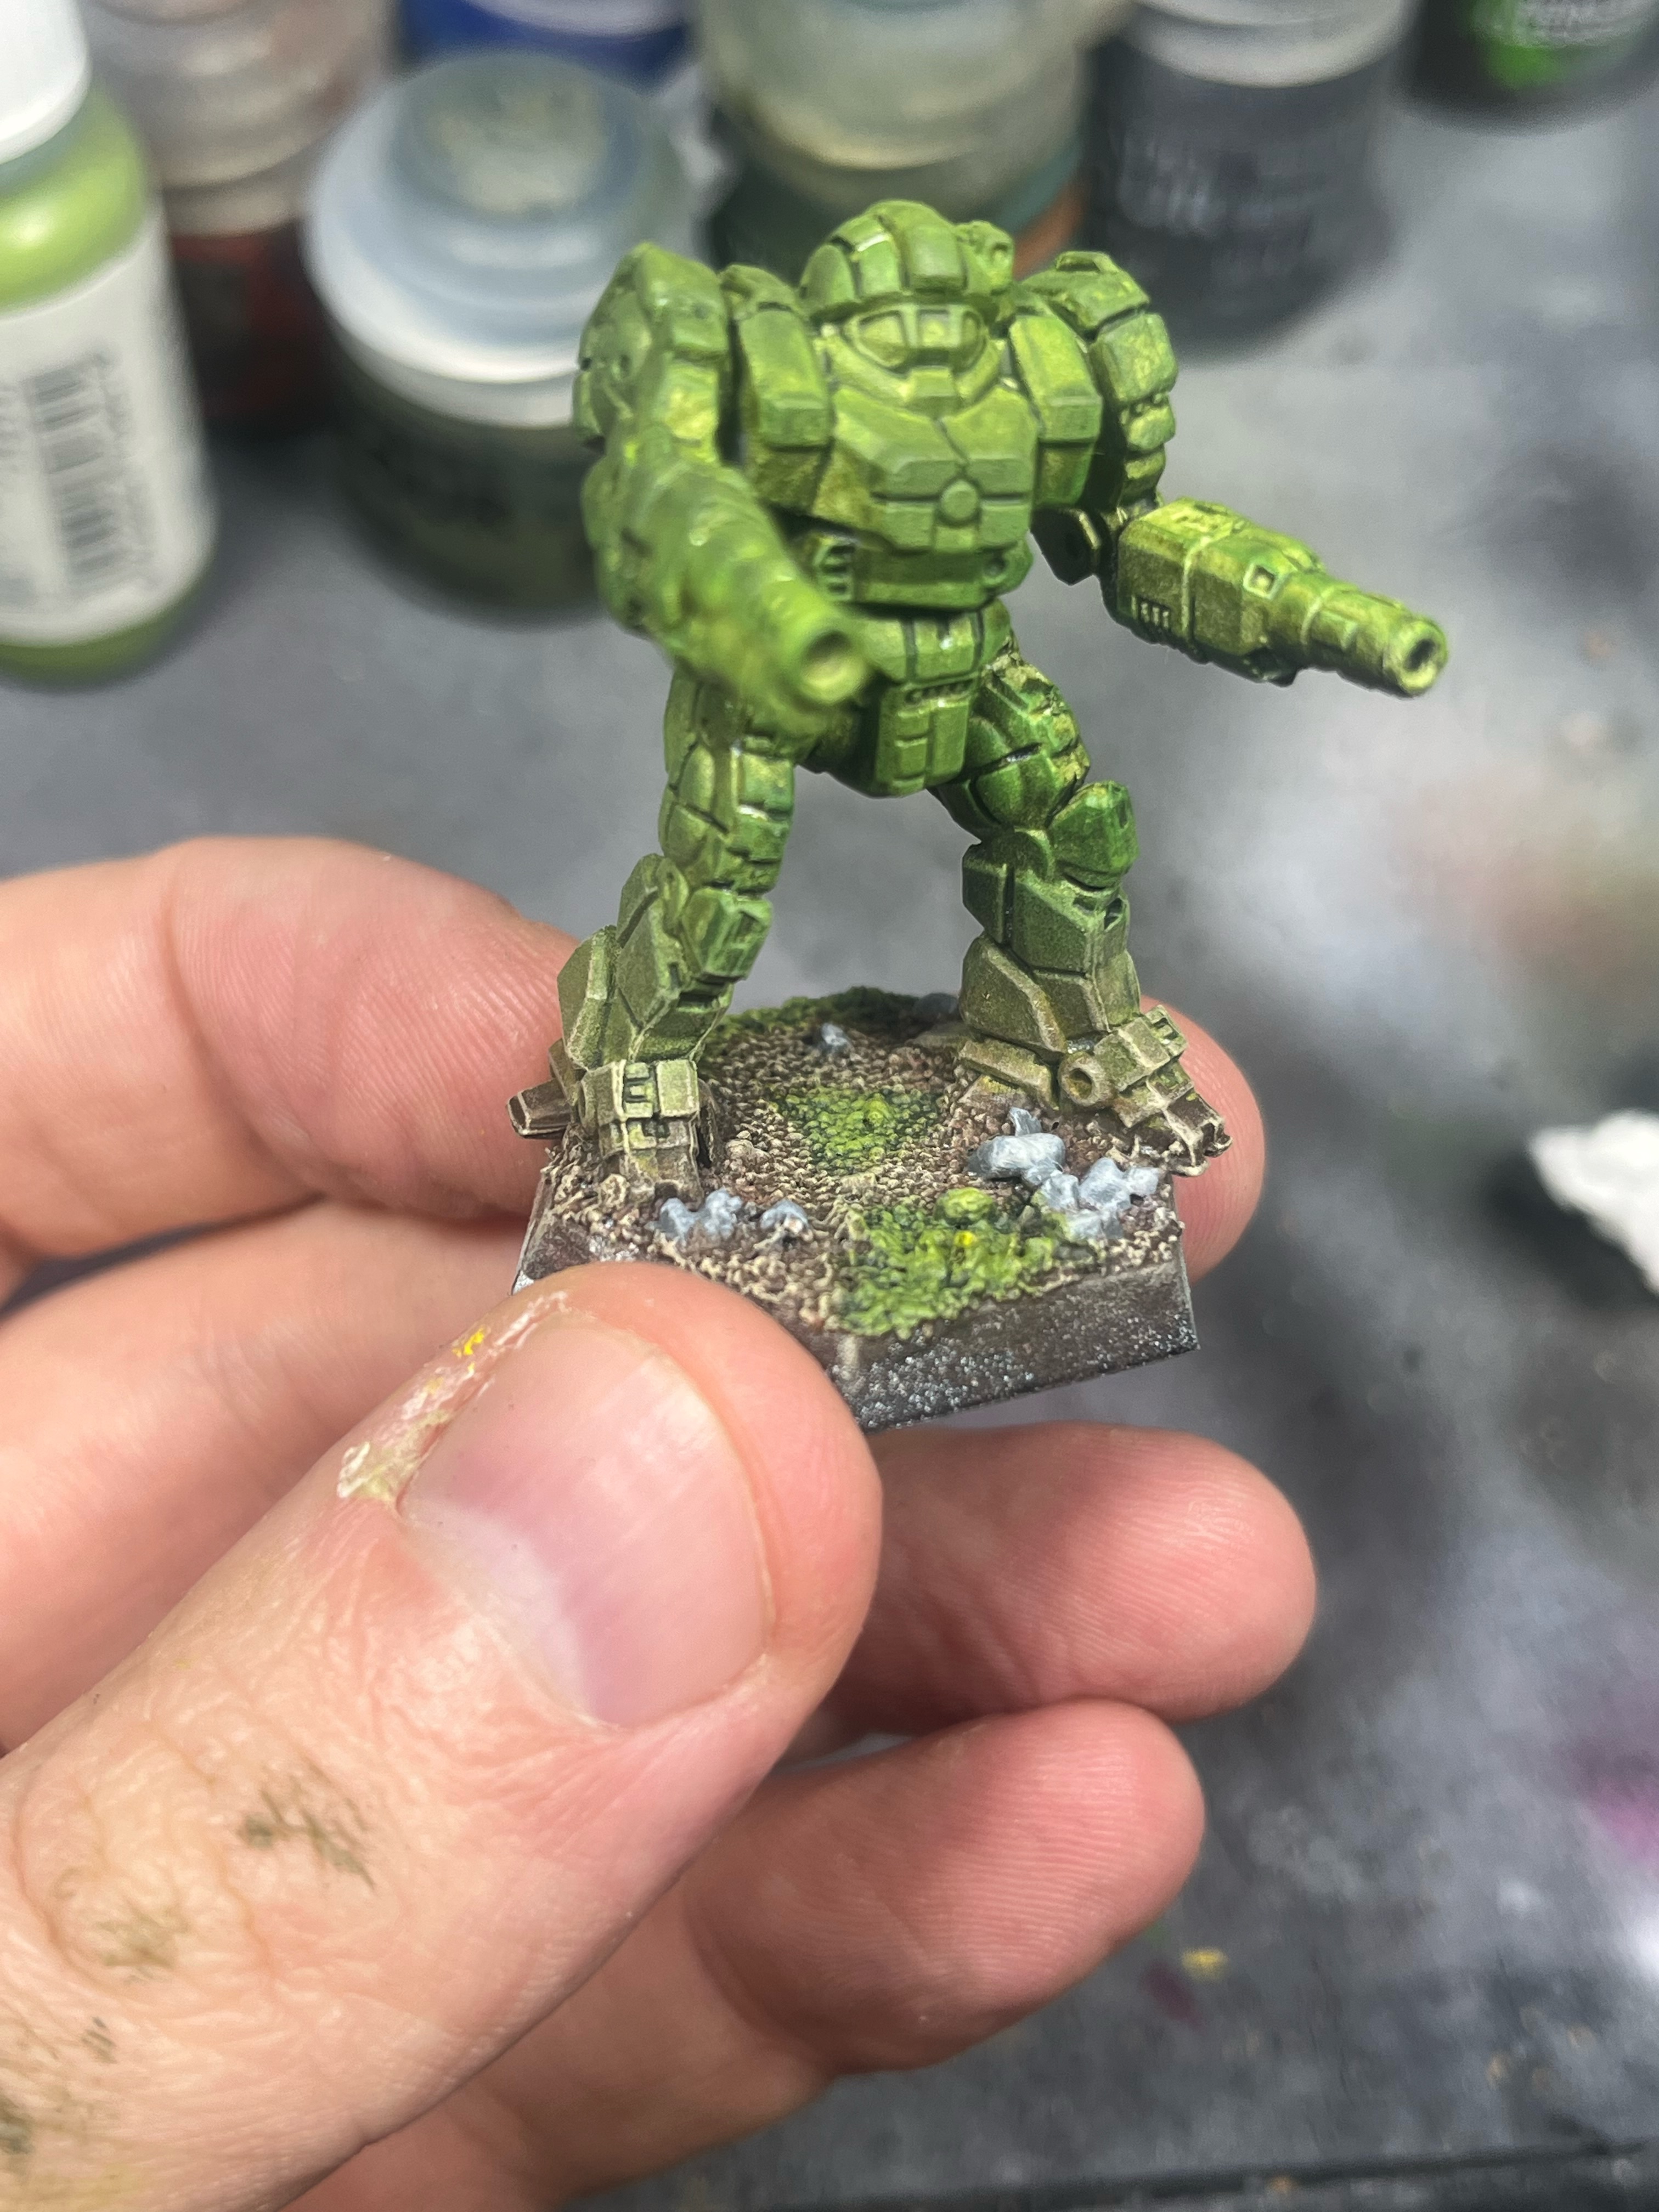

And that’s it! The trim of the base can be painted whatever you want: the more modern black, the retro goblin green, maybe? One idea I had was to sub the colours for the wartorn worlds you see in mechwarrior where the sand is glassed! Use dark, rustier colours for the dirt, scarlet reds for the rocks, and brighter purples or reds for patches of glass sand instead of grass! Maybe you want ice instead of grass, and paint snow for dirt? Options here are endless.
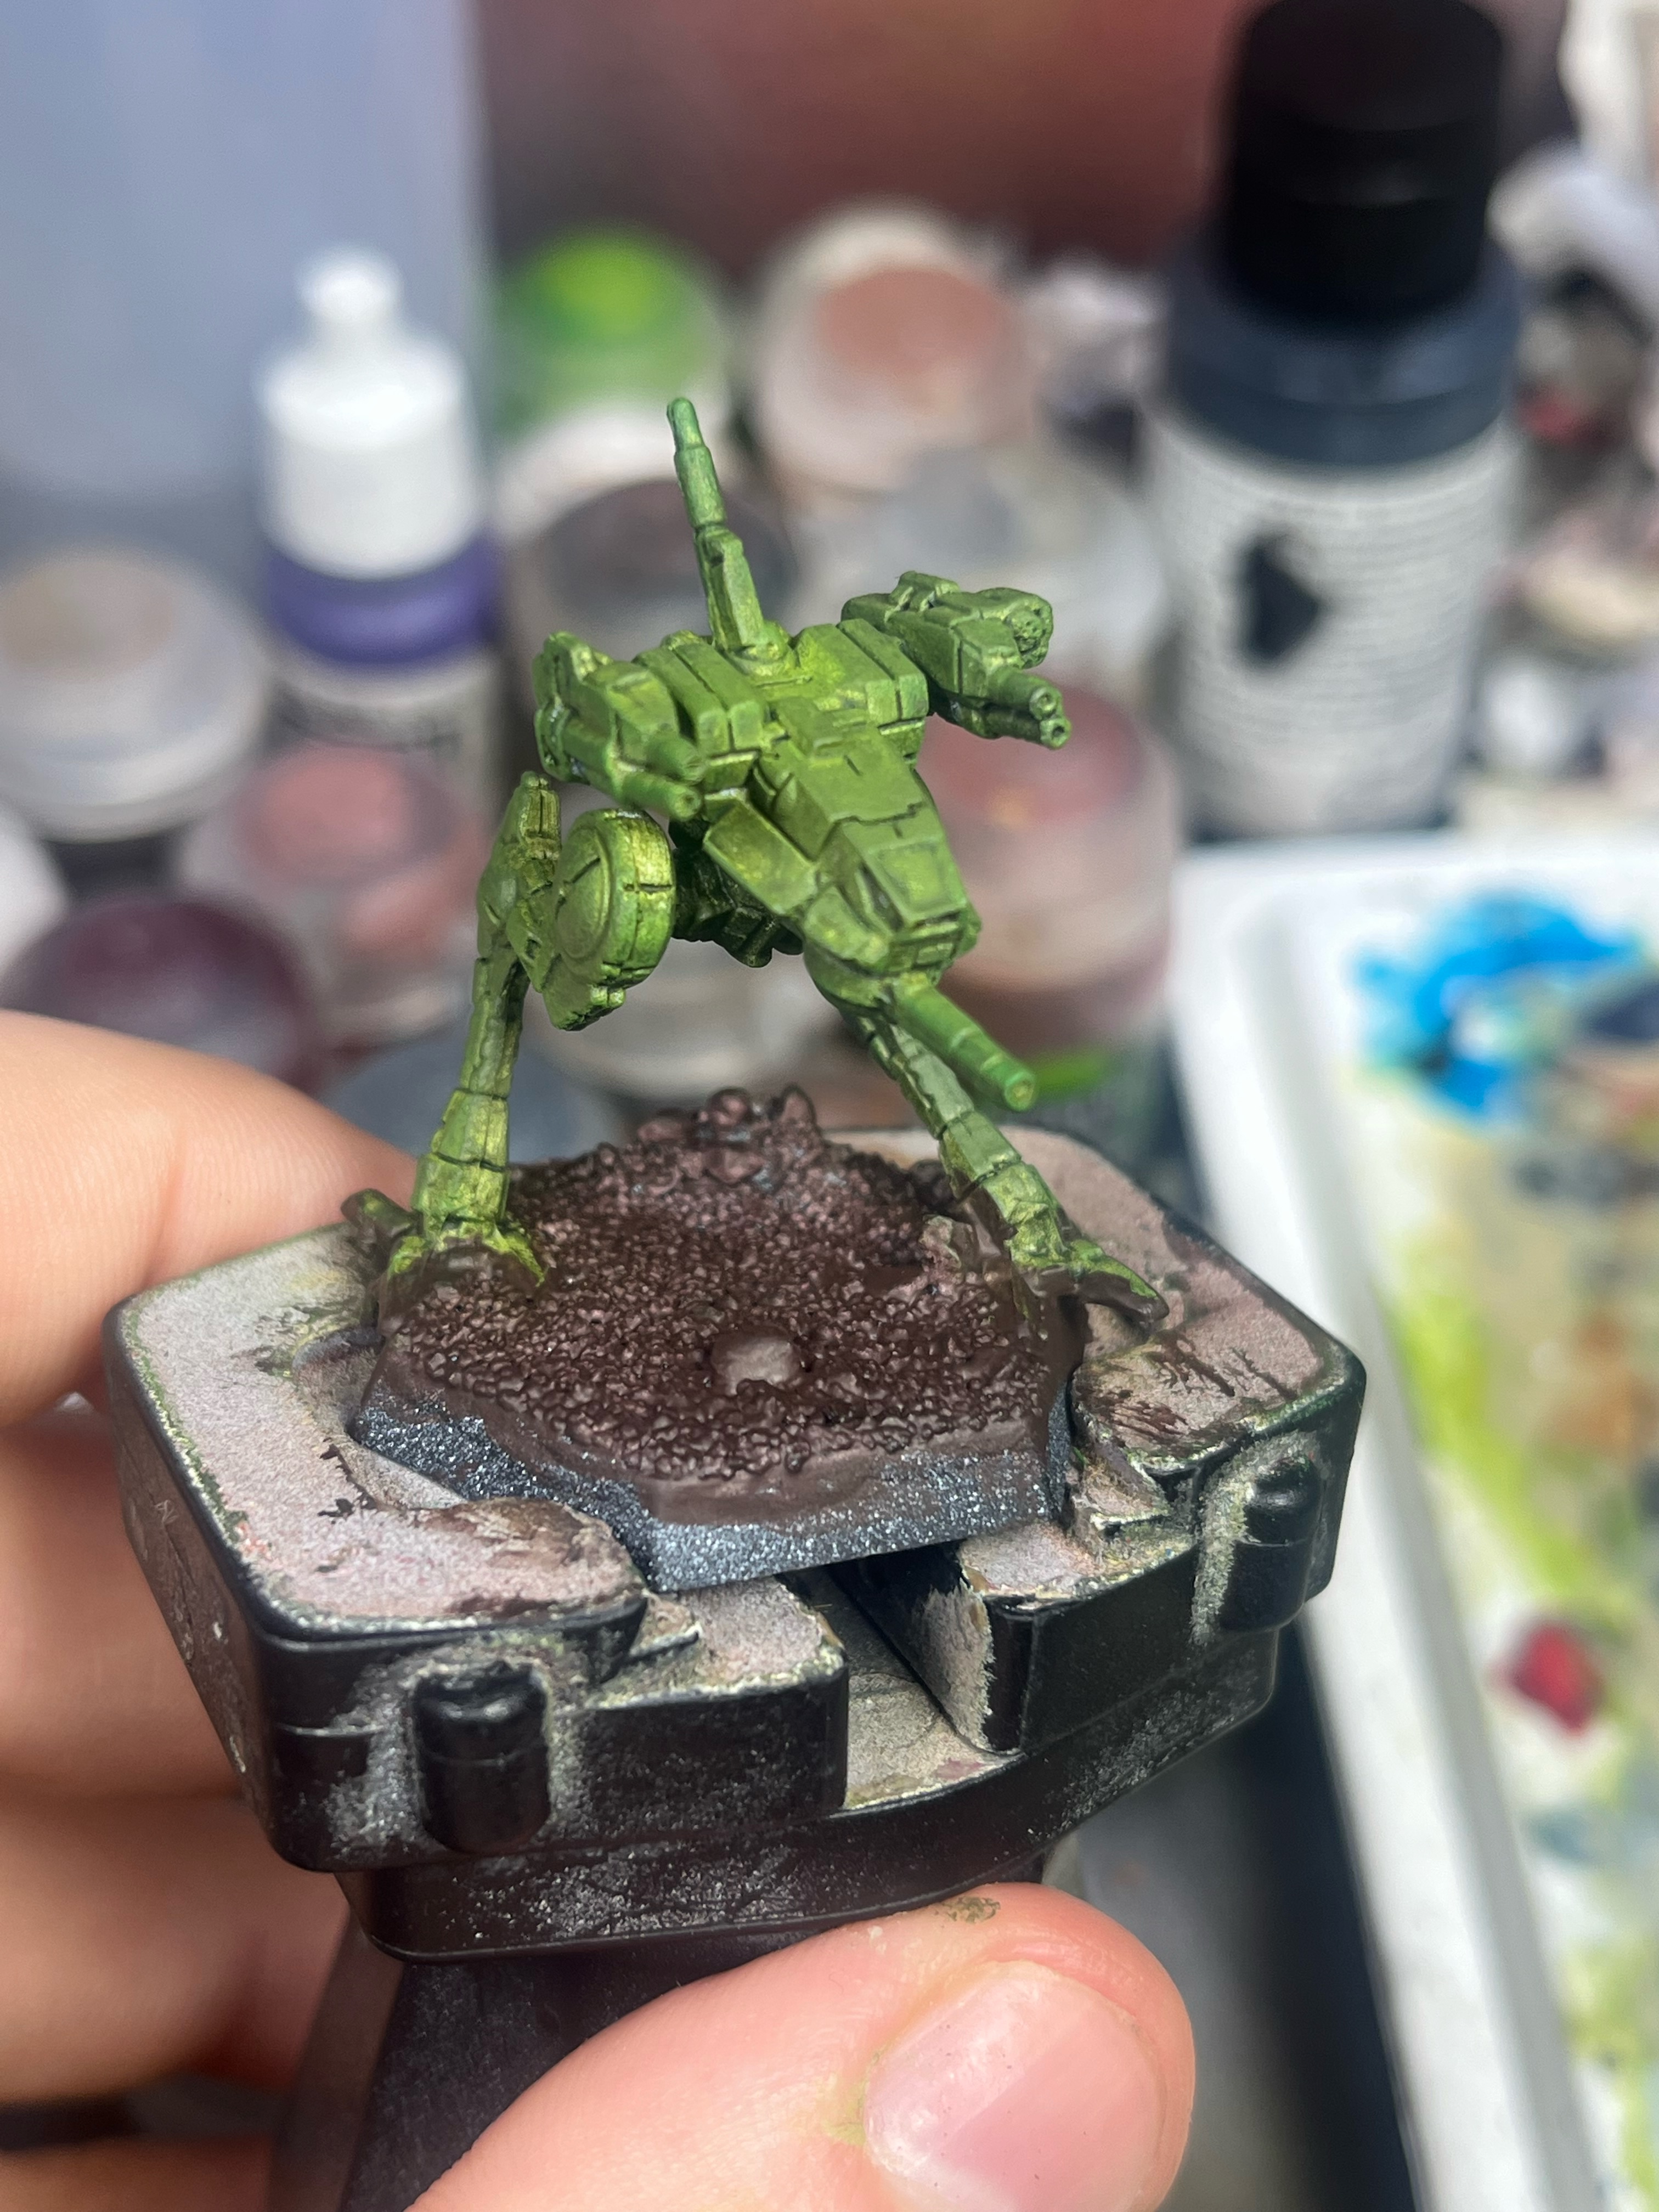
When I started painting these miniatures, I realized they were a very different scale than what I’m used to. I have a good amount of warhammer under my belt, but the scale for those miniatures is 28mm: a fancy way of saying that a human is about 28mm tall instead of like, 6 feet/182 cm. These mechs are at 6mm scale: way smaller! If we were to scale these mechs up, it wouldn’t be unusual for them to be 12 meters tall.
One thing I noticed is that people who paint the Battletech miniatures use the same grass materials you’d use on 28 mm miniatures. It looks a little weird to me. Why? Because the scale shows the grass to be like, a story tall. That’s extremely long grass, which didn’t sit right with me even though it looks amazing on the models.
As a result, I tried to cheat and paint the grass on the base. So far, it seems to have worked! A couple of people have commented on how much they like it, which is a big mood boost. Importantly, friends have asked how to do it. Now we have this guide here which is the most writing I’ve done in… years.
I think I might use this blog to write more about the hobbies I engage in. I play DnD up to 5 times a week for almost 13 hours a week, paint and play Warhammer 40k, Battletech, and 5 Leagues from the Borderlands. I’ve been toying with my own game system, writing down some of my more epic stories, and maybe this blog is the place to put what I’ve been learning out in the world. I’m a lousy video maker. I’m even worse at streaming. Writing is something I can do well enough and I’m glad to be doing it right now. I hope I remember this feeling when I don’t know what to do with myself next.
Anyway, that’s it from me. I sincerely hope the guide has helped those who read it and I thoroughly enjoyed writing it. Until next time, stay awesome.
-SW.
